Content Source: 2021 Indian Vintage Dark Horse / Indian Vintage / Indian Springfield Dark Horse Owner’s Manual (9939979 R01) > Maintenance Chapter

IMPORTANT

The Owner's Manual for this vehicle contains warnings, instructions and other information you must read and fully understand before safely riding or performing maintenance on this vehicle.Always follow the warnings and instructions in Owner's Manual.

Click the CONTENTS link above for the Table Of Contents, or download a full PDF of the Owner Manual in the Owner Support area of Polaris.com

Battery

The motorcycle battery is a sealed, maintenance-free battery. Do not remove the battery cap strip for any reason. Keep the battery connections clean and tight at all times.
WARNING
Battery electrolyte is poisonous. It contains sulfuric acid. Serious burns can result from contact with skin, eyes or clothing.
Antidote:
External: Flush with water.
Internal: Drink large quantities of water or milk. Follow with milk of magnesia, beaten egg, or vegetable oil. Call physician immediately.
Eyes: Flush with water for 15 minutes and get prompt medical attention.
Batteries may produce explosive gases.
  • Keep sparks, flame, cigarettes, etc. away.
  • Ventilate when charging or using in an enclosed space.
  • Always shield eyes when working near batteries.
  • KEEP OUT OF REACH OF CHILDREN.

Key Fob Battery Life:

Key fob battery life is approximately 1-2 years depending on fob type and usage patterns. Battery changes recommended yearly. Multi-Function (Two Button) Key Fob battery life will decrease with frequent use of the LOCK / UNLOCK buttons.
Low Battery Indicators:
  • Decreased fob authentication range
  • Horn honks 5 seconds after startup
  • Security light stays illuminated for up to 20 seconds
  • Both Battery Light and Security Light are illuminated
Key Fob performance can be affected by the following conditions:
  • Close proximity of ferrous materials (e.g. money clip or pocket knife)
  • Key Fob stuck to saddlebag speaker magnet
  • Key Fob held in ferrous container (metal cup holder or glasses case)
  • Cold temperatures (Key Fob should be kept above 45°F / 7°C)
Key Fob Replacement Battery Part Number: 4014675 or CR2032

Battery Removal

WARNING
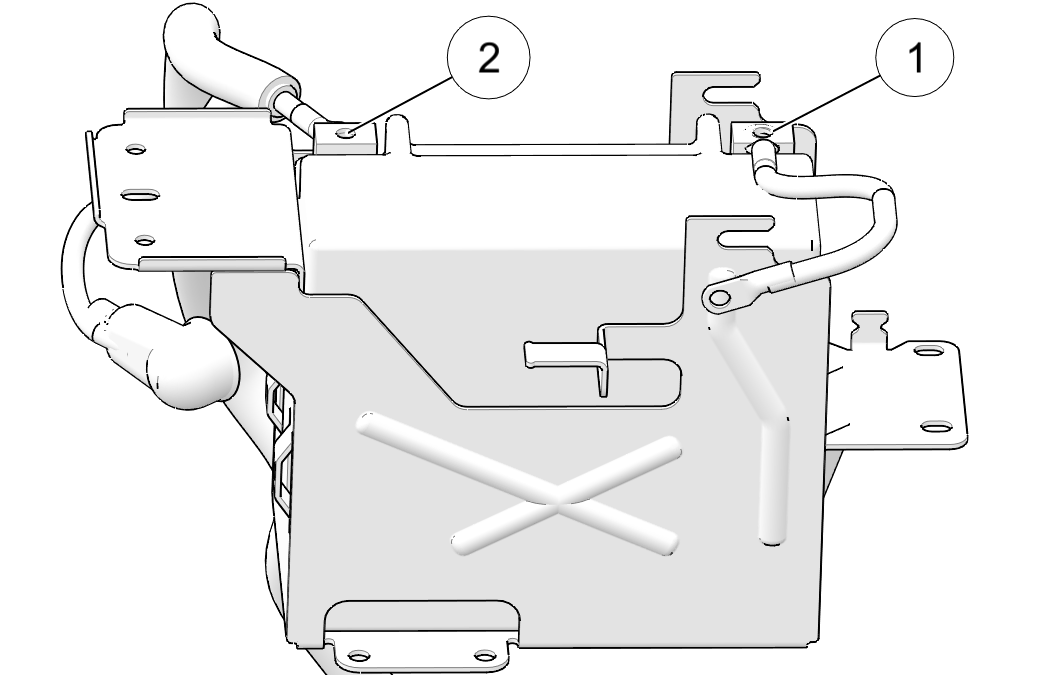
Improperly connecting or disconnecting battery cables can result in an explosion and cause serious injury or death. When removing the battery, always disconnect the negative (black) cable first. When reinstalling the battery, always connect the negative (black) cable last.
Image
  1. Remove the seat. See Seat Removal.
  2. Remove the negative (-) battery cable from the battery terminal. Position the cable well clear of the terminal.

    Tool: 10 mm wrench

  3. Remove the fastener securing the battery cover to the frame crossmember.
  4. Lift the cover, with the attached Vehicle Control Module (VCM) in place, folding the wires toward the fuel tank.

    Tool: 5 mm hex key wrench

    NOTICE
    Do not allow the VCM to touch the battery terminals or it will damage the VCM instantly.
  5. Remove the rubber cover from the positive (+) battery cable and remove the cable from the terminal. Position the cable well clear of the terminal.
  6. Remove the battery.
WARNING
If the VCM touches the positive battery post or wire the VCM can short out.

Battery Installation

WARNING
Improperly connecting or disconnecting battery cables can result in an explosion and cause serious injury or death. When removing the battery, always disconnect the negative (black) cable first. When reinstalling the battery, always connect the negative (black) cable last.
NOTICE
Do not remove the battery cables while the engine is running. Doing so may damage the Engine Control Unit (ECU). Take great care not to reverse the battery leads when installing the battery. Reverse power applied to the ECU will damage it instantly.
  1. Inspect the battery box and cover for damage. Be sure pads are in good condition and properly located.
  2. Make sure cable ends and battery terminals are clean. Apply a light film of dielectric grease to the terminal bold threads.
  3. Carefully position the battery into the battery box with the negative (-) terminal toward the front of the motorcycle.
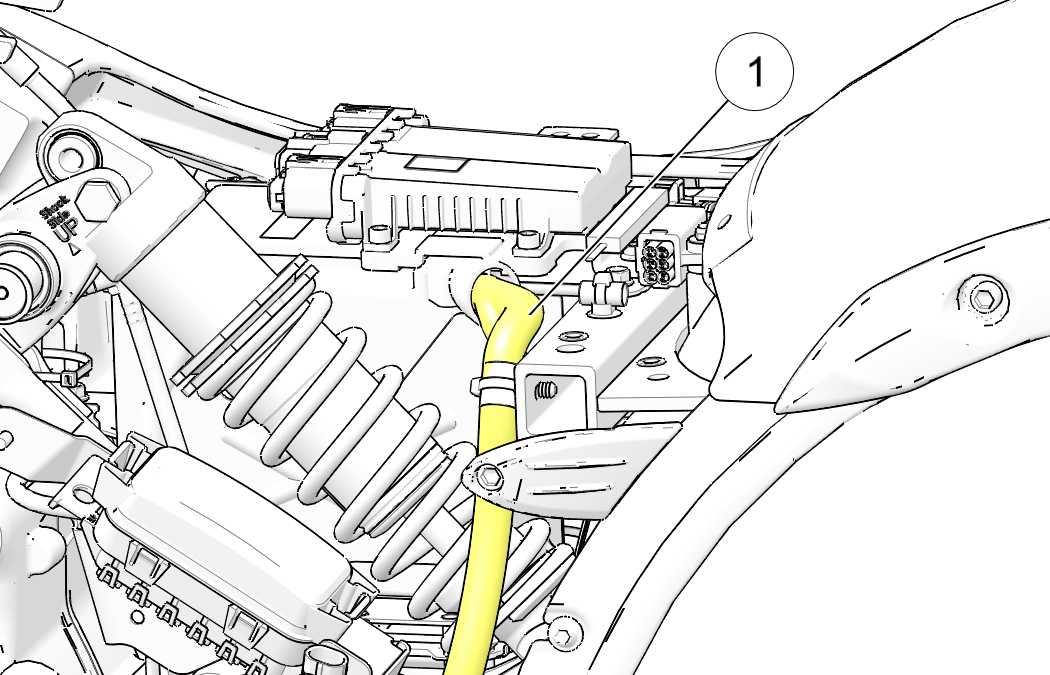
  4. Make sure the positive (+) cable is routed horizontally and perpendicular to the long side of the battery. Connect the positive (+) cable to the positive (+) battery terminal.

    Image

    TORQUE
    45 in-lbs (5 Nm)
  5. Install the negative (-) cable last. Route the starter ground cable beneath the frame ground cable on the negative battery terminal.
    TORQUE
    45 in-lbs (5 Nm)
  6. Reinstall the battery cover and fastener.
    TORQUE
    84 in-lbs (9.5 Nm)
  7. Reinstall the seat. See Seat Installation.

Battery Charging

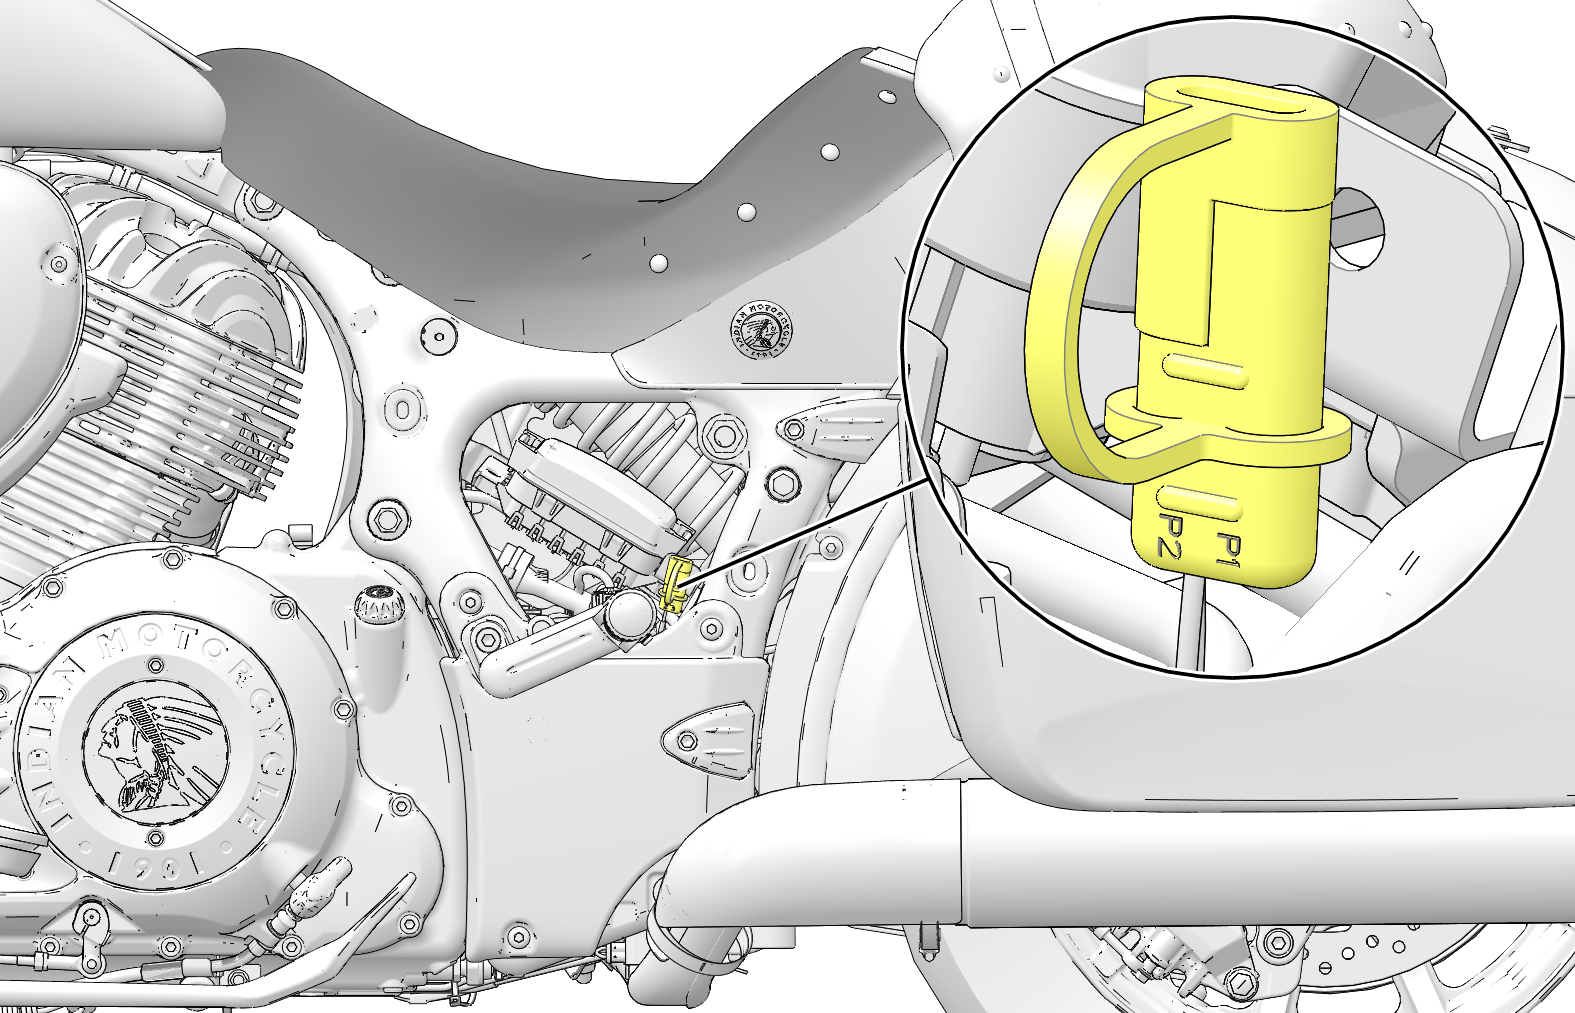
If your motorcycle will not be used for a period of four (4) weeks or longer, a maintenance charger should be connected to the battery using the battery tender plug. The Battery Tender plug is located under the left side panel. A maintenance charger can be purchased through your authorized INDIAN MOTORCYCLE dealer.
Image
  1. Following the charger manufacturer’s instructions, use a battery charger designed for use with 12-volt batteries. The charger should have a maximum charging rate of 1.8 amps. Charge the battery for approximately 10 hours at a rate of 1.8 amps. If you use a taper or trickle charger, it will take longer to charge the battery.
  2. After charging the battery, allow the battery to sit 1-2 hours before checking the state of charge with a DC volt meter. The charge should be a minimum of 12.5 DC volts. Repeat the charging cycle if the charge is less than 12.5 DC volts. Replace the battery if it fails to reach 12.5 volts after the second charge.

© Copyright Polaris Inc. All rights reserved.