Content Source: 2021 Slingshot Owner’s Manual (9939930 R02) > Features and Controls Chapter

IMPORTANT

The Owner's Manual for this vehicle contains warnings, instructions and other information you must read and fully understand before safely riding or performing maintenance on this vehicle.Always follow the warnings and instructions in Owner's Manual.

Click the CONTENTS link above for the Table Of Contents, or download a full PDF of the Owner Manual in the Owner Support area of Polaris.com

Rider Information Center

  • The rider information center is located in the instrument cluster. All segments will light up for one second at start-up.
  • The fuel gauge shows the level of fuel in the fuel tank. When the last segment clears, a low fuel warning is activated. The outline of the fuel display will flash. Refuel immediately.

Image

If the instrument cluster fails to illuminate, a battery over-voltage may have occurred and the instrument cluster may have shut off to protect the electronic speedometer. If this occurs, your POLARIS dealer, or other qualified person, can provide proper diagnosis.

Mode Information Displays

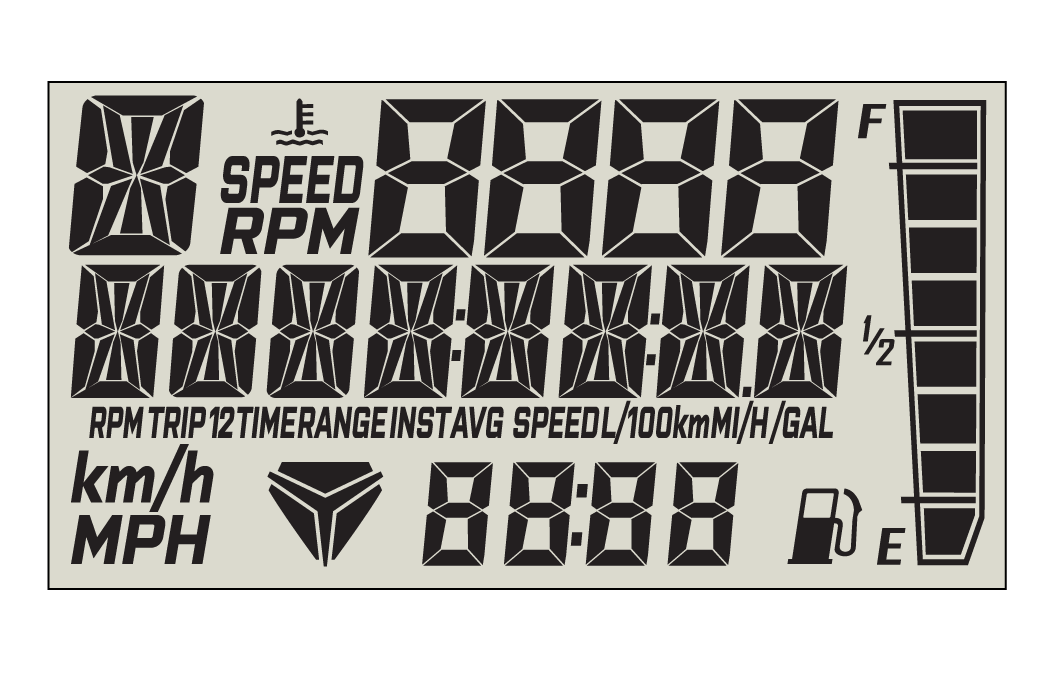
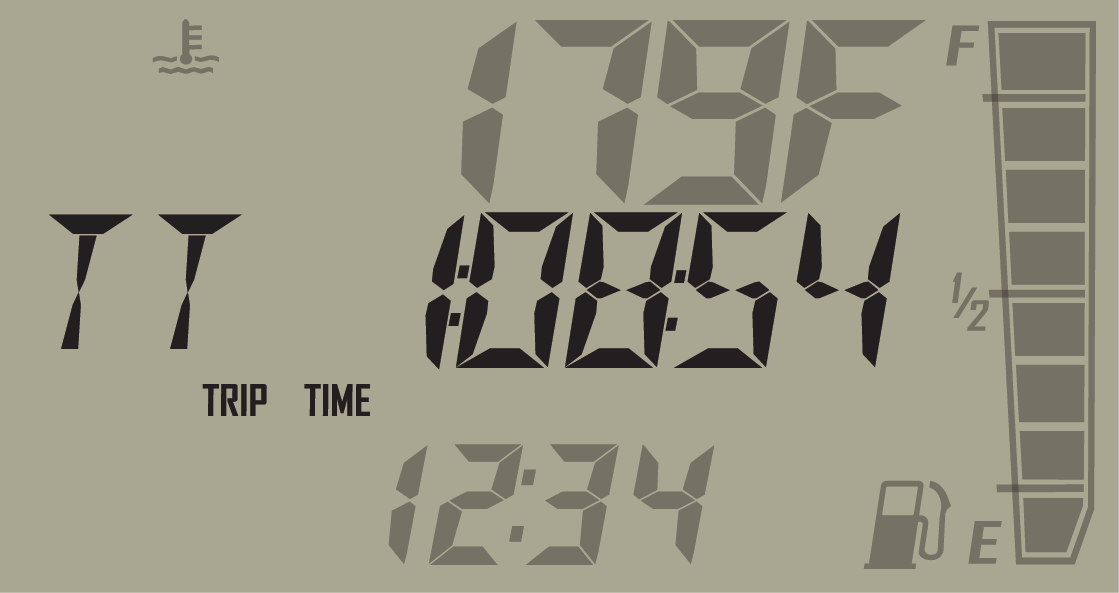
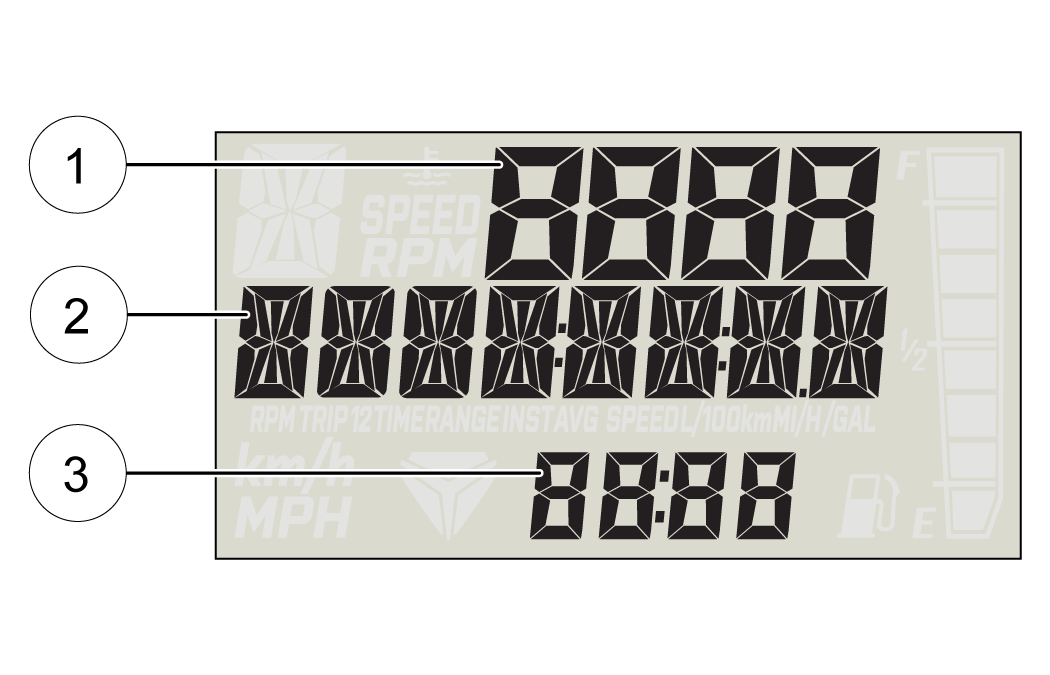
The rider information center contains three areas that display mode information.
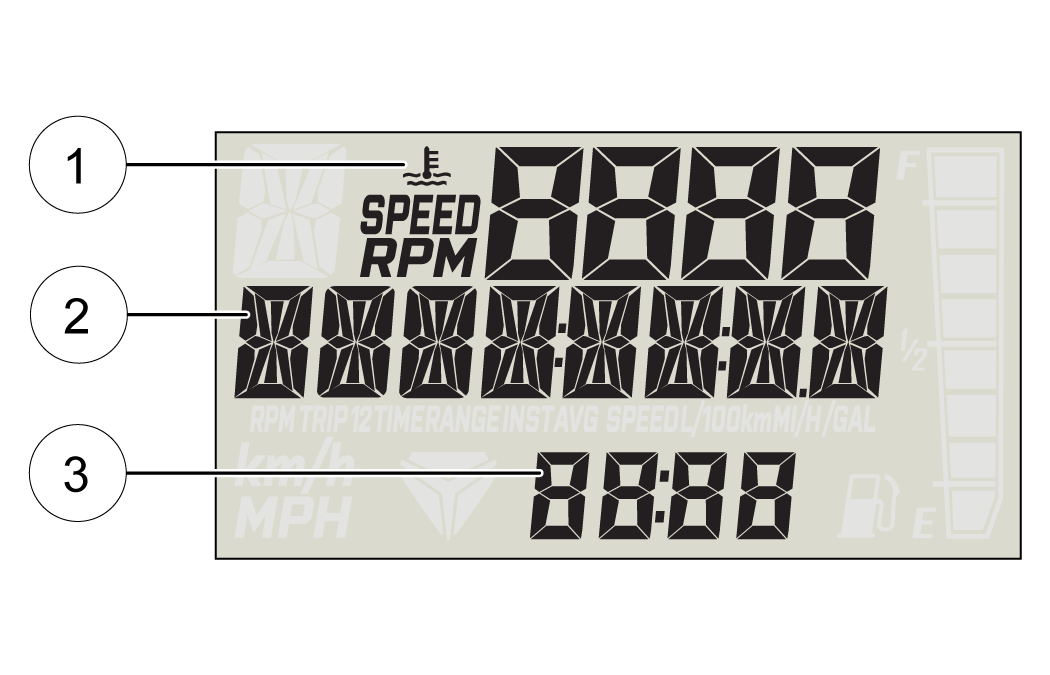
  • Display Area 1
  • Display Area 2
  • Display Area 3

Image
Display Area 1 Description
Engine Temperature Temperature of engine coolant
Vehicle Speed Speed of vehicle
Tachometer Engine speed (RPM)
Air Temperature Temperature of ambient air around vehicle
Display Area 2 Description
Tachometer Engine speed (RPM)
Vehicle Speed Speed of vehicle
Odometer Records and displays the distance traveled by the vehicle.
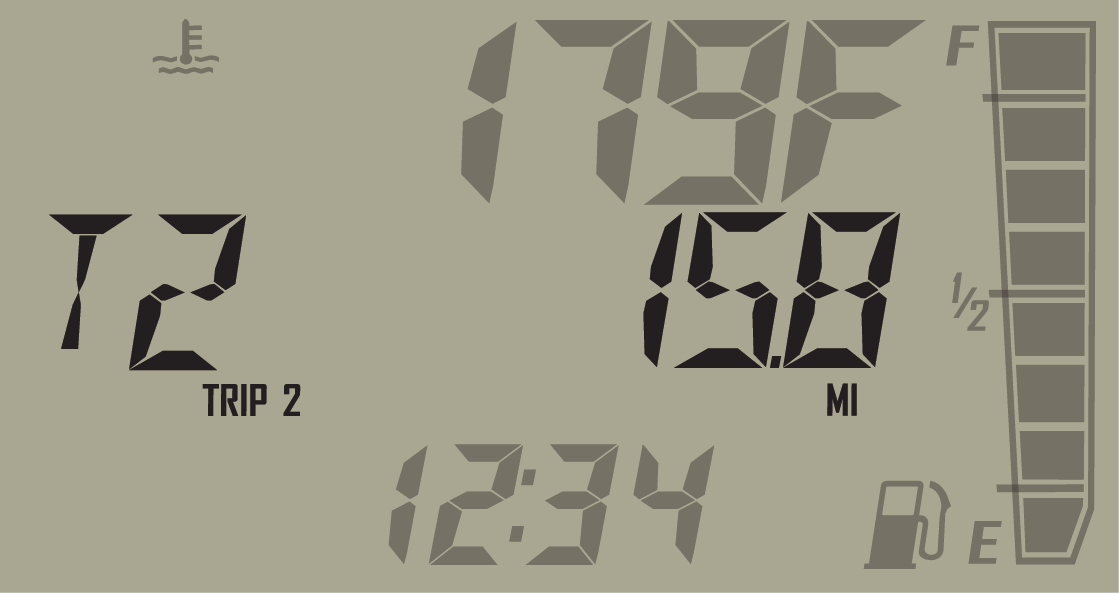
Trip Meters (T1/T2) Records the distance traveled by the vehicle if reset before each trip. To reset, see the Trip Meter section.
Fuel Range Approximated vehicle range (in miles/km) based on remaining fuel
Average Fuel Economy Average fuel economy in mpg or km/l
Instant Fuel Economy Instant fuel economy in mpg or km/l
Trip Time Time length of vehicle operation since mode was last reset
Voltmeter Displays the vehicle’s electric output
Engine Temperature Temperature of engine coolant
Ambient Temperature Temperature outside of the vehicle
Display Area 3 Description
Clock The clock displays time in a 12-hour or 24-hour format. To reset, see the Clock section.

Accessing Menus and Options

Gauge Settings Menu

Press and release the MODE button to cycle through the Area 1 modes until the desired default mode displays. See the Mode Information Displays section for details.
Press and hold the MODE button to enter the settings menu.
The OPTIONS screen will display for a few seconds.

  1. Press and release either toggle button to cycle to the desired option.
  2. Press MODE to select the option.
  3. Press either toggle button to cycle to the desired setting.
  4. Press MODE to save and exit to the settings menu.
  5. Press and hold the MODE button to exit the settings menu.

Image

Backlight Color

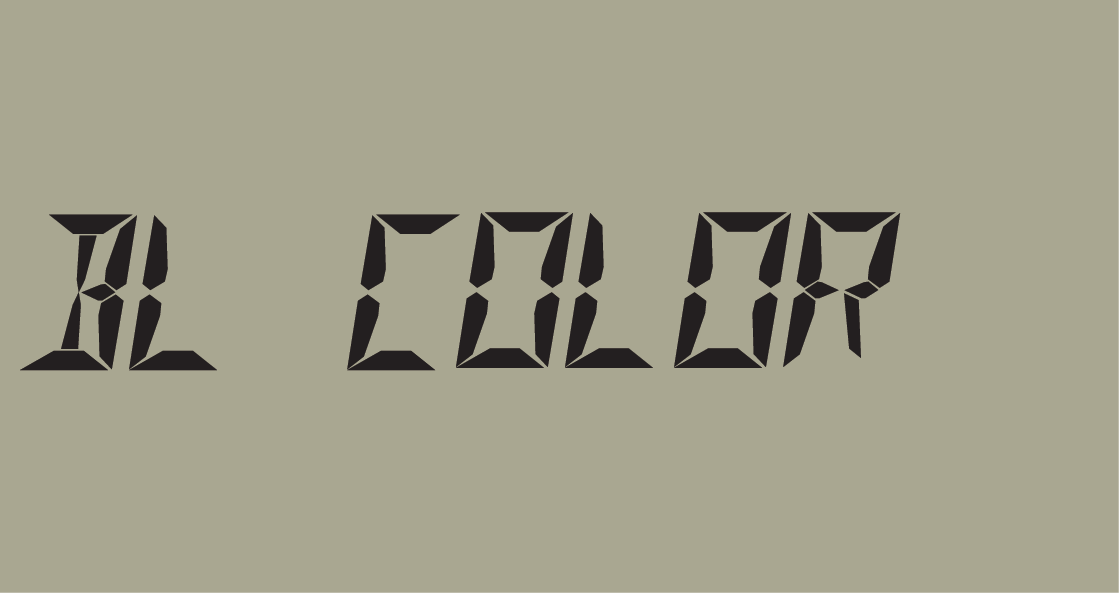
The information center backlight can be set to either blue or red.

  1. Press and hold the MODE button to enter the settings menu.
  2. Press either toggle button to cycle to the “BL COLOR” option. Press MODE to select.
  3. Press either toggle button to cycle to the desired setting.
  4. Press MODE to save and exit to the settings menu,

Image

Backlight Brightness

  1. Press and hold the MODE button to enter the settings menu.
  2. Press either toggle button to cycle to the “BL LEVEL” option. Press MODE to select.
  3. Press “UP” button to increase brightness. Press “DOWN” button to decrease brightness.
  4. Press MODE to select and exit to the settings menu.

Image

Trip Meter

Use a trip meter to track the distance traveled during a specific trip or period of time. Reset the meter to zero before traveling.

  1. Press either toggle button to cycle to the desired trip meter option (T1 or T2).
  2. Press and hold either toggle button until the meter resets to zero.

Image

Trip Time

Use a trip time meter to track the travel time during a specific trip. Reset the meter to zero before traveling.

  1. Press either toggle button to cycle to the trip time option (TT).
  2. Press and hold either toggle button until the meter resets to zero.

Image

Error Codes

The error screen displays only when the MIL, AWL, EPS, or ABS lamp is on or when it goes on and off during one ignition cycle. Error codes are not stored. When the key is turned OFF, the code and message is lost, but will reappear if the fault reoccurs after restarting the engine.

If an error lamp illuminates, retrieve the active error codes from the display.

  • Failure Mode Indicator (FMI)
  • Suspect Parameter Number (SPN)
  • Code Count

Image
  1. Press and hold the MODE button to enter the settings menu.
  2. Press either toggle button to cycle to the “DIAGCODE” option. Press MODE to select.
  3. More than one diagnostic code may be present. Press the toggle UP button to see if more codes are present. Press MODE to select a code.
    NOTICE
    If the displayed code is an engine fault code, the CHECK ENGINE lamp will blink. If the displayed code is an EPS fault code, the EPS lamp will blink.
  4. Record the three (3) numbers displayed.
  5. Press MODE to exit to the settings menu.

© Copyright Polaris Inc. All rights reserved.