
Content Source: 2021 Slingshot Owner’s Manual (9939930 R02) > Maintenance Chapter
| IMPORTANT |
|
The Owner's Manual for this vehicle contains warnings, instructions and other information you must read and fully understand before safely riding or performing maintenance on this vehicle.Always follow the warnings and instructions in Owner's Manual. Click the CONTENTS link above for the Table Of Contents, or download a full PDF of the Owner Manual in the Owner Support area of Polaris.com |

| IMPORTANT |
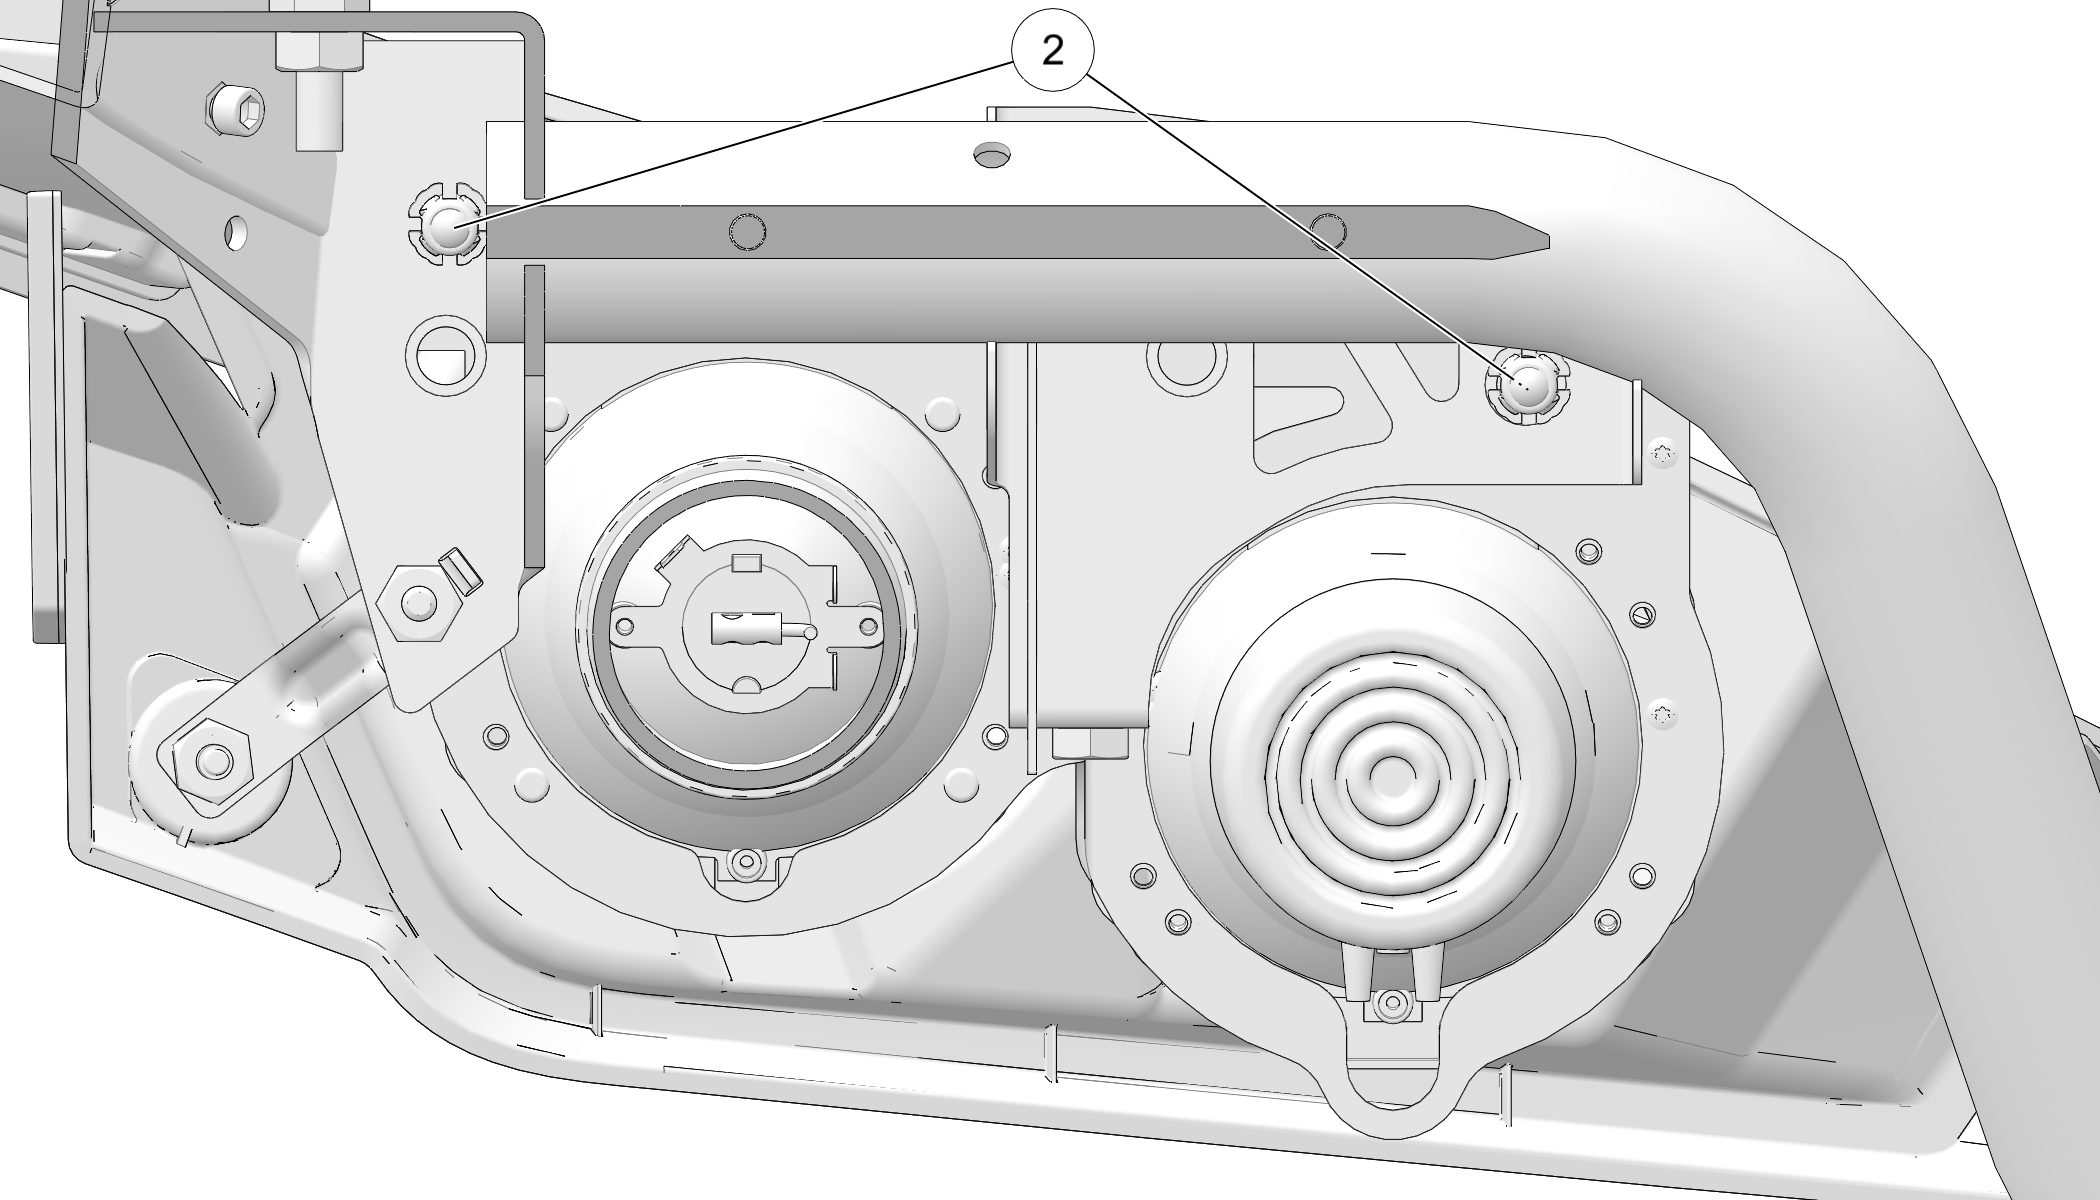
| If the engine was last powered-off with the high beams still on, then pulling the turn signal lever in Accessory Mode will reactivate the high beams. Verify that the LOW BEAM lights (not high beams) are activated to perform headlamp aim adjustment. |
| IMPORTANT |
| If the engine was last powered-off with the high beams still on, then pulling the turn signal lever in Accessory Mode will reactivate the high beams. Verify that the LOW BEAM lights (not high beams) are activated to perform headlamp aim adjustment. |
© Copyright Polaris Inc. All rights reserved.