
Content Source: 2020 PRO XD Gas Owner’s Manual (9939921 Rev 01) > Maintenance Chapter
| IMPORTANT |
|
The Owner's Manual for this vehicle contains warnings, instructions and other information you must read and fully understand before safely riding or performing maintenance on this vehicle.Always follow the warnings and instructions in Owner's Manual. Click the CONTENTS link above for the Table Of Contents, or download a full PDF of the Owner Manual in the Owner Support area of Polaris.com |
|
Vehicle operation with insufficient, deteriorated, or contaminated engine oil will cause accelerated wear and may result in
engine seizure, accident and injury. Always perform the maintenance procedures as outlined in the Periodic Maintenance Chart.
|
| NOTICE |
|
Mixing brands or using a non-recommended oil may cause serious engine damage. Always use the recommended oil. Never substitute
or mix oil brands.
|
| NOTE |
|
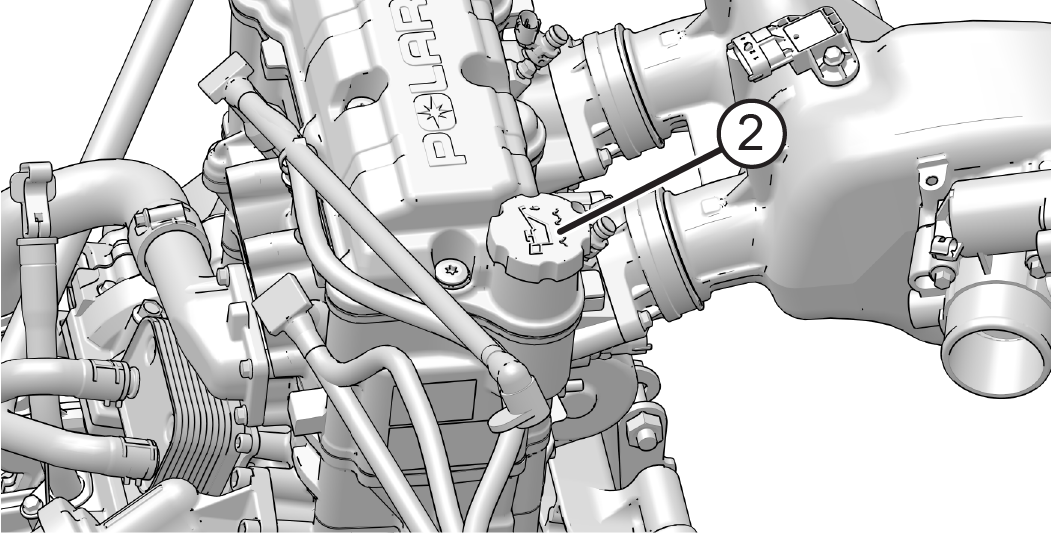
Make certain the dipstick is inserted all the way into the dipstick tube to keep the depth of the dipstick consistent. |
| NOTE |
|
A rising oil level between checks during cold weather operation can indicate contaminants such as gas or moisture collecting in the crankcase. If the oil level is over the upper mark, change the oil immediately. |
|
Use caution when performing this procedure. Do not allow hot engine oil to come into contact with skin, as serious burns may result. |
|
Always remove all cargo from the cargo box before lifting the box to access the engine. |
| TORQUE | |
|
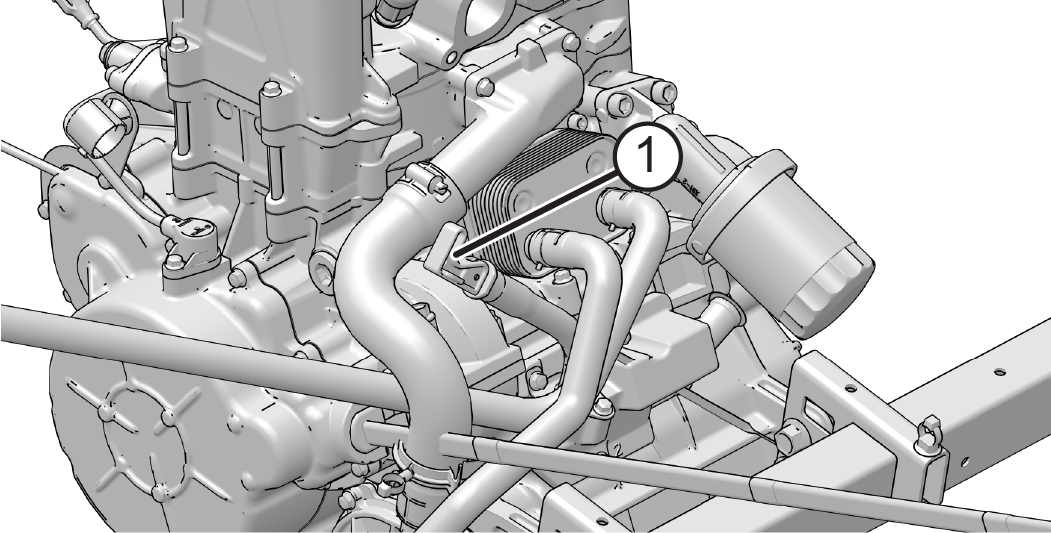
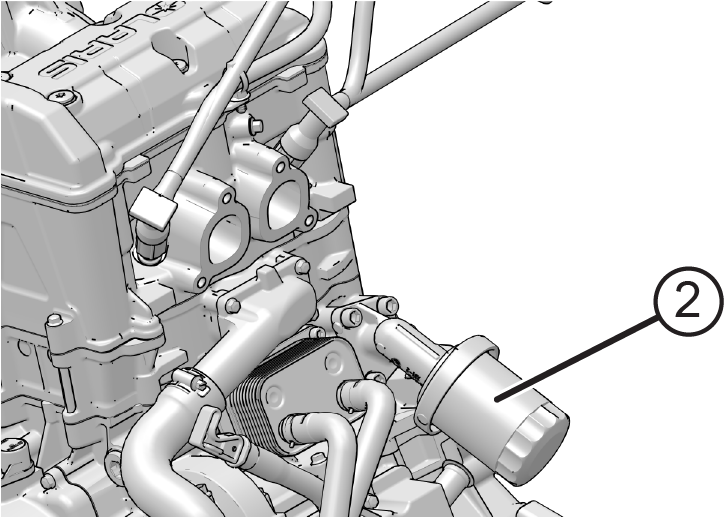
Oil Filter: Turn by hand until filter O-ring contacts sealing surface, then turn an additional 3/4 turn. |
| NOTE |
|
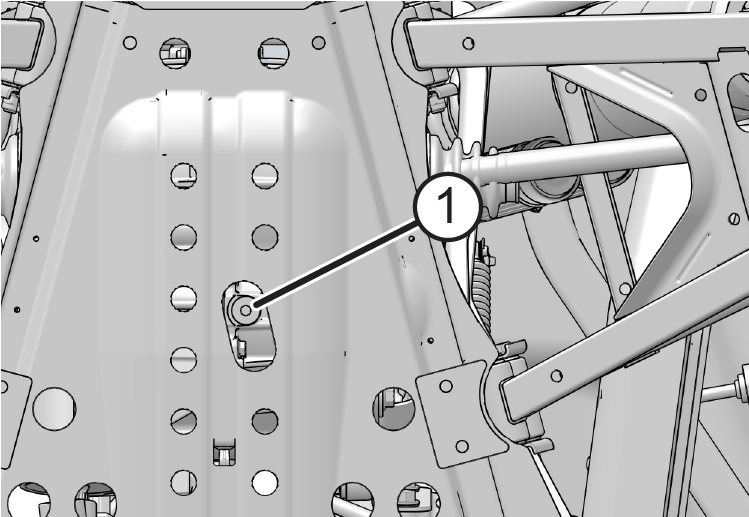
The sealing surface on the drain plug should be clean and free of burrs, nicks or scratches. |
| TORQUE | |
|
Crankcase Drain Plug: 12 ft-lbs (16 N·m) |
| NOTE |
|
Make certain the dipstick is inserted all the way into the dipstick tube to keep the depth of the dipstick consistent. |
© Copyright Polaris Inc. All rights reserved.