
Content Source: 2021 Indian Scout Bobber Owner’s Manual (9931589 R02) > Maintenance Chapter
| IMPORTANT |
|
The Owner's Manual for this vehicle contains warnings, instructions and other information you must read and fully understand before safely riding or performing maintenance on this vehicle.Always follow the warnings and instructions in Owner's Manual. Click the CONTENTS link above for the Table Of Contents, or download a full PDF of the Owner Manual in the Owner Support area of Polaris.com |
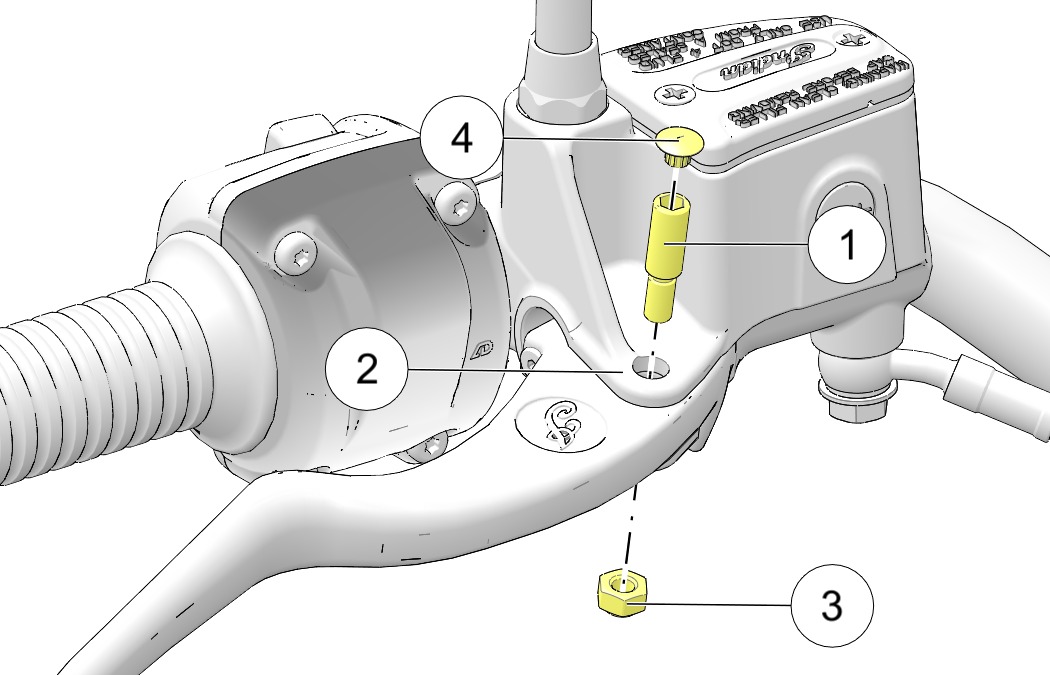
| Using the wrong fluid or allowing air or contaminants into the fluid
system can damage the system seals or result in a malfunction
that could lead to serious
injury or death. Use only DOT 4 brake fluid from a sealed container.
Do not operate the front brake with the reservoir cover
removed. Fluid could overflow from the reservoir and allow air to
enter the system. Air
in the brake system could cause the brakes to malfunction.
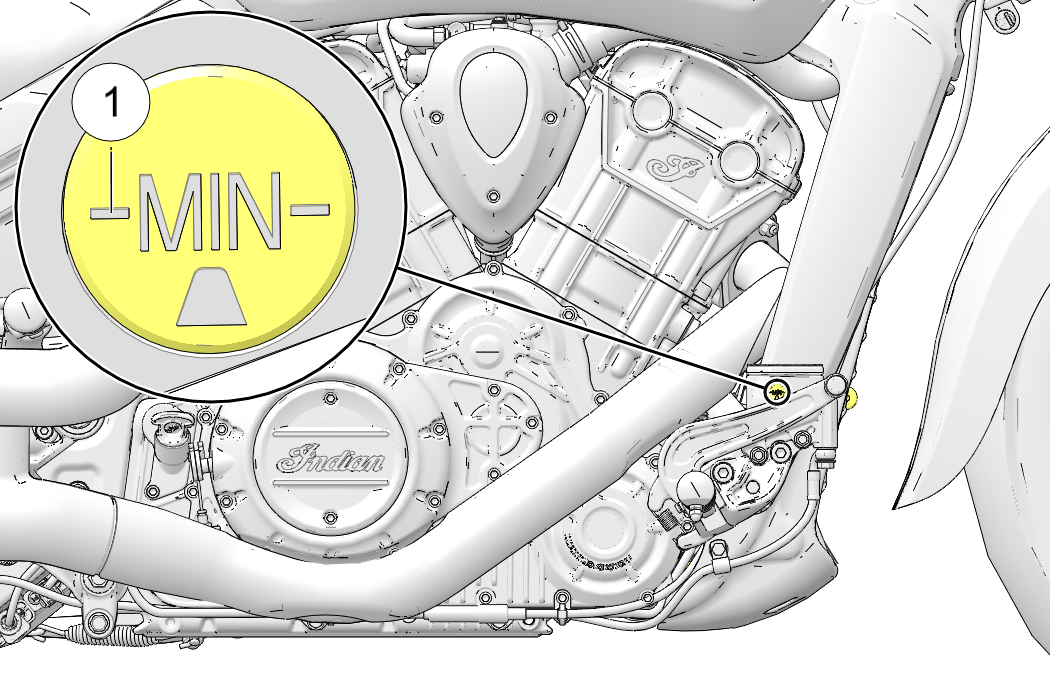
An over-full reservoir may cause brake drag or brake
lock-up, which could result in serious injury or death. Maintain brake
fluid at the recommended
level. Do not overfill.
|
| NOTICE |
| Brake fluid will damage painted surfaces and plastic parts. Always clean spilled brake fluid immediately with water and a mild detergent. |
| TORQUE | |
| 13 in-lbs (1.5 N·m) |
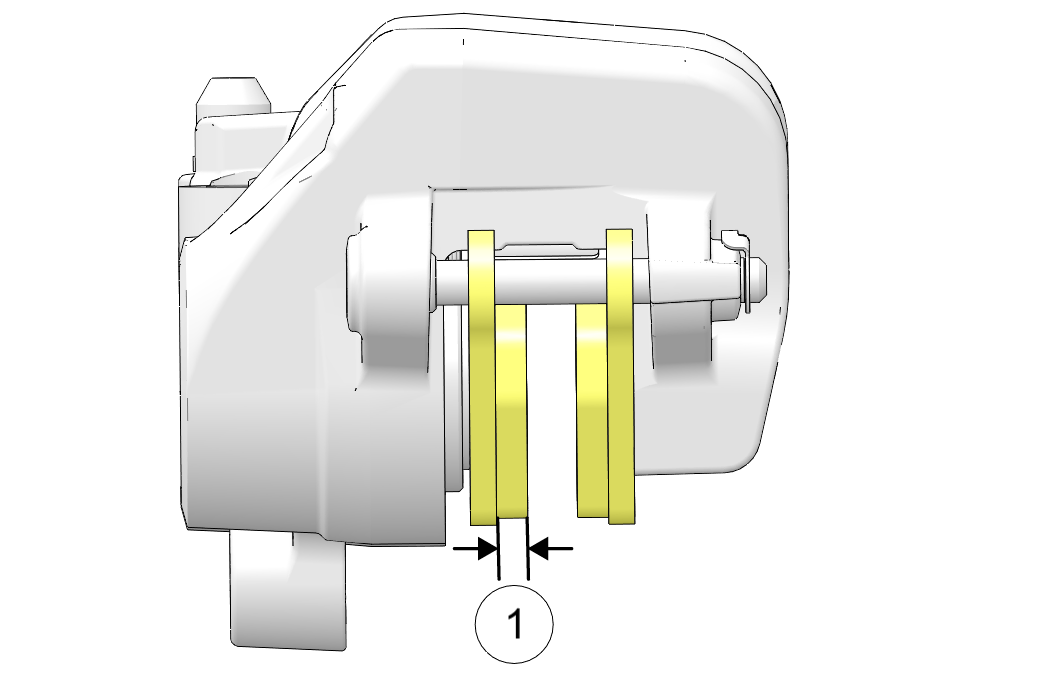
| TORQUE | |
| Pivot Pin: 8.9–17.7 in-lbs (1–2 N·m) |
| TORQUE | |
| Nut: 35.4–62 in-lbs (4–7 N·m) |

| TORQUE | |
| 13 in-lbs (1.4 N·m) |
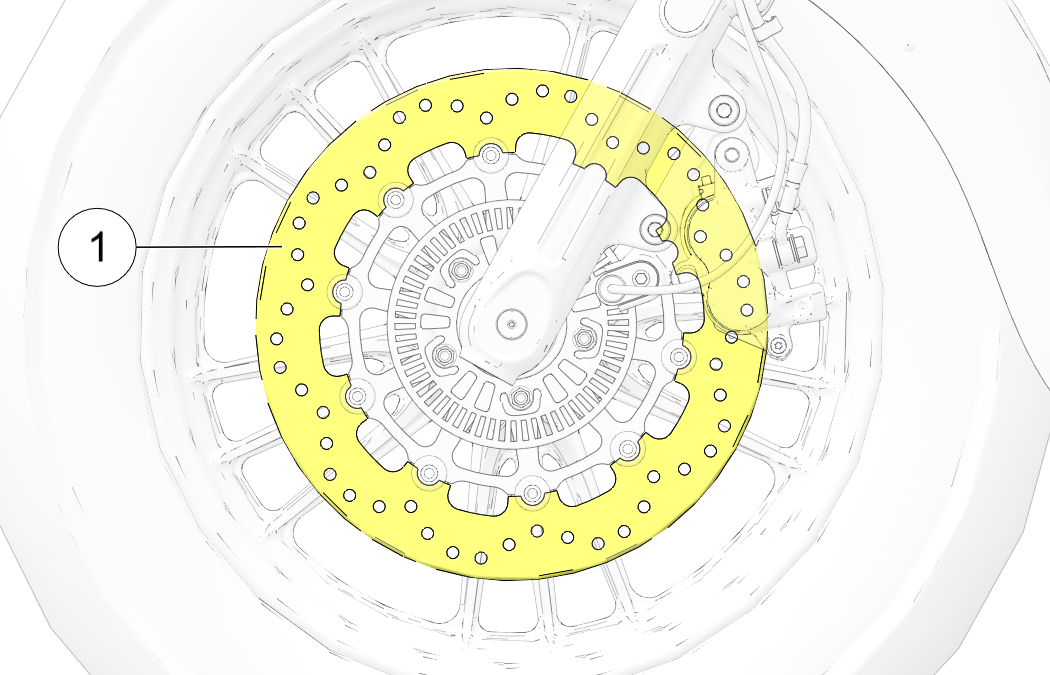
| NOTICE |
| After replacing pads, allow up to 250 miles (500 km) of operation in urban driving conditions (not highway cruising) to allow pads to mate with new rotors. Brakes should be used frequently. During this time brake performance will be less effective. Avoid using brakes harshly unless in an emergency. Brake efficiency will gradually increase during this seating period. |
| IMPORTANT |
|
|
© Copyright Polaris Inc. All rights reserved.