 caution caution |
| Air pressure increases VERY quickly when using pressurized air. Wear eye and face protection. |
For riding comfort and to ensure proper ground clearance, adjust rear shock air pressure. Refer to the label located on the
inside of the left side cover. The label shows recommended pressures based on potential load weights. Always inspect and adjust
shock preload (ride height) based on your actual load weight, in addition to adjusting shock air pressure.
Follow these guidelines when adjusting:
- Park the motorcycle with the sidestand down on a firm, level surface. Remove all riders and cargo.
- DO NOT exceed 150 PSI (1034 kPa) in the shock.
- Use the INDIAN MOTORCYCLE Air Pump and Gauge (P/N PV-48909). Follow the instructions on the following pages.
If the recommended air pump is not available, use a gauge and a pressurized air source with a maximum line and gauge pressure
of 150 PSI (1034 kPa). After using the alternate gauge, remove it quickly to minimize leakage. Expect to lose up to 5 PSI
(34 kPa) with each pressure check. Use only a dry air source, such as a system with a water separator or air line dryer, to prevent moisture from entering the shock.
Standard Shock Models
| AIR SUSPENSION ADJUSTMENT |
| TOTAL CARGO & OCCUPANT WEIGHT (lbs) |
AIR PRESSURE (psi) |
MAX PRESSURE: 150 PSI |
| NO TRUNK |
LEATHER TRUNK |
PAINTED TRUNK |
| 0 |
0 |
0 |
0 |
SELECT PRESSURE CORRESPONDING TO TOTAL CARGO AND OCCUPANT WEIGHT. REMOVE ALL PASSENGERS AND CARGO BEFORE SETTING/CHECKING
SHOCK PRESSURE. SET PRESSURE WITH BIKE ON SIDE STAND.
|
| 150 |
0 |
0 |
0 |
| 175 |
0 |
0 |
10 |
| 200 |
0 |
10 |
23 |
| 225 |
10 |
23 |
30 |
| 250 |
23 |
30 |
38 |
| 275 |
30 |
38 |
48 |
| 300 |
38 |
48 |
60 |
| 325 |
48 |
60 |
71 |
| 350 |
60 |
71 |
85 |
| 375 |
71 |
85 |
100 |
| 400 |
85 |
100 |
122 |
| 425 |
100 |
122 |
134 |
| 450 |
122 |
134 |
145 |
| 475 |
134 |
145 |
N/A |
| 500 |
145 |
N/A |
N/A |
Low Shock Models
| AIR SUSPENSION ADJUSTMENT |
| TOTAL CARGO & OCCUPANT WEIGHT (lbs) |
AIR PRESSURE (psi) |
MAX PRESSURE: 150 PSI |
| NO TRUNK |
PAINTED TRUNK |
| 0 |
0 |
0 |
SELECT PRESSURE CORRESPONDING TO TOTAL CARGO AND OCCUPANT WEIGHT. REMOVE ALL PASSENGERS AND CARGO BEFORE SETTING/CHECKING
SHOCK PRESSURE. SET PRESSURE WITH BIKE ON SIDE STAND.
|
| 150 |
0 |
0 |
| 175 |
0 |
10 |
| 200 |
0 |
17 |
| 225 |
10 |
24 |
| 250 |
17 |
45 |
| 275 |
24 |
65 |
| 300 |
32 |
85 |
| 325 |
40 |
97 |
| 350 |
52 |
110 |
| 375 |
67 |
119 |
| 400 |
82 |
127 |
| 425 |
98 |
136 |
| 450 |
114 |
145 |
| 475 |
130 |
N/A |
| 500 |
145 |
N/A |
Shock Air Pressure Adjustment Procedure
- Park the motorcycle with the sidestand down on a firm, level surface. Remove all riders and cargo.
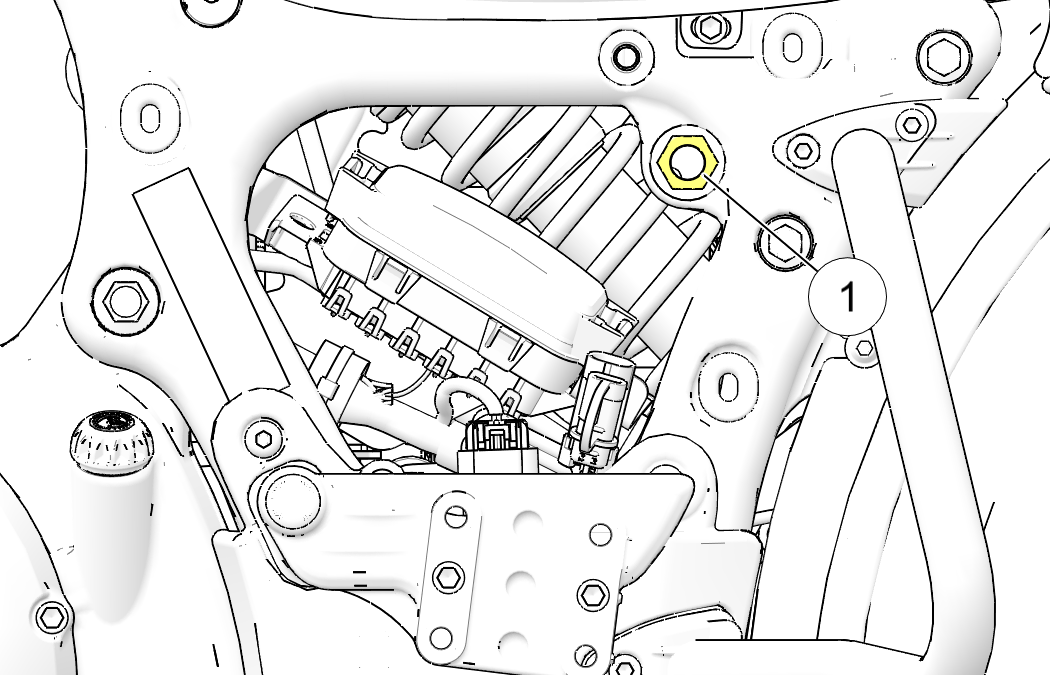
- Remove the left side cover. Remove the cap from the air fitting
 .
.
- Determine the recommended rear shock air pressure. Refer to the label located on the inside of the left side cover.
- Install the hose fitting of the recommended gauge securely onto the air fitting. Read the air pressure on the gauge.
- To reduce air pressure, push the bleed button on the gauge. Bleed pressure in small amounts until the desired pressure is attained.
- To increase pressure, pump the handle until pressure increases to the desired amount.
 caution caution |
| DO NOT exceed 150 PSI (1034 kPa) in the shock. |
- Remove the hose from the air fitting and reinstall the cap.
| TIP |
| Expect to lose up to 5 PSI (34 kPa) with each pressure check. |
- Repeat the preload inspection to verify proper preload. See Rear Shock Preload (Ride Height) Inspection.

