Content Source: 2021 Indian Heavyweight Owner’s Manual (9931551 R01) > Maintenance Chapter

IMPORTANT

The Owner's Manual for this vehicle contains warnings, instructions and other information you must read and fully understand before safely riding or performing maintenance on this vehicle.Always follow the warnings and instructions in Owner's Manual.

Click the CONTENTS link above for the Table Of Contents, or download a full PDF of the Owner Manual in the Owner Support area of Polaris.com

Handlebar Position

On models equipped with two handlebar positions, the motorcycle is manufactured with handlebars in the low position. Before changing handlebar position, check regulations in your area of operation. Operation with the handlebars in the high position may not be legal in all areas for all riders.
WARNING
Handlebar control position must be checked for proper alignment each time handlebar position is changed. Failure to reposition controls could result in loss of vehicle control resulting in serious injury or death.
To change the handlebar position, do the following:
caution
Protect painted surfaces on the front fender and fuel tank prior to beginning the following procedure. Use care when removing the nacelle so the chrome and paint do not get scratched.
caution
During disassembly, pay close attention to harness routing and connector orientation. Always route electrical wiring the same way as it was removed to avoid damaging wires and connectors.
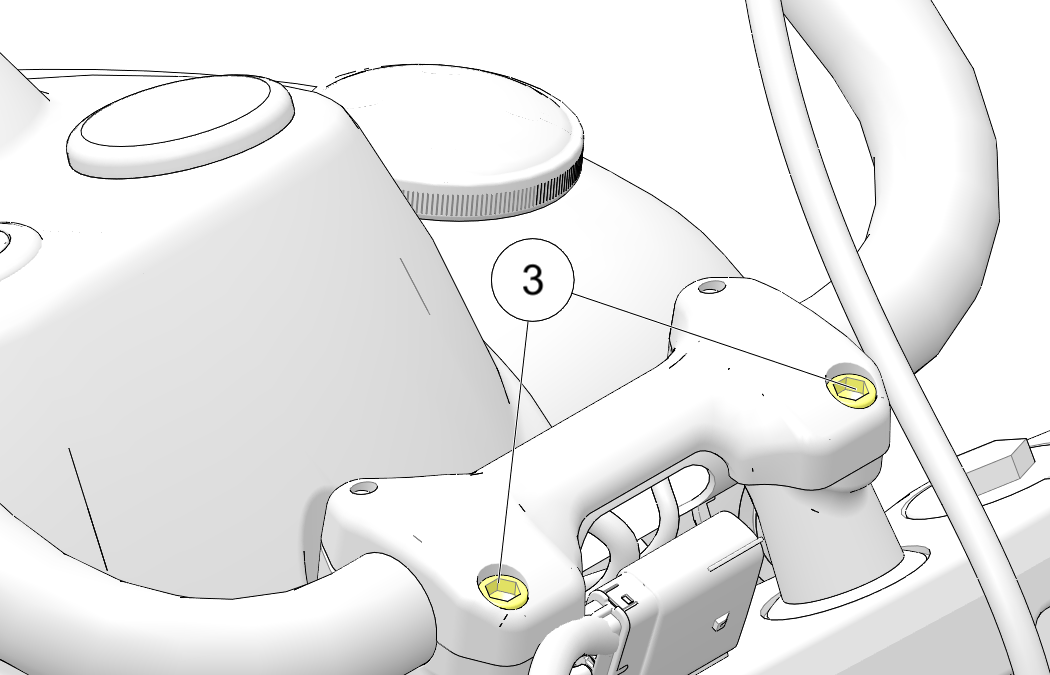
  1. Remove windshield assembly, if equipped.
  2. Remove two fasteners at the top of the nacelle assembly.

    Image

  3. Remove two fasteners securing the console cover to the fuel tank and lift console back and set on protected fuel tank.
  4. Remove two fasteners per side securing the windshield mounting bracket assembly.
  5. Rotate the auxiliary lamp assembly forward and lower out of the way.
  6. Pull the rear portion of the nacelle assembly back toward the fuel tank to expose the handlebar risers.
  7. Loosen the front handlebar clamp fasteners and rotate the handlebar up so the rear portion of the nacelle can be removed.Image
  8. Rotate the handlebar into the desired position and torque the riser clamp fasteners to specification.
    TORQUE

    Riser Clamp Fasteners: 18ft-lbs (24 Nm)Tighten front fasteners first, then rear.

  9. Push the front and rear portions of the nacelle together into position around the triple clamp.
  10. Move the light bar / turn signal assembly into position and install the four fasteners finger tight.
    NOTICE

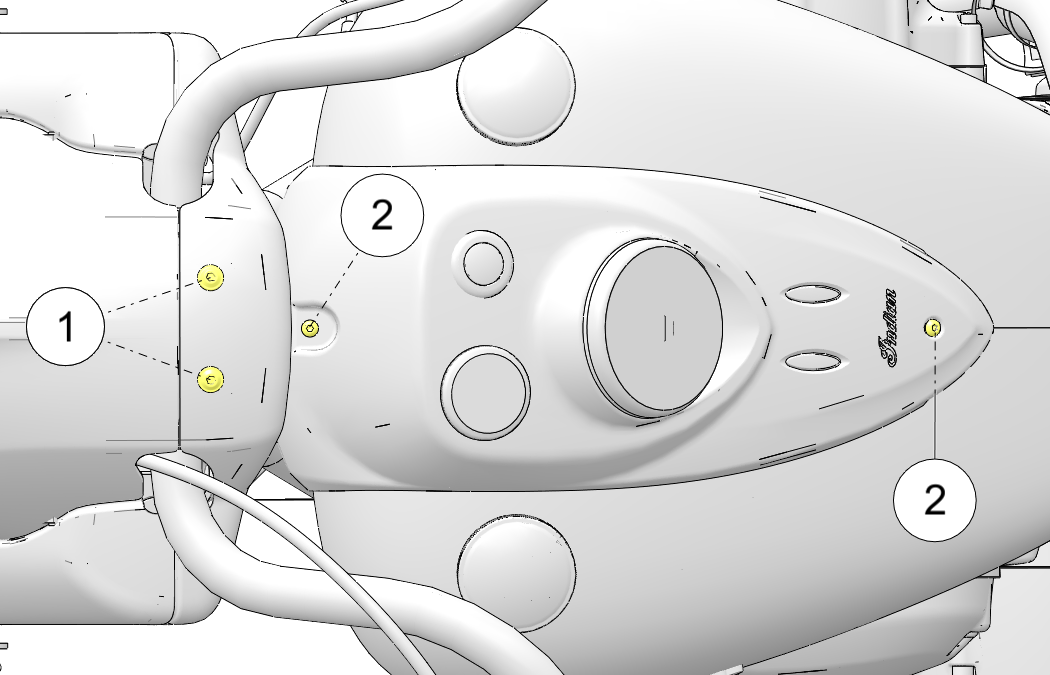
    Verify that the rubber grommets securing the auxiliary light / turn signal harness have been slid into place.

  11. Install the two fasteners located at the top of the nacelle and torque to specification.
    TORQUE

    Upper Nacelle Fasteners: 36 in-lbs (4 Nm)

  12. Torque the auxiliary light bar bracket fasteners to specification.
    TORQUE

    Auxiliary Light Bar Bracket Fasteners: 18 ft-lbs (24 Nm)

  13. Move the console cover into position and torque fasteners to specification.
    TORQUE

    Console Cover Fasteners: 84 in-lbs (10 Nm)

  14. Install windshield assembly, if equipped.
  15. Verify that all controls are operating correctly and the handlebar turns freely from lock to lock.

© Copyright Polaris Inc. All rights reserved.