Content Source: 2021 RZR S4 1000 Owner’s Manual (9931549 R02) > Features and Controls Chapter
| IMPORTANT |
|
The Owner's Manual for this vehicle contains warnings, instructions and other information you must read and fully understand before safely riding or performing maintenance on this vehicle.Always follow the warnings and instructions in Owner's Manual. Click the CONTENTS link above for the Table Of Contents, or download a full PDF of the Owner Manual in the Owner Support area of Polaris.com |
| Lamp | Indicates | Condition |
|---|---|---|
|
|
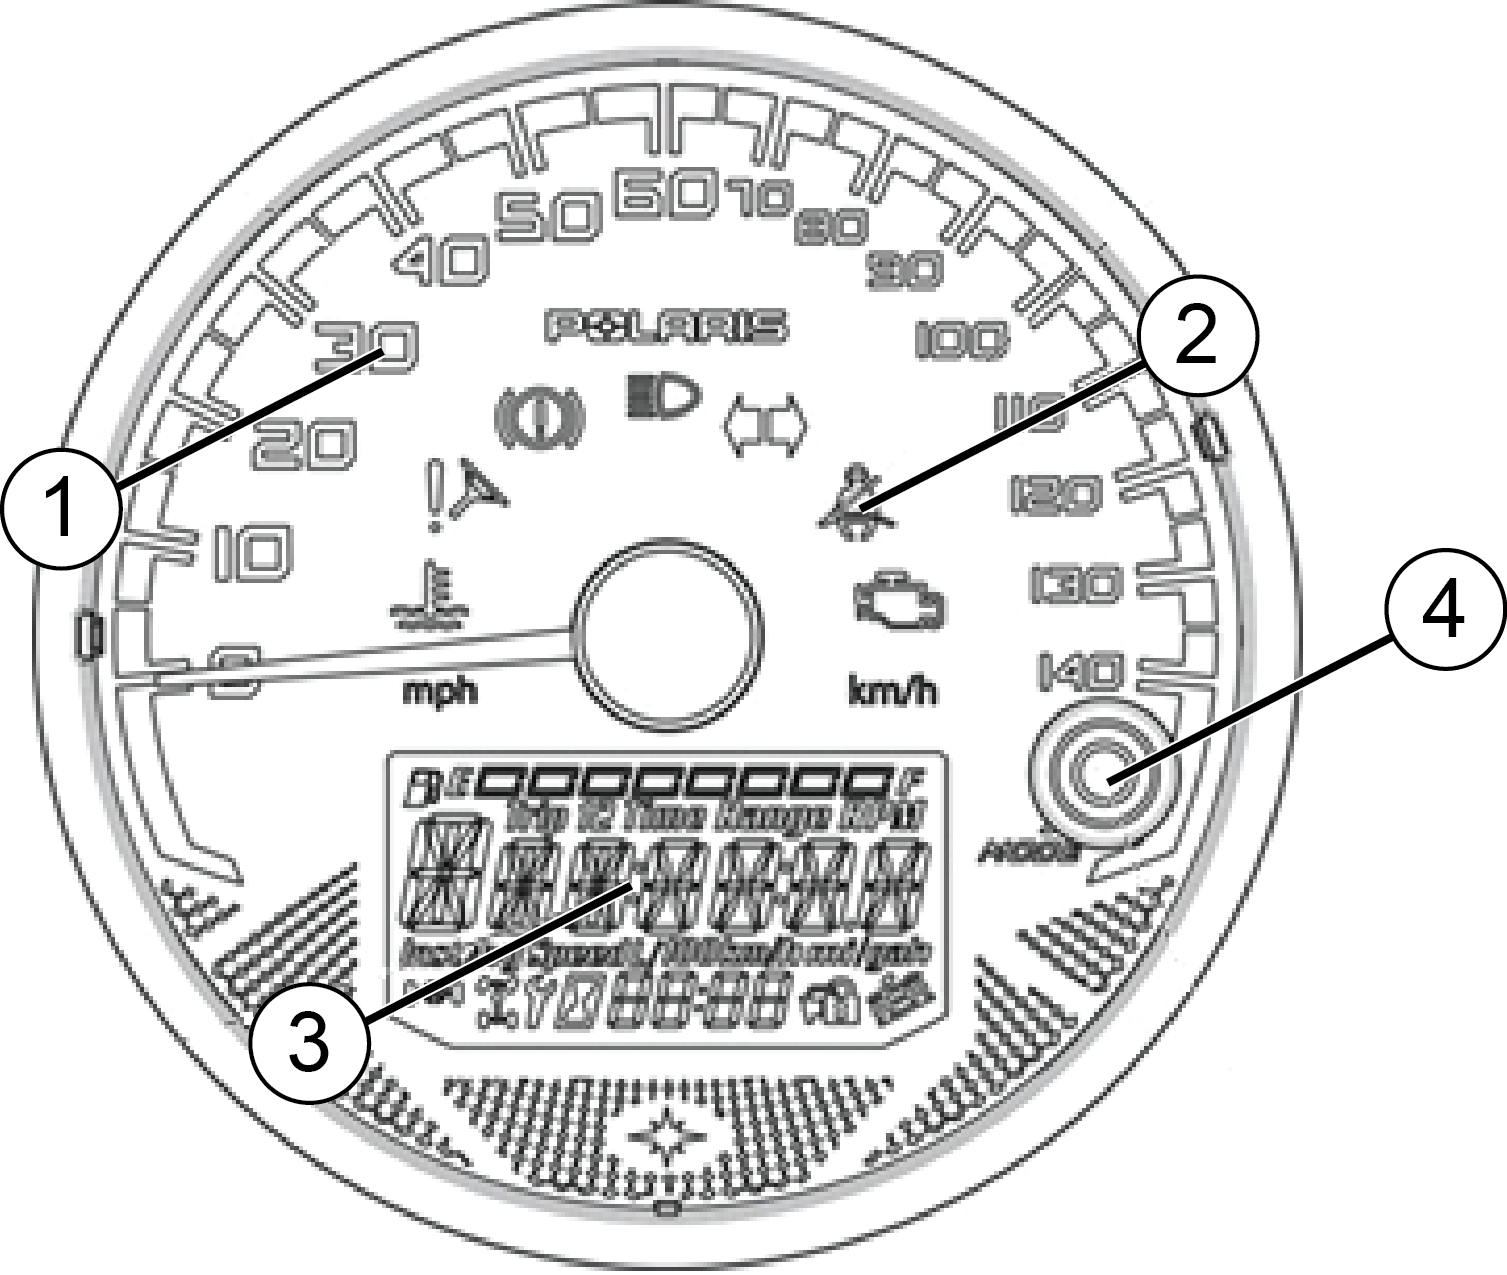
Vehicle Speed | When standard mode is selected, speed displays in miles per hour. |
|
|
When metric mode is selected, speed displays in kilometers per hour. | |
|
|
Over Temperature | This lamp illuminates to indicate an overheated engine. If the indicator flashes, the overheating condition remains, and the system will automatically reduce engine power. |
 |
EPS Warning (if equipped) | This indicator illuminates briefly when the key is turned to the ON position. If the light remains on, the EPS system is inoperative. See your POLARIS dealer, or other qualified person, as soon as possible for repair. Continued operation could result in permanent damage to the EPS unit and increased steering effort. |
|
|
Brake Failure | This icon will illuminate if the vehicle sensors detect low pressure in the brake hydraulic system. |
|
|
High Beam | This lamp illuminates when the headlamp switch is set to high beam. |
 |
Helmet/Seat Belt | This lamp is a reminder to the operator to ensure all riders are wearing helmets and seat belts before operating. The driver’s seat belt is equipped with a seat belt interlock. Vehicle speed will be limited to 15 mph (24 km/h) if the seat belt is not secured. |
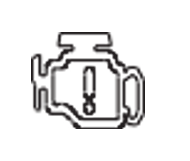 |
Check Engine | This indicator appears if an EFI-related fault occurs. Do not operate the vehicle if this warning appears. Serious engine damage could result. Your dealer can assist. |
 |
Direction Indicators | A direction indicator flashes when a turn signal is active. Both indicators flash when the hazard signal is active. |
| Gear Indicator | This indicator displays gear shifter position. H = High Gear L = Low Gear N = Neutral R = Reverse Gear P = Park - - = Gear Signal Error (or shifter between gears |
|
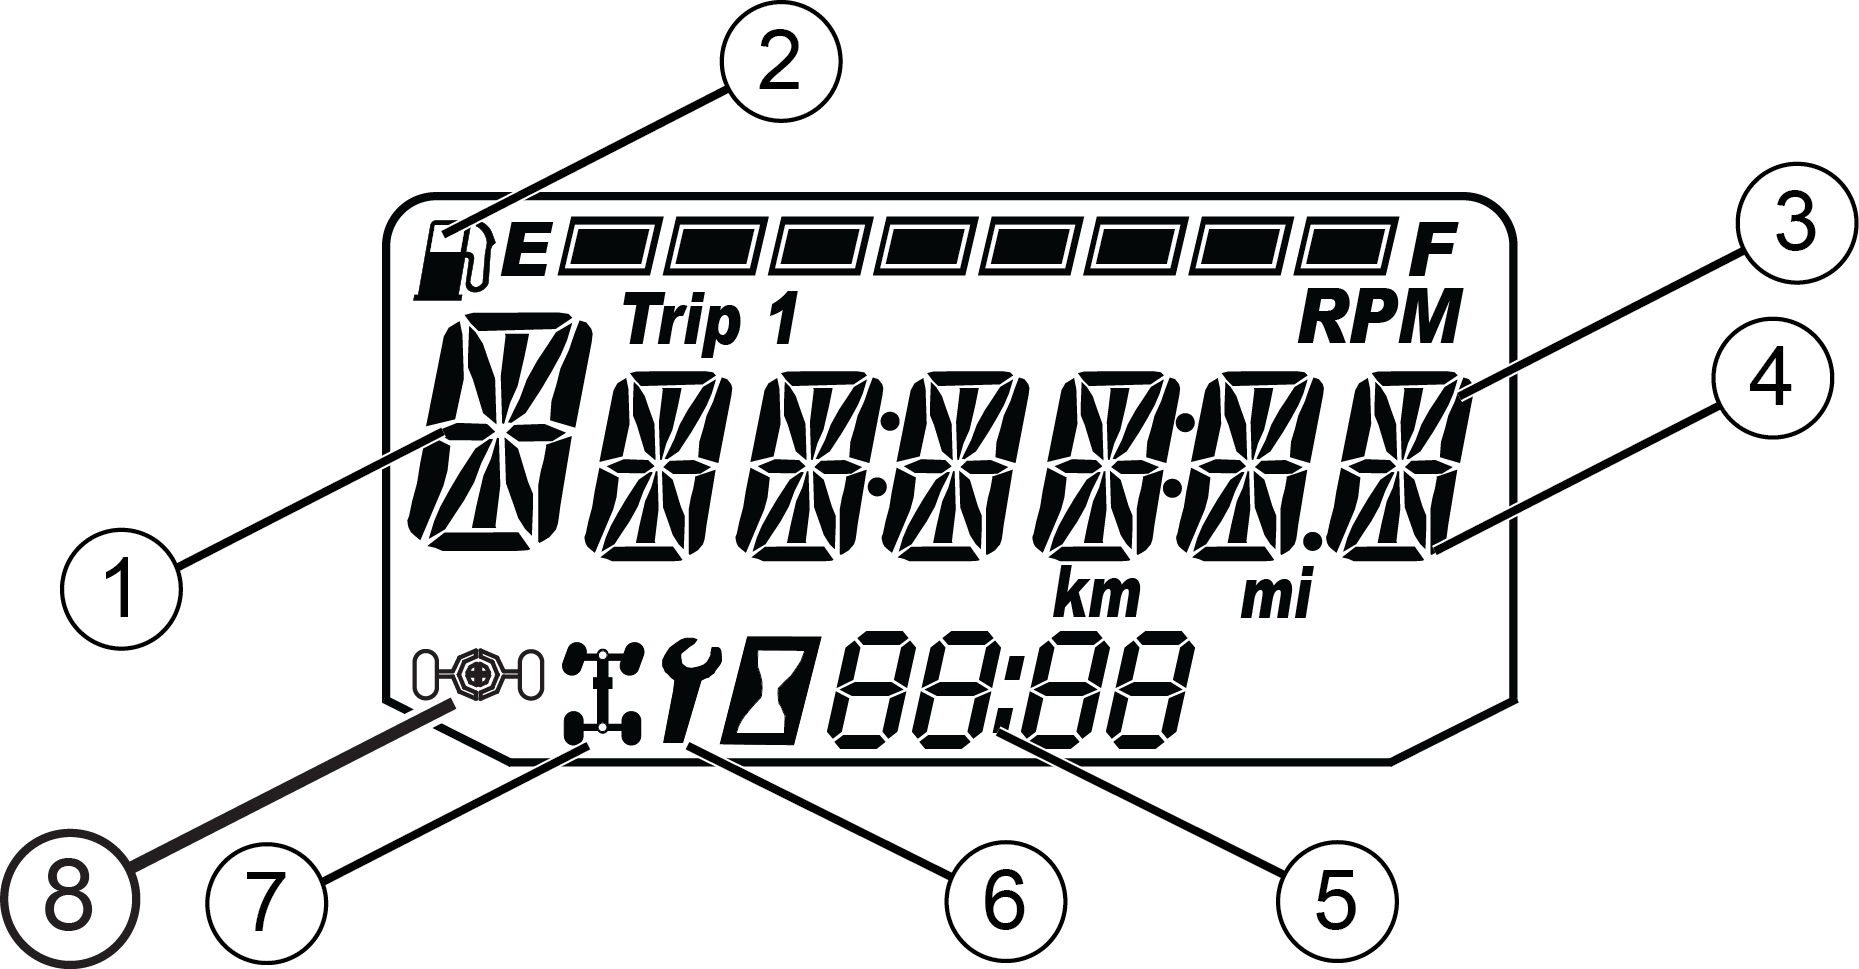
| Fuel Gauge | The segments of the fuel gauge show the level of fuel in the fuel tank. When the last segment clears, a low fuel warning is
activated. All segments including the fuel icon will flash. Refuel immediately. If the fuel icon fails to display, an open or short circuit has occurred in the fuel sensor circuit. See your dealer. |
|
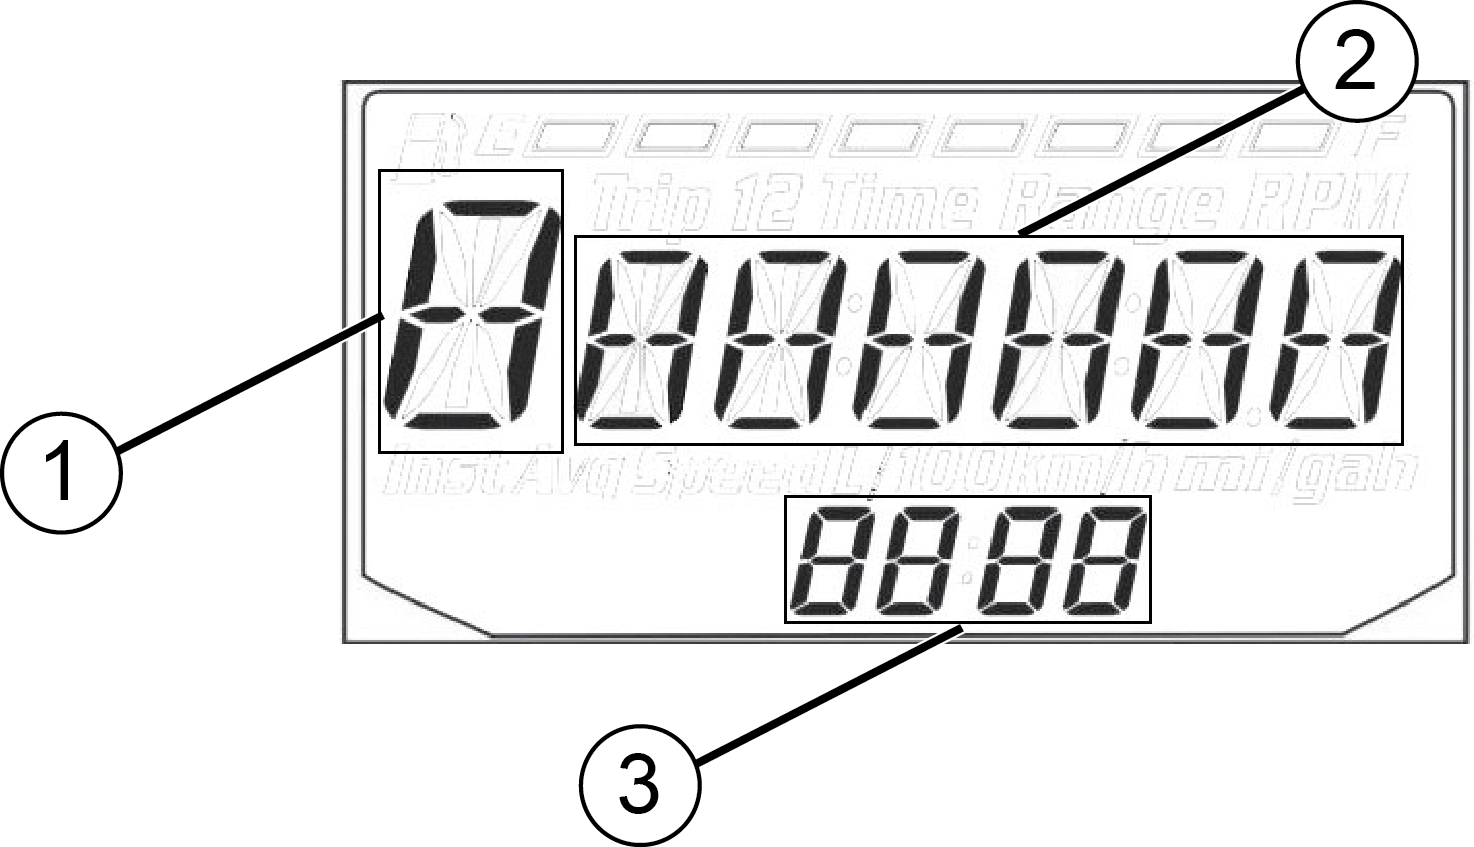
| Information Display Area | This area displays odometer, trip meter, engine hour meter and programmable service hour interval. | |
| Under/Over Voltage | This warning usually indicates that the vehicle is operating at an RPM too low to keep the battery charged. It may also occur when the engine is at idle and high electrical load (lights, cooling fan, accessories) is applied. Drive at a higher RPM or recharge the battery to clear the warning. | |
| Clock | The clock displays time in a 12-hour or 24-hour format. | |
| Service Indicator | A flashing wrench symbol alerts the operator that the preset service interval has been reached. Your dealer can provide scheduled maintenance. | |
| 4x4 Indicator | This indicator illuminates when the 4X4 system is engaged (switch is on 4X4). | |
| Turf Mode Indicator (if equipped) | This indicator illuminates when the operator unlocks the differential. |
| TIP |
| To exit set-up mode at any time, wait 10 seconds. The display automatically exits and returns to the odometer display. |
| Measurement | Standard | Metric |
|---|---|---|
| Distance | Miles | Kilometers |
| Fuel | U.S. Gallons | Liters, Imperial Gallons |
| Temperature | Fahrenheit | Celsius |
| Time | 12-Hour Clock | 24-Hour Clock |
| TIP |
| The clock must be reset any time the battery has been disconnected or discharged. |
| NOTICE |
| In the Rider Information Center, the trip meter display extends to the tenth decimal place, but the odometer does not contain decimals. |
| TIP |
| Small day-to-day fluctuations in RPM may be normal due to changes in humidity, temperature, and elevation. |
| NOTICE |
| The service interval is pre-programmed to 50 engine hours at the factory. |
© Copyright Polaris Inc. All rights reserved.