
Content Source: 2021 600R Owner’s Manual (9931266 Rev 01) > The Perfect Fit Chapter
| IMPORTANT |
|
The Owner's Manual for this vehicle contains warnings, instructions and other information you must read and fully understand before safely riding or performing maintenance on this vehicle.Always follow the warnings and instructions in Owner's Manual. Click the CONTENTS link above for the Table Of Contents, or download a full PDF of the Owner Manual in the Owner Support area of Polaris.com |
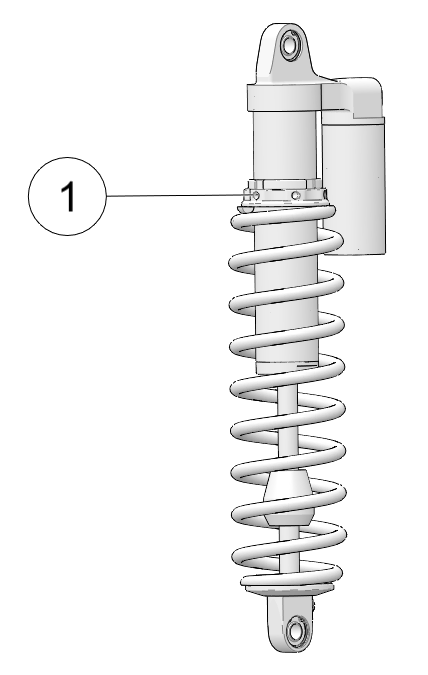
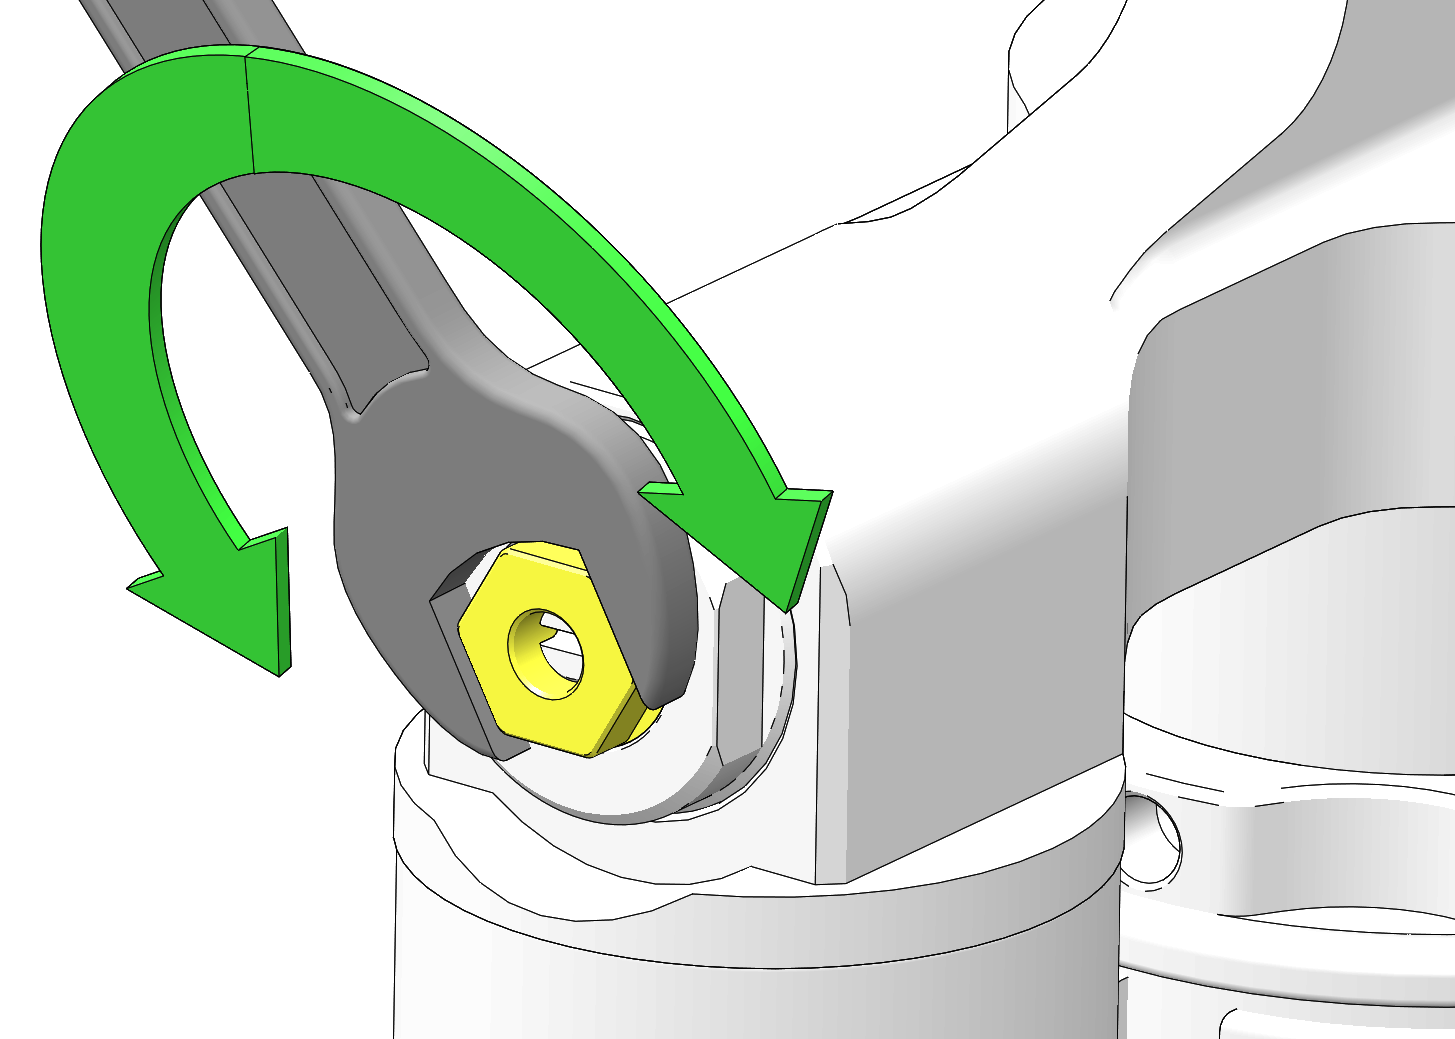
To change front shock
spring preload, loosen the allen bolt in the spring nut ![]() . Grasp the spring nut and rotate it. Torque the allen
bolt to specification.
. Grasp the spring nut and rotate it. Torque the allen
bolt to specification.
| TORQUE | |
|
Spring Nut Allen
Bolt
1.3 Nm |
| TIP |
| Not all models have shocks with thread-adjustable spring preload. See your dealer for more information. |
| NOTICE |
| On some models equipped with a plastic adjuster nut, the nut will break if it is unscrewed from the threaded body. Do not force the nut if resistance suddenly increases while you’re turning it. |
| Changing shock valving requires special tools and a sound knowledge of mechanical theory, tool use, and shop procedures to perform the work safely and correctly. Shocks contain high-pressure nitrogen gas. Use extreme caution when handling high-pressure service equipment. We recommend that this work be performed by a POLARIS dealer. |
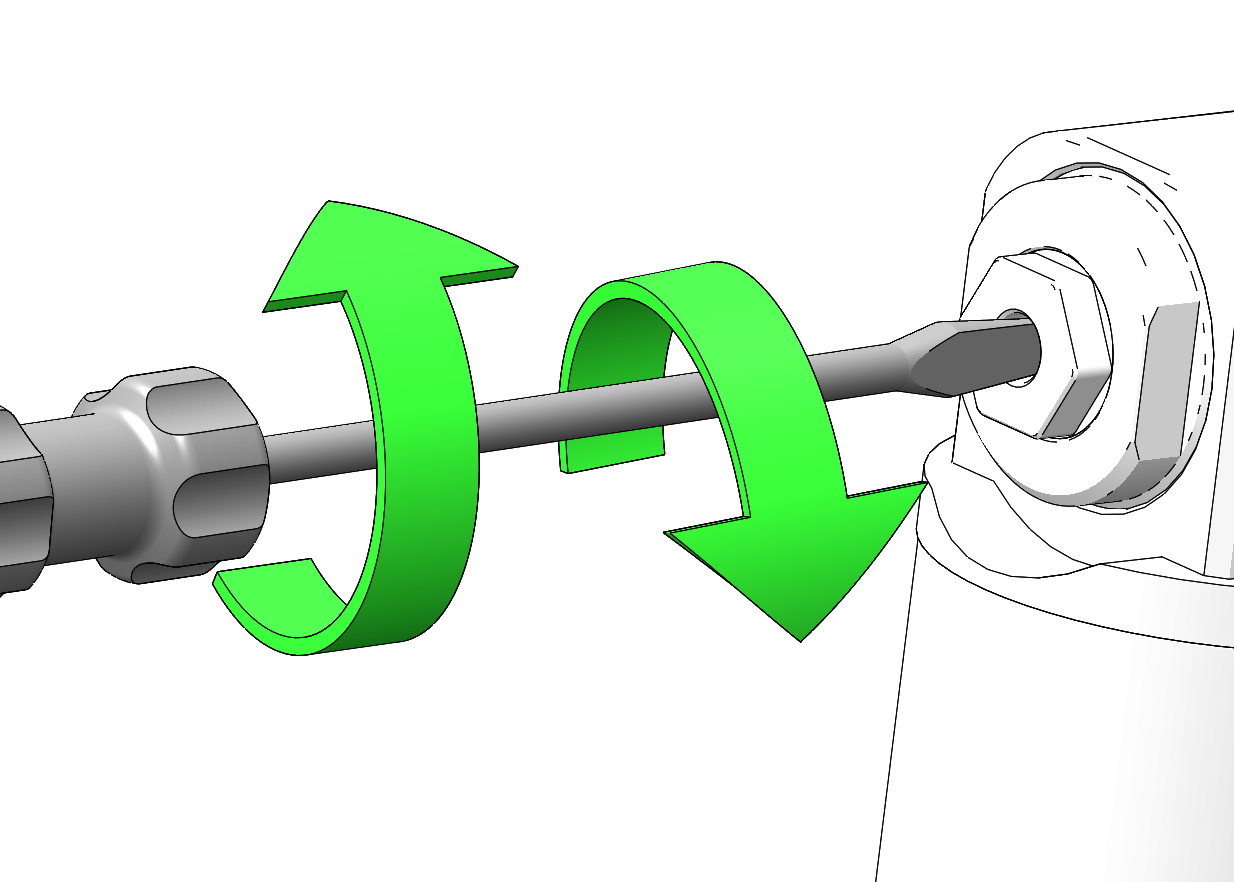
Increase the high compression damping force by turning the adjuster clockwise to increase the stiffness. Decrease the high compression damping force by turning the adjuster counter-clockwise to increase the softness. The maximum adjustment for this adjuster is the fully turned in position. The minimum adjustment is 22 clicks out from the maximum position.
| Standard Position | |
|---|---|
| High speed adjuster | 15 clicks out from fully turned in position |
| Do not turn the adjuster past the minimum or maximum adjustment. The adjuster may be damaged. |
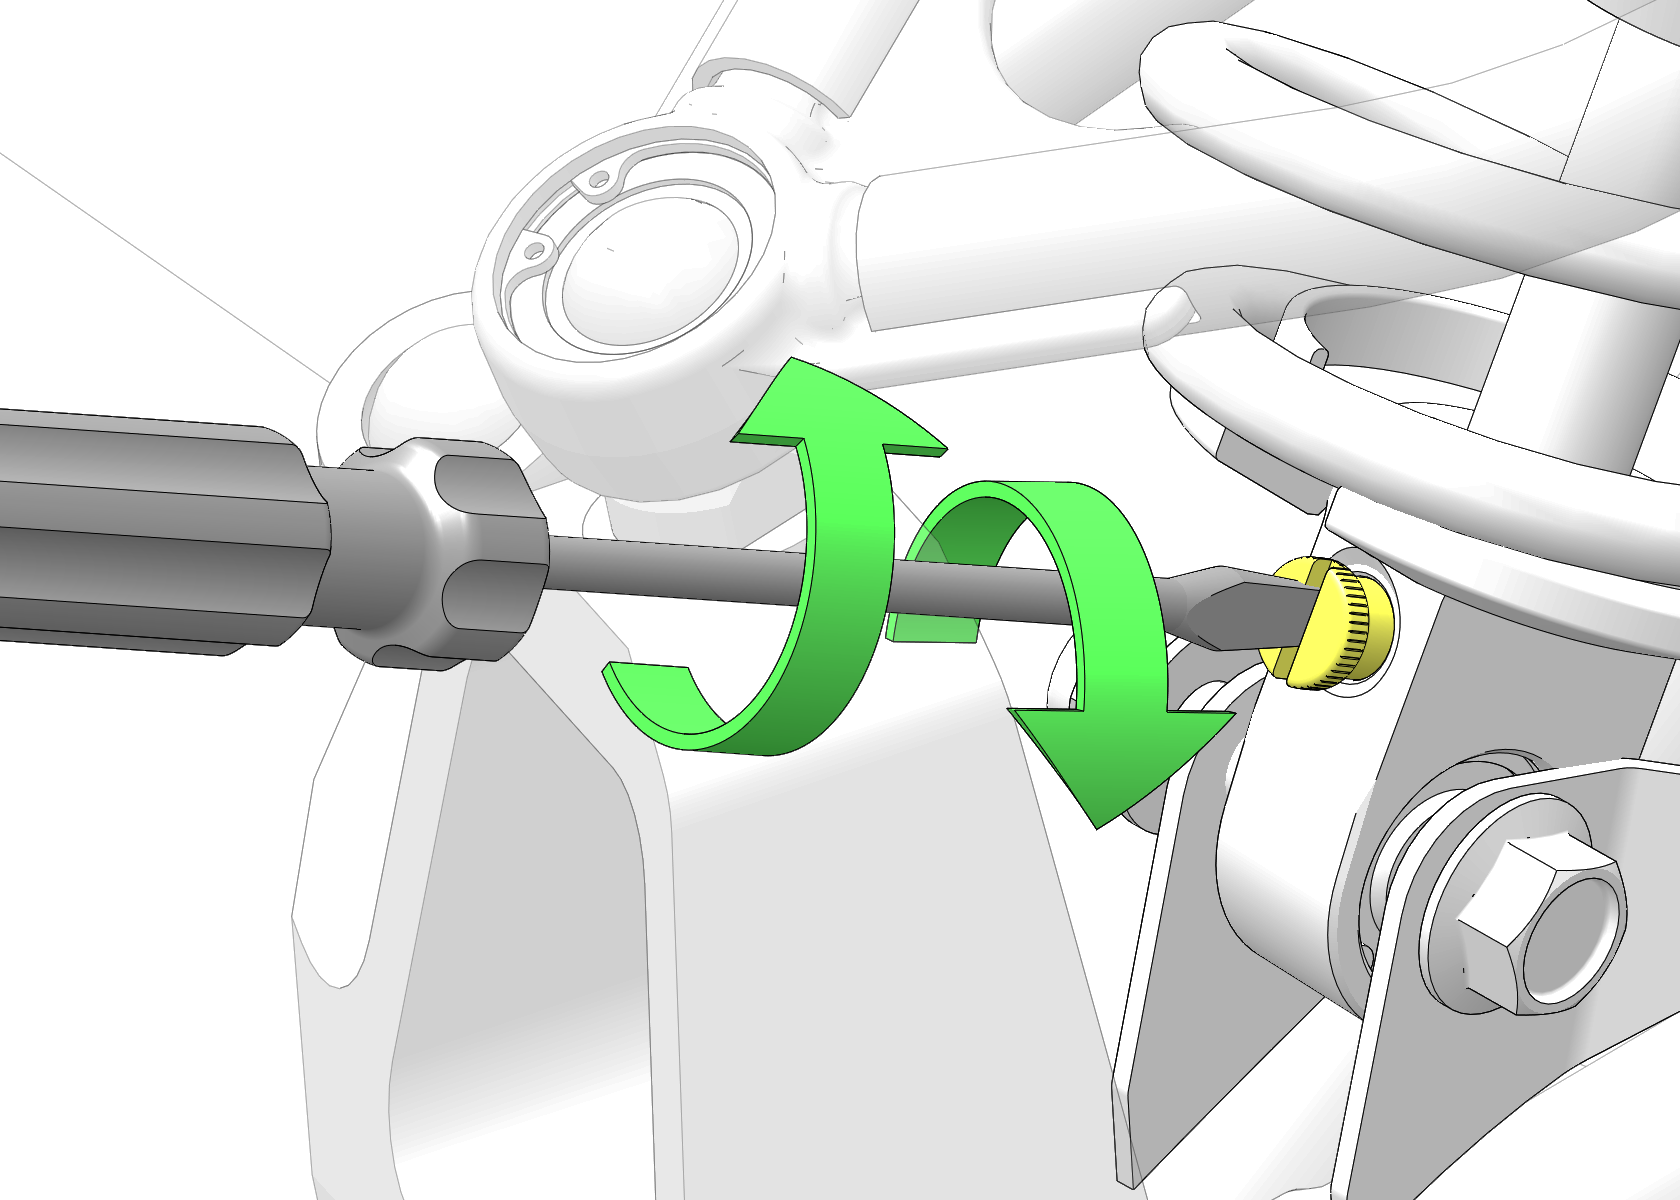
Increase the low compression damping force by turning the adjuster clockwise to increase the stiffness. Decrease the low compression damping force by turning the adjuster counter-clockwise to increase the softness. The maximum adjustment for this adjuster is the fully turned in position. The minimum adjustment is 28 clicks out from the maximum position.
| Standard Position | |
|---|---|
| Low speed adjuster | 10 clicks out from fully turned in position |
| Do not turn the adjuster past the minimum or maximum adjustment. The adjuster may be damaged. |
Increase the rebound damping force by turning the adjuster clockwise to increase the stiffness. Decrease the rebound damping force by turning the adjuster counter-clockwise to increase the softness. The maximum adjustment for this adjuster is the fully turned in position. The minimum adjustment is 16 clicks out from the maximum position.
| Standard Position | |
|---|---|
| Rebound adjuster | 14 clicks out from fully turned in position |
| Do not turn the adjuster past the minimum or maximum adjustment. The adjuster may be damaged. |
© Copyright Polaris Inc. All rights reserved.