
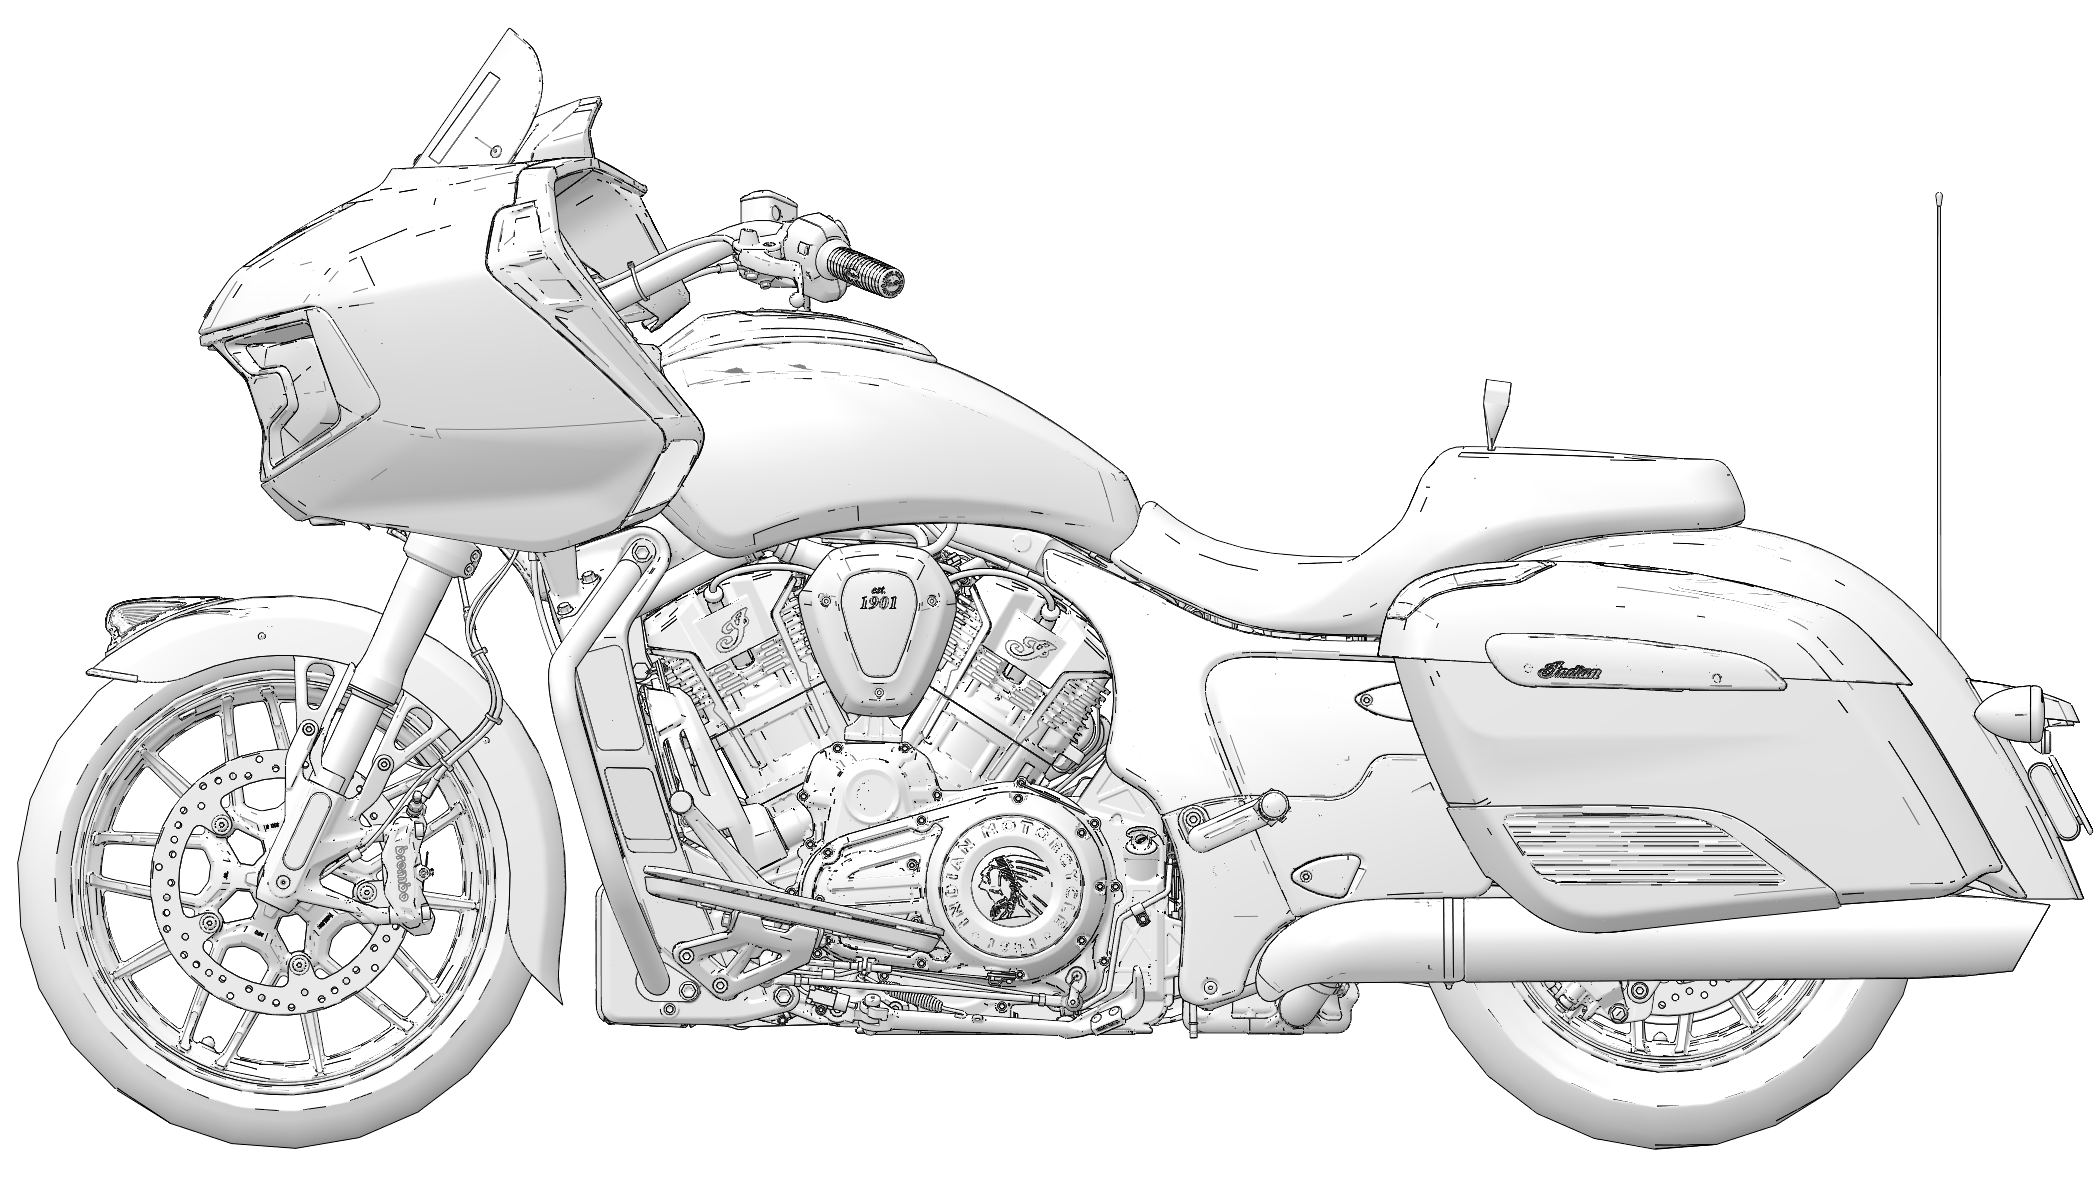
Content Source: 2020 Indian Challenger Rider’s Manual (9931163 R02) > Pre-Ride Inspections Chapter
| IMPORTANT |
|
The Owner's Manual for this vehicle contains warnings, instructions and other information you must read and fully understand before safely riding or performing maintenance on this vehicle.Always follow the warnings and instructions in Owner's Manual. Click the CONTENTS link above for the Table Of Contents, or download a full PDF of the Owner Manual in the Owner Support area of Polaris.com |
| Failure to perform the recommended pre-ride inspections could result in component failure while riding, which could result in serious injury or death. Always perform the pre-ride inspections before each ride. When inspection reveals the need for adjustment, replacement or repair, perform the service promptly, or your authorized INDIAN MOTORCYCLE can assist. |
| Read the entire Instruments, Features and Controls section of this manual before riding your motorcycle. A complete understanding of the features and capabilities of your motorcycle is essential to its safe operation. Anything less may result in serious injury or death. |
| TIP |
| During the pre-ride inspections you may use products that are potentially hazardous, such as oil or brake fluid. When using any of these products, always follow the instructions and warnings on the product packaging. |
| Item | Inspection Procedure |
|---|---|
| Headlamp | Move the headlight switch from low beam to high beam to turn the lights on and verify operation of both beams. Start the engine. Switch to high beam. Verify that the high beam indicator comes on and that lamp brightness increases. Press and hold the low beam switch to verify “Flash to Pass” functionality. |
| Taillights/Brakelight | Verify that the taillights and license plate light illuminate. Verify that the taillight lamps increase in brightness when the front brake lever is applied and also when the rear brake pedal is applied. |
| Turn Signals | Move the turn signal switch to the left. Verify that front and rear left turn signals flash, as well as the corresponding light on the indicator panel. Move the switch to the center position and push it inward to cancel the signal. Verify that the signals and the indicator light stop flashing. Repeat the procedure for the right turn signals. |
| Emergency Flashers | Press and hold the turn signal switch in for 1 second to activate flashers. Verify that all four turn signals flash, as well as the lamps on the indicator panel. Turn the flashers off. Verify that all signals and indicator lamps stop flashing. |
| Horn | Press the horn switch. Verify that the horn sounds loudly. |
| Neutral Indicator | Place the transmission in neutral. Verify that the neutral indicator lamp illuminates and that the letter "N" displays in the gear position display. |
| Low Oil Pressure Display | Start the engine. Verify that the low oil pressure indicator is not illuminated. |
| Engine Stop/Run Switch | Start the engine. Move the stop/run switch to the STOP position. Verify that the engine stops. |
| Item | Inspection Procedure |
|---|---|
| Engine Oil |
Check the oil level. See Engine Oil Level. |
| Fuel |
Check the fuel level. See Fuel Gauge Display. |
| Coolant | Check coolant level. See Cooling System. |
| Fluid Leaks |
Check the vehicle and the ground/floor for any fuel, oil, coolant, or hydraulic fluid leaks. |
| Tires |
Inspect condition, pressure and tread depth. See Tire Pressure. |
| Brake Operation |
Inspect pedal and lever movement. |
| Brake Fluid Levels |
Check front and rear brake fluid levels. |
| Brake Components |
Inspect hoses and connections. |
| Throttle |
Inspect hand grip and throttle movement. |
| Clutch |
Check lever operation and freeplay. |
| Front Suspension |
Check for leaks, debris and damage. |
| Steering |
Check for smooth operation by turning handlebars full left and full right. |
| Rear Suspension |
Inspect for leaks. |
| Ride Height |
Make sure preload is adjusted properly for load. |
| Rear Drive Belt |
Check for wear or damage. Check drive belt tension. See Rear Drive Belt Cleaning. |
| Sidestand |
Verify smooth operation, inspect pivot bolt and spring. |
| Fasteners |
Inspect for loose, damaged or missing fasteners. |
| Mirrors |
Adjust for proper rear view. |
| Trunk/Saddlebags |
If equipped, make sure the trunk and saddlebags are properly installed and that lids are securely closed. |
© Copyright Polaris Industries Inc. All rights reserved.