Content Source: 2020 Indian Challenger Rider’s Manual (9931163 R02) > Maintenance Chapter

IMPORTANT

The Owner's Manual for this vehicle contains warnings, instructions and other information you must read and fully understand before safely riding or performing maintenance on this vehicle.Always follow the warnings and instructions in Owner's Manual.

Click the CONTENTS link above for the Table Of Contents, or download a full PDF of the Owner Manual in the Owner Support area of Polaris.com

Battery

The motorcycle battery is a sealed, maintenance-free battery. Do not remove the battery cap strip for any reason. Keep the battery connections clean and tight at all times.
WARNING
Battery electrolyte is poisonous. It contains sulfuric acid. Serious burns can result from contact with skin, eyes or clothing.
Antidote:
External: Flush with water.
Internal: Drink large quantities of water or milk. Follow with milk of magnesia, beaten egg, or vegetable oil. Call physician immediately.
Eyes: Flush with water for 15 minutes and get prompt medical attention.
Batteries may produce explosive gases.
  • Keep sparks, flame, cigarettes, etc. away.
  • Ventilate when charging or using in an enclosed space.
  • Always shield eyes when working near batteries.
  • KEEP OUT OF REACH OF CHILDREN.

Battery Removal

Image
To remove the battery, do the following:
  1. Remove chin fairing by removing its fasteners .
  2. Remove battery bracket my removing its fastener and sliding the bracket out of its retention feature.

    Image

  3. Disconnect negative (-) battery terminal.
    caution
    Be careful not to cross battery terminals.
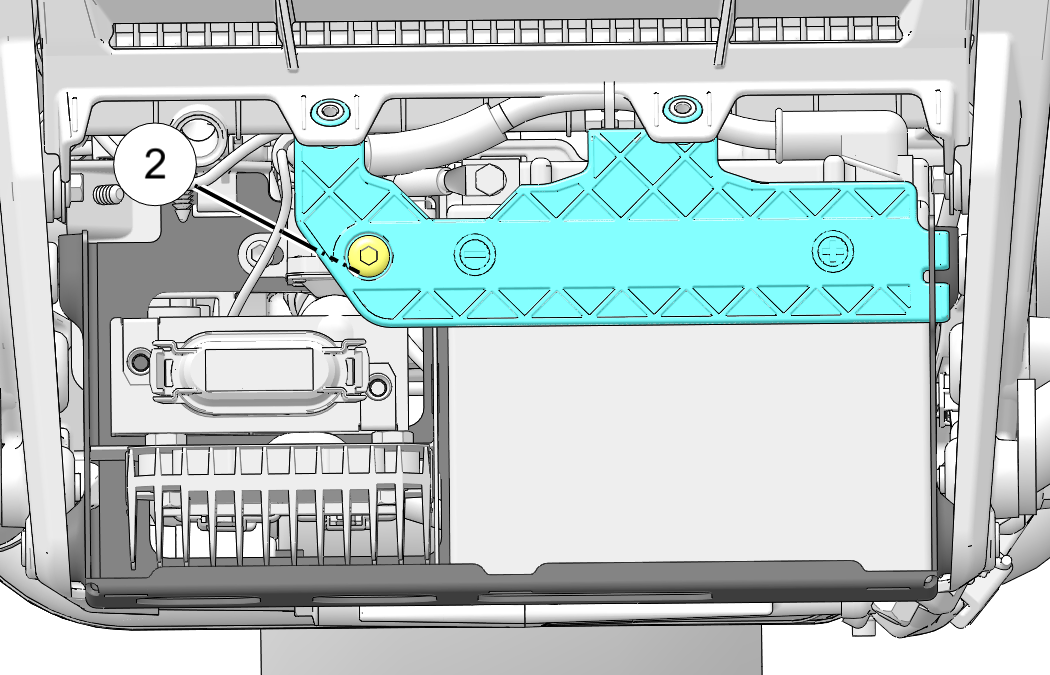
  4. Disconnect positive (+) battery terminal.
  5. Remove battery from battery box.

Battery Installation

NOTICE
Be sure cable ends and battery terminals are clean. Apply a light film of di-electric grease to terminal fastener threads.
  1. Carefully install battery into battery box.
  2. Connect the positive (+) battery terminal and torque fastener to specification.
    TORQUE

    Battery Terminal:

    48 in-lbs (5.4 Nm)

  3. Connect the negative (-) battery terminal and torque fastener to specification.
    TORQUE

    Battery Terminal:

    48 in-lbs (5.4 Nm)

  4. Install battery bracket and fastener .Image
    TORQUE

    Battery Bracket Fastener:

    84 in-lbs (10 Nm)

  5. Apply dielectric grease over terminal areas for corrosion protection.
  6. Install chin faring and fasteners .
    TORQUE

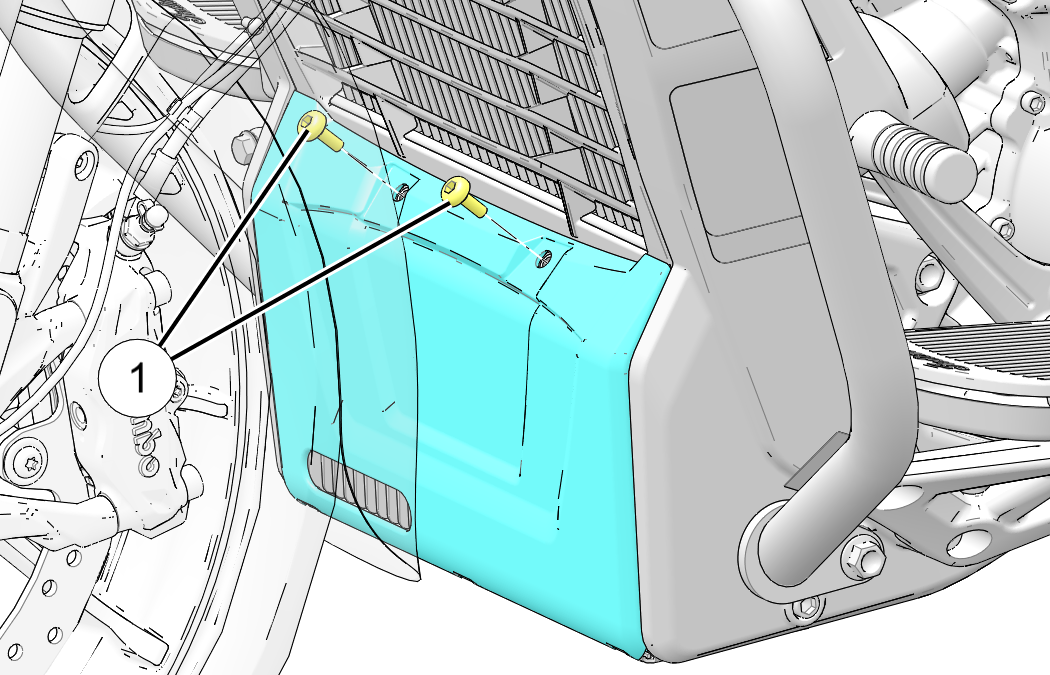
    Chin Fairing Fastener:

    36 in-lbs (4 Nm)

    Image

Battery Charging

If your motorcycle will not be used for a period of four (4) weeks or longer, a maintenance charger should be connected to the battery using the 12V Battery Charge Port. The Battery Charge Port is taped to the main harness. A maintenance charger can be purchased through your authorized INDIAN MOTORCYCLE dealer.
Image
  1. Following the charger manufacturer’s instructions, use a battery charger designed for use with 12-volt batteries. The charger should have a maximum charging rate of 1.8 amps. Charge the battery for approximately 10 hours at a rate of 1.8 amps. If you use a taper or trickle charger, it will take longer to charge the battery.
  2. After charging the battery, allow the battery to sit 1-2 hours before checking the state of charge with a DC volt meter. The charge should be a minimum of 12.5 DC volts. Repeat the charging cycle if the charge is less than 12.5 DC volts. Replace the battery if it fails to reach 12.5 volts after the second charge.

Key Fob Battery Life

Key fob battery life is approximately 2 years. Battery changes recommended yearly. Multi-Function (Two Button) Key Fob battery life will decrease with frequent use of the LOCK / UNLOCK buttons.
Low Battery Indicators:
  • Decreased fob authentication range
  • Horn honks 5 seconds after startup
  • Security light stays illuminated for up to 20 seconds
  • Both Battery Light and Security Light are illuminated
Key Fob performance can be affected by the following conditions:
  • Close proximity of ferrous materials (e.g. money clip or pocket knife)
  • Key Fob stuck to saddlebag speaker magnet
  • Key Fob held in ferrous container (metal cup holder or glasses case)
  • Cold temperatures (Key Fob should be kept above 45°F / 7°C)
To replace the kep fob battery, do the following:
  1. Remove the courtesy key by pushing the button on the back of the fob.
  2. Pry the back door off of the fob to access the battery.
  3. Replace with new battery.
    NOTE

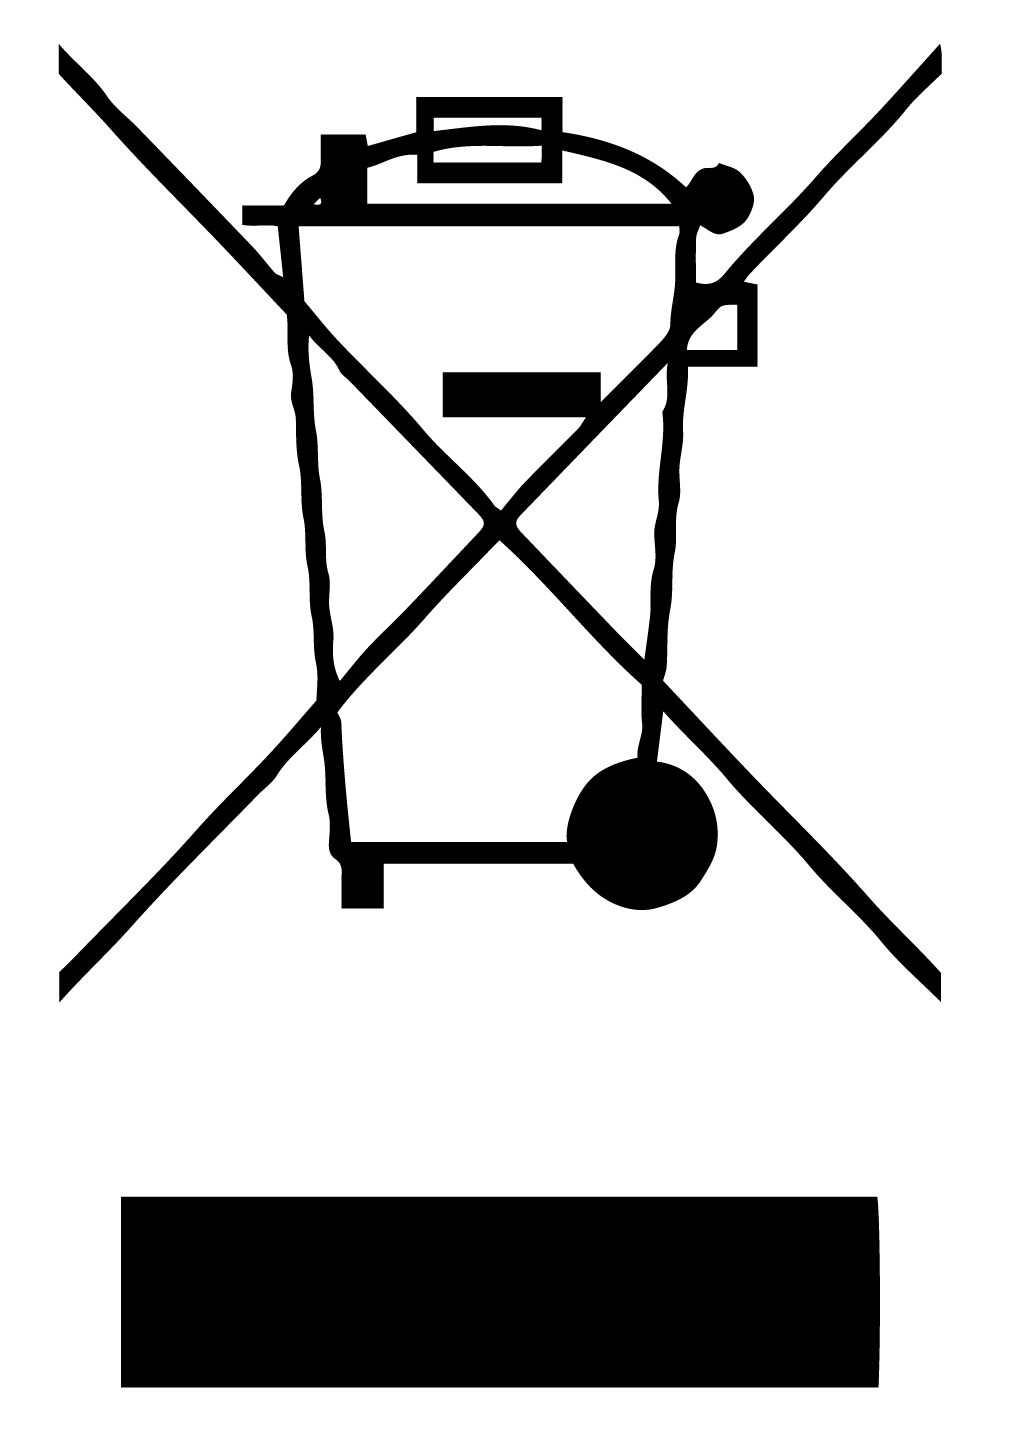
    Key Fob Replacement Battery Part Number: 4014675 or CR2032

FOB Disposal

For disposal, FOB’s should not be mixed with general household waste. For proper treatment, recovery and recycling, please take the FOB to designated collection points where it will be accepted free of charge. Disposal of the FOB correctly will help save valuable resources and prevent any potential negative effects on human health and the environment. Please contact your local authority for further details of your nearest designated collection point. Penalties may be applicable for incorrect disposal of this waste, in accordance with your national legislation.

Image

© Copyright Polaris Industries Inc. All rights reserved.