Content Source: 2020 RANGER 1000 / RANGER CREW 1000 Owner’s Manual (9930790 R01) > Features and Controls Chapter

IMPORTANT

The Owner's Manual for this vehicle contains warnings, instructions and other information you must read and fully understand before safely riding or performing maintenance on this vehicle.Always follow the warnings and instructions in Owner's Manual.

Click the CONTENTS link above for the Table Of Contents, or download a full PDF of the Owner Manual in the Owner Support area of Polaris.com

Seating - Standard Models

Seat Removal

Pull up on the front of the seat and slide it toward the front of the vehicle. Install the seat by sliding the tabs into the rear of the seat base. Push down firmly on the front of the seat until the pins are fully seated into the grommets.

Seat Belts

Image
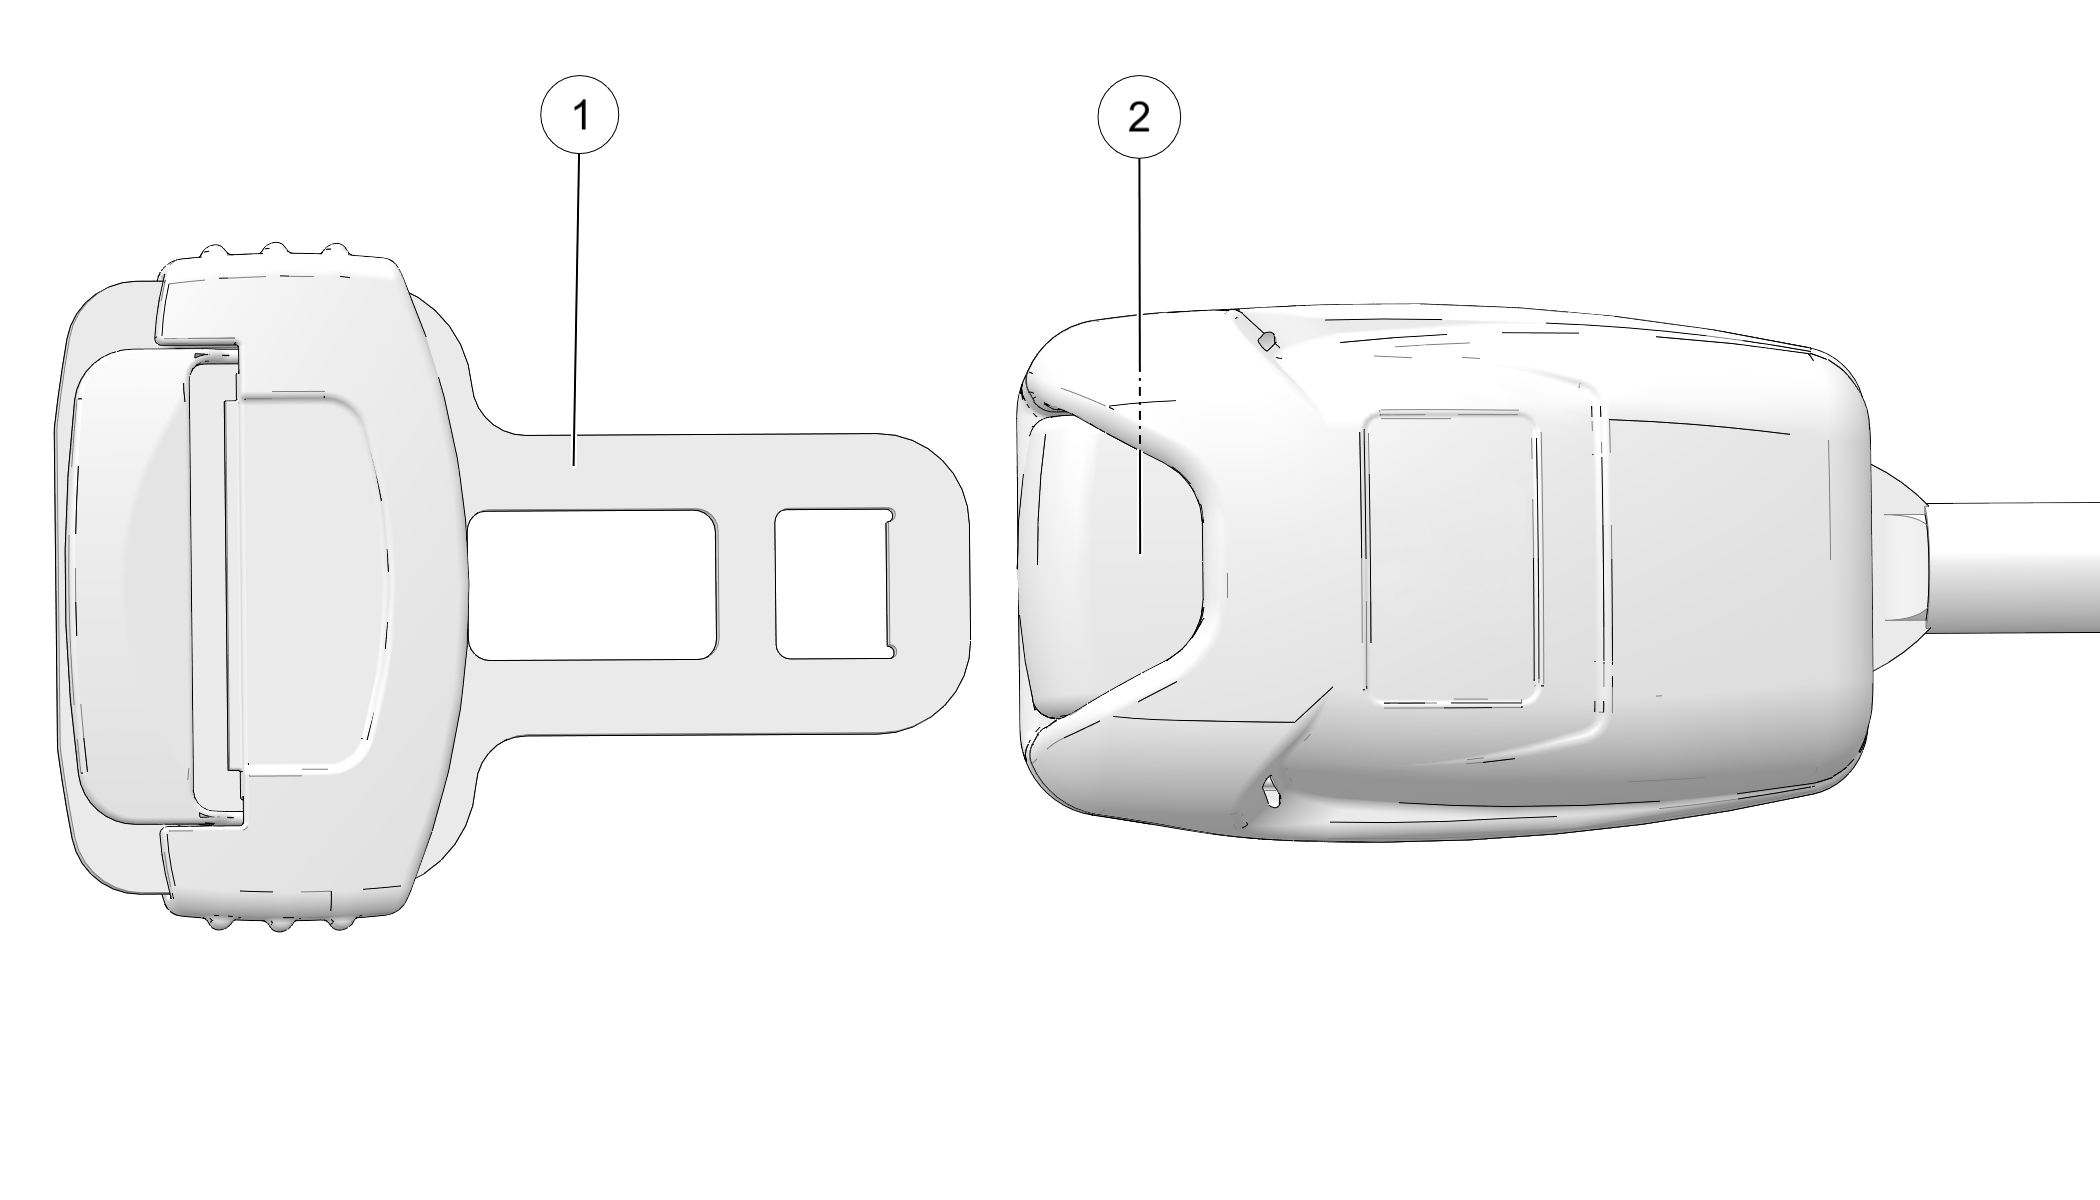
This vehicle is equipped with three-point lap and diagonal seat belts for the operator and passenger. Always make sure the seat belts are secured for all riders before operating. The driver’s seat belt is equipped with a seat belt interlock. Vehicle speed will be limited to 15 MPH (24 km/h) if the seat belt is not secured.
The center of the seat is NOT equipped with a seat belt. Never allow a passenger to ride between the operator and passenger seats.
WARNING
Falling from a moving vehicle could result in serious injury or death. Always fasten your seat belt securely before operating or riding in the vehicle.
To wear the seat belt properly, follow this procedure:
  1. For 3-point belts, pull the seat belt latch downward and across your chest toward the buckle at the inner edge of the seat. The belt should fit snugly across your hips and diagonally across your chest. Make sure the belt is not twisted.
  2. Push the latch plate into the buckle until it clicks.
  3. Release the strap, it will self tighten.
  4. To release the seat belt, press the square red button in the buckle’s center.

Seat Belt Inspection

Inspect all seat belts for proper operation before each use of the vehicle.
  1. Push the latch plate into the buckle until it clicks. The latch plate must slide smoothly into the buckle. A click indicates that it's securely latched.
  2. Push the red release latch in the middle of the buckle to make sure it releases freely.
  3. Pull each seat belt completely out and inspect the full length for any damage, including cuts, wear, fraying or stiffness. If any damage is found, or if the seat belt does not operate properly, have the seat belt system checked and/or replaced by an authorized dealer.
  4. To clean dirt or debris from the seat belts, sponge the straps with mild soap and water. Do not use bleach, dye or household detergents. Rinse the entire length of the belt webbing. Use a garden hose to flush out the retractor and latch housings regularly.

Seat and Storage Compartments

The electrical compartment is located under the center rear-most seat. Never use this area for storage. Storage compartments are located under all other seats. Remove the storage bin under the right rear-most passenger seat to access the battery.
If your model is equipped with a storage console and cup holders located between the front seats, lift the console lid to access the storage compartment.
Pull the rear edge of a seat upward to release the latch pins from the grommets. Roll the seat forward to access the under-seat area. To completely remove a seat, roll the seat forward and lift the seat tabs from the seat base mounts.
Always make sure all seats are properly installed and securely latched before operating. Push down firmly on the rear of each seat until the latch pins are fully seated into the grommets.

© Copyright Polaris Industries Inc. All rights reserved.