
Content Source: 2019 PRO XD Diesel (9930762 Rev 01) > Maintenance Chapter
| IMPORTANT |
|
The Owner's Manual for this vehicle contains warnings, instructions and other information you must read and fully understand before safely riding or performing maintenance on this vehicle.Always follow the warnings and instructions in Owner's Manual. Click the CONTENTS link above for the Table Of Contents, or download a full PDF of the Owner Manual in the Owner Support area of Polaris.com |
|
Failure to comply with the instructions in this warning
can result in severe injury or death. Do not modify any component
of the PVT system. Doing
so may reduce its strength so that a failure may occur at a high speed.
The PVT system has been precision
balanced. Any modification
will cause the system to be out of balance, creating vibration and
additional loads on components.
The PVT system rotates at high speeds, creating large
amounts of force on clutch components. As the owner, you have the
following
responsibilities for your
own safety and the safety of others:
|
| Failure to remove ALL debris when replacing the belt could result in vehicle damage, loss of control and severe injury or death. |
| NOTE |
|
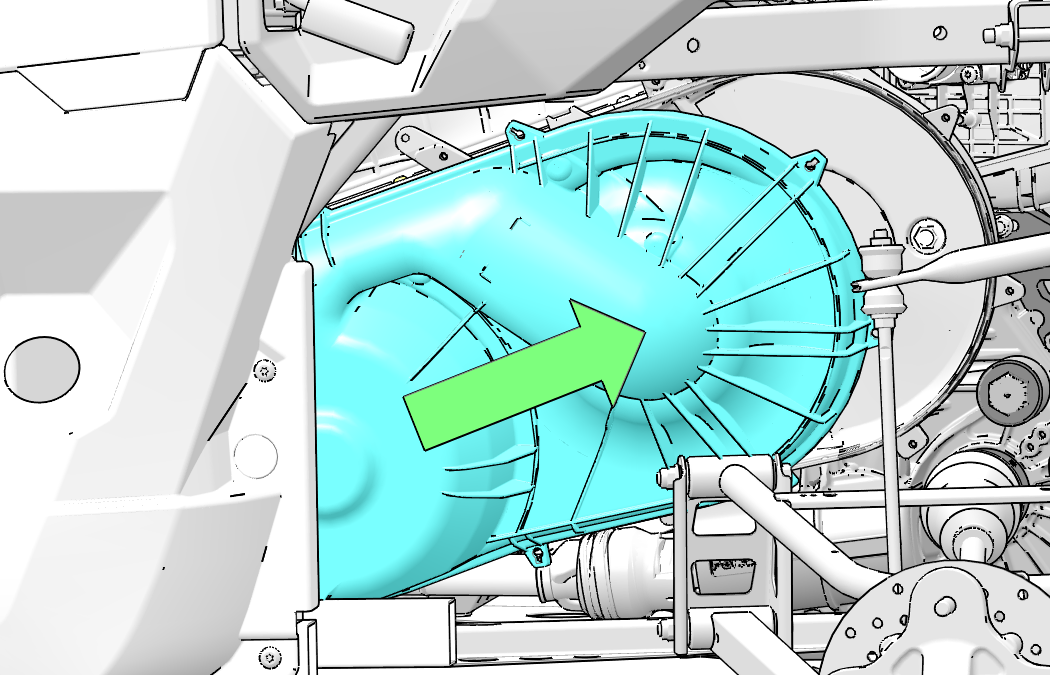
Inspect the entire clutch outlet duct (including the
outlet duct screen) when replacing a drive belt. Remove any debris
found
in the outlet duct or
outlet duct screen.
|

| NOTE |
|
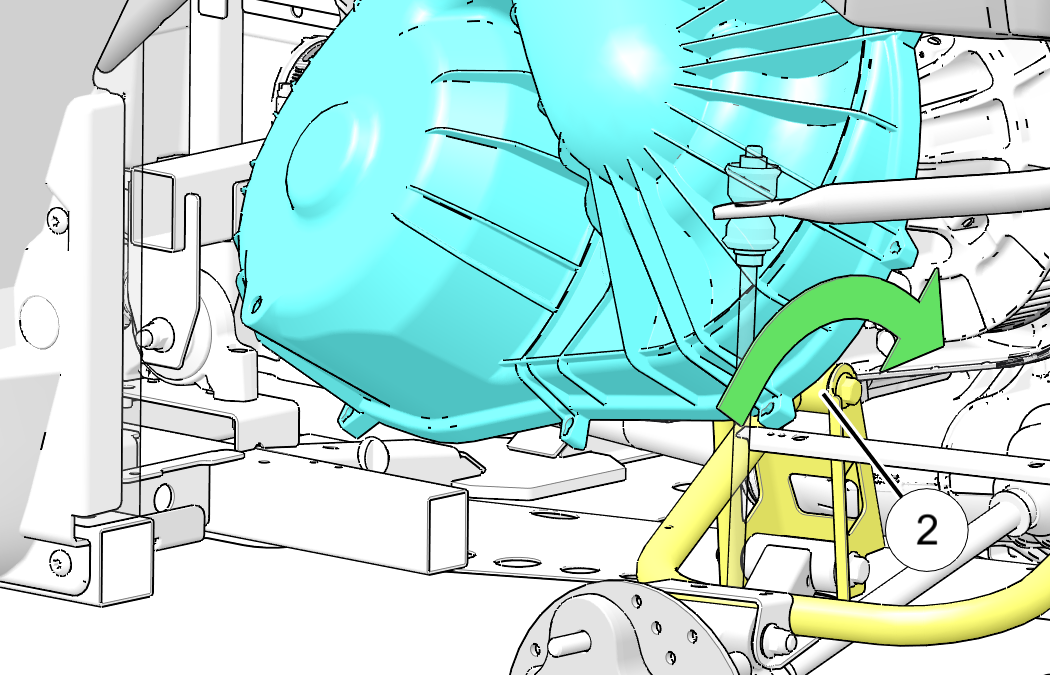
Removal of left rear wheel or left rear shock is NOT necessary for belt replacement. |
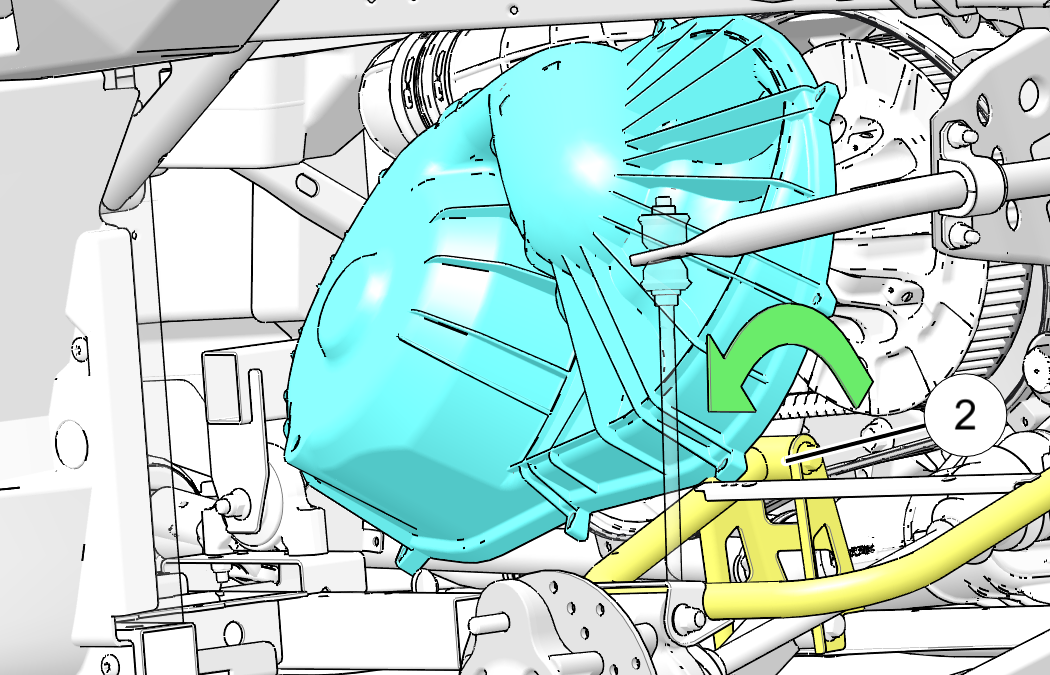
| NOTE |
| Use care when lifting clutch cover upwards. Do not damage cover, intake boot, or electrical harness. |
| NOTE |
|
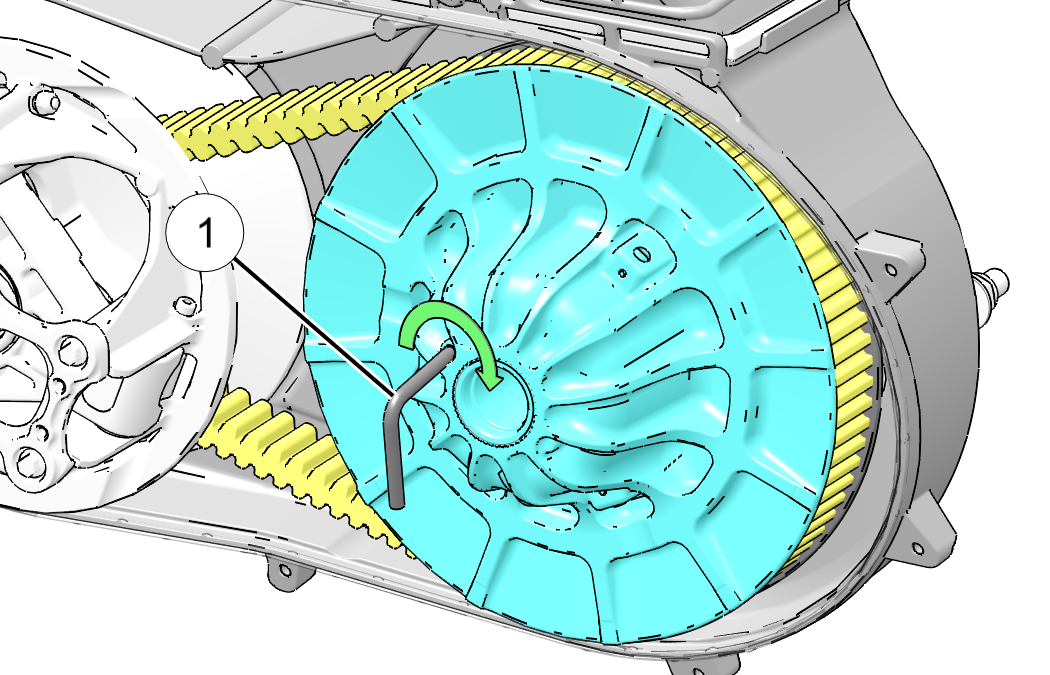
Clutch spreader tool part number 2875911 is found in vehicle tool kit. |
| NOTE |
|
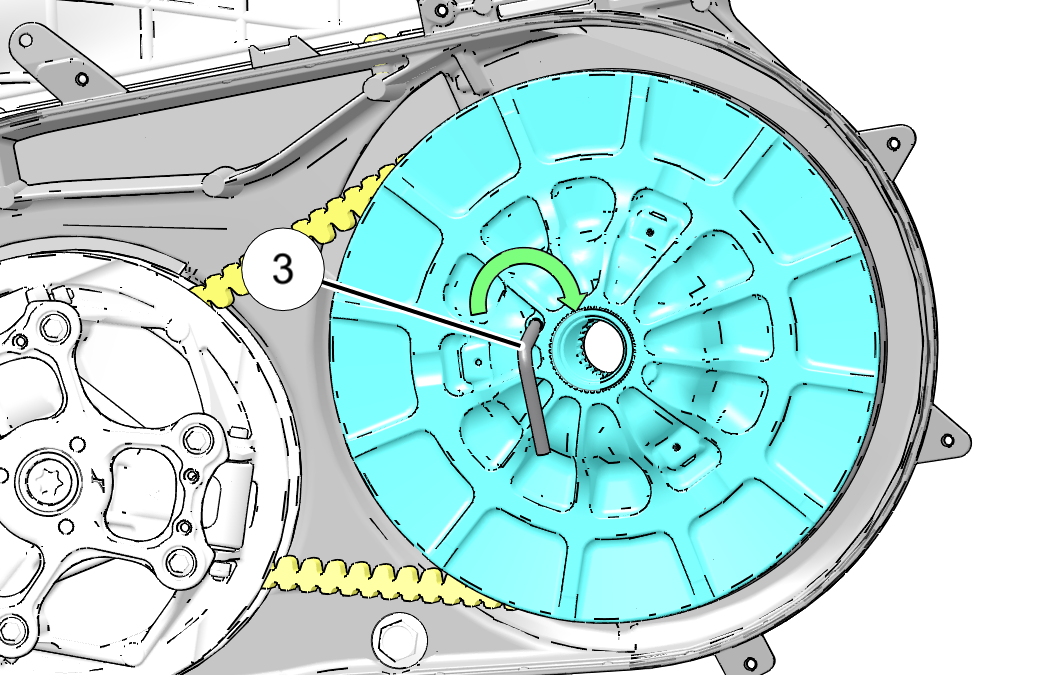
Be sure to install belt in the same direction as it was
removed. |


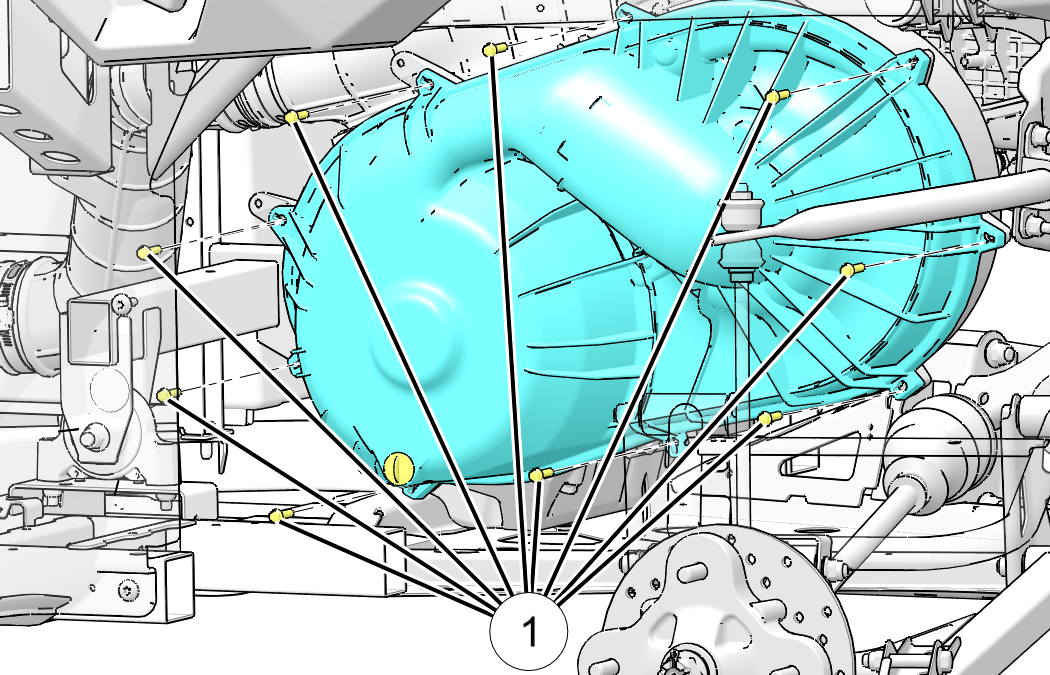
| TORQUE | |
|
PVT Outer Cover Fasteners 35 in-lbs (4 Nm) |
© Copyright Polaris Industries Inc. All rights reserved.