
Content Source: 2020 600/800 HO/850 AXYS Conventional Tunnel Owner’s Manual (9929775 R02) > Gauge Chapter
| IMPORTANT |
|
The Owner's Manual for this vehicle contains warnings, instructions and other information you must read and fully understand before safely riding or performing maintenance on this vehicle.Always follow the warnings and instructions in Owner's Manual. Click the CONTENTS link above for the Table Of Contents, or download a full PDF of the Owner Manual in the Owner Support area of Polaris.com |
| NOTICE |
|
Certain products will damage the lens and other plastic
surfaces. Do not use alcohol to clean the instrument cluster. Immediately
clean off any gasoline that
splashes on the instrument cluster.
|
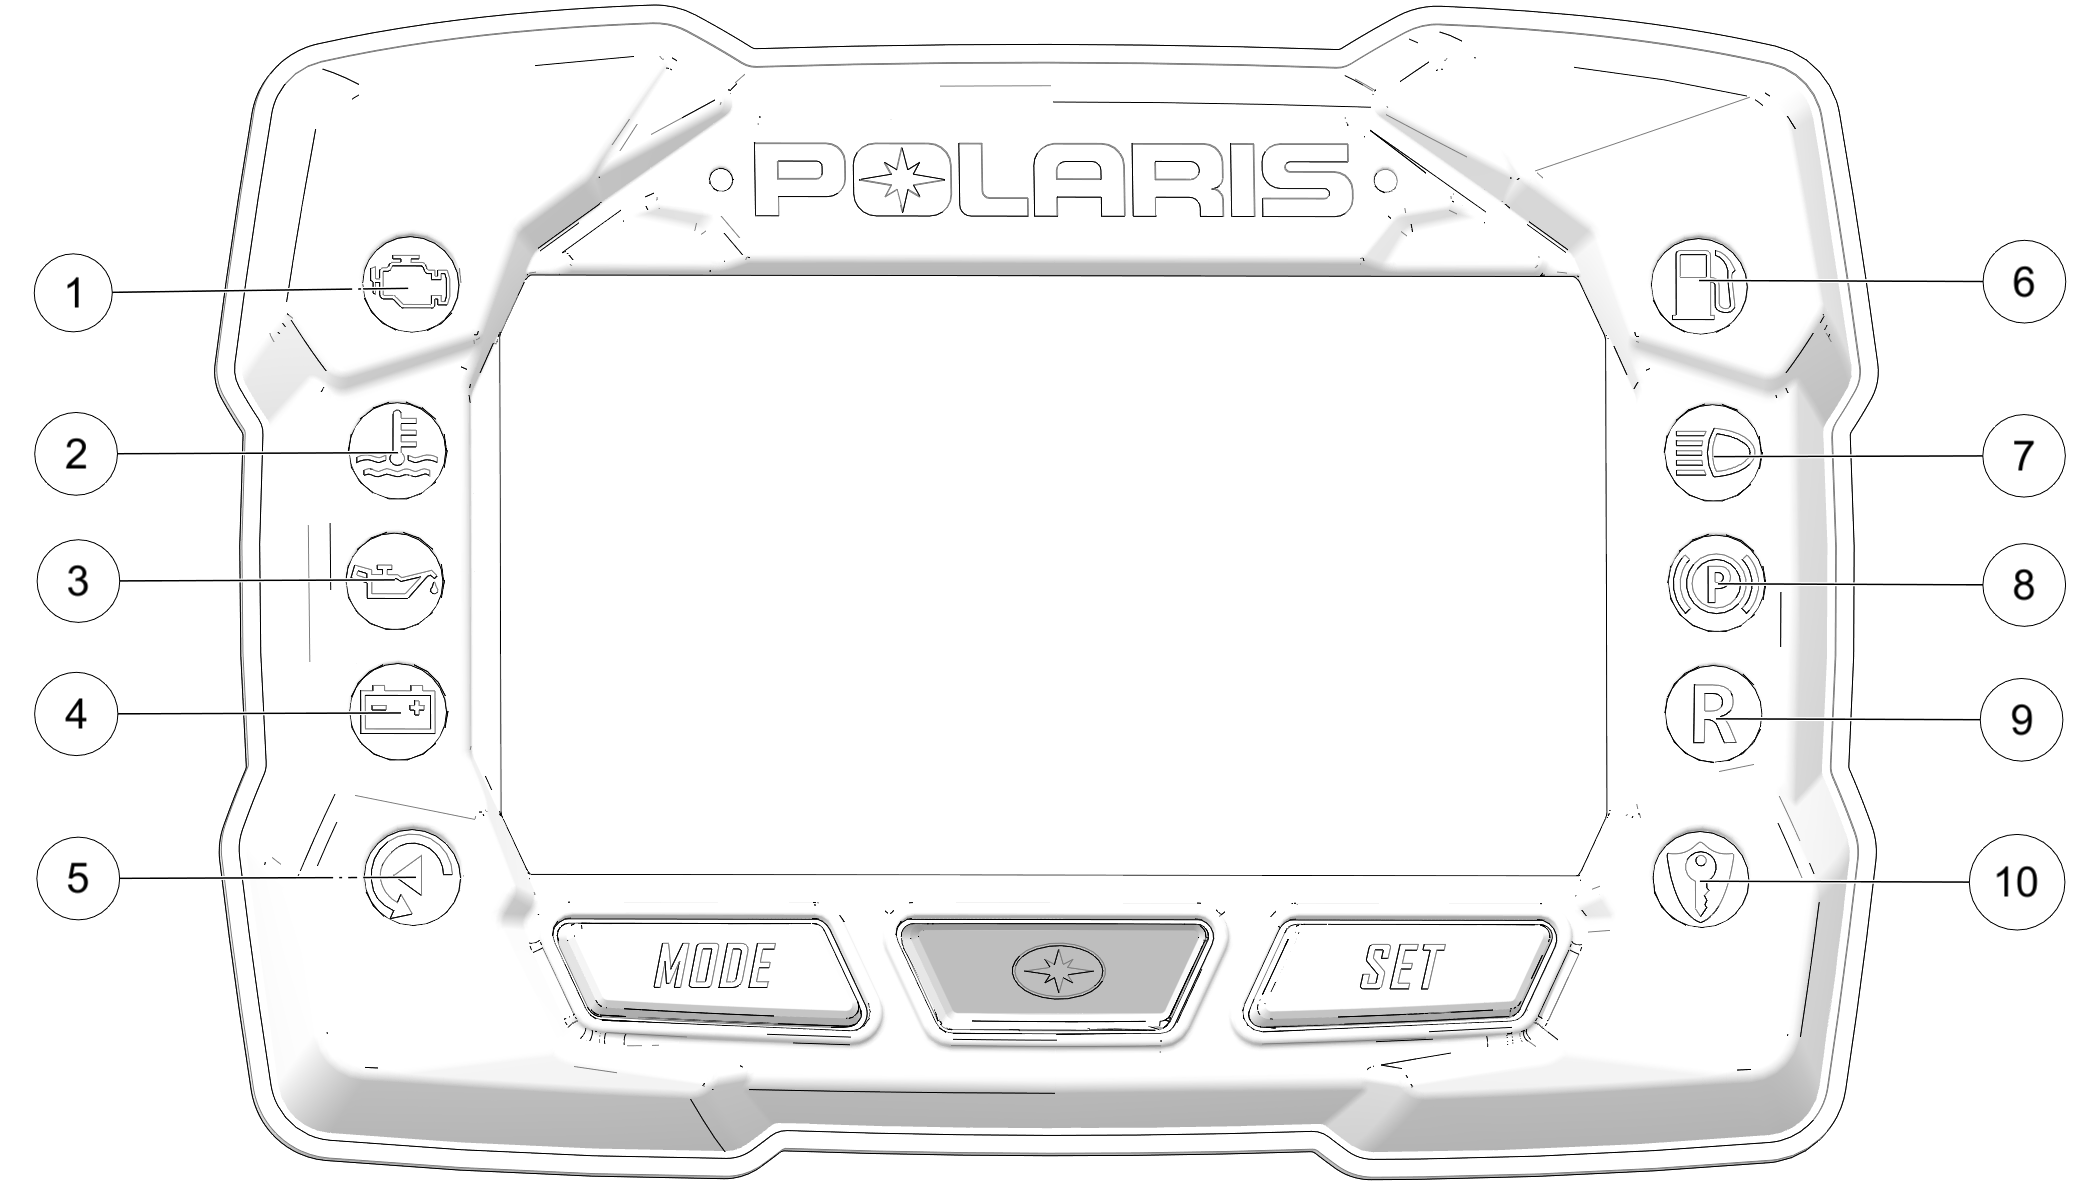
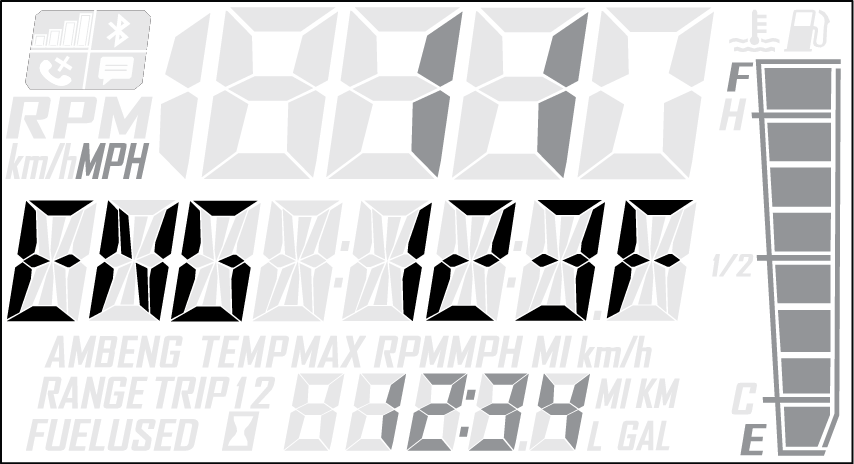
The instrument cluster
contains indicator lights and the rider information center. The information
center can be controlled
by either the MODE and SELECT buttons on the instrument
cluster or by the MODE/SET switch ![]() on
the Left Hand Control.
on
the Left Hand Control.

| Indicator | Condition |
|---|---|
|
|
This indicator appears if an EFI-related fault occurs. Do not operate the snowmobile if this warning appears. Serious engine damage could result. Your dealer can assist. |
|
|
The over-temperature indicator will illuminate when the engine is overheating. Take action to cool the engine. The indicator will flash when engine temperature reaches critical levels. Stop the engine immediately. |
|
|
The low oil indicator light may flicker at times due to oil movement in the bottle, but when the light comes on and remains on, add the recommended oil before further operation. |
|
|
The low battery voltage indicator illuminates when the battery voltage is low. |
|
|
The playback indicator illuminates when the gauge is in playback mode. |
|
|
The low fuel indicator illuminates when fuel is low. |
|
|
The high beam indicator illuminates when the lights are set to high beam. |
|
|
The parking brake Indicator illuminates when the parking brake is engaged. It will also illuminate when the service brake is in use. |
|
|
The reverse indicator flashes when the transmission is in reverse. |
|
|
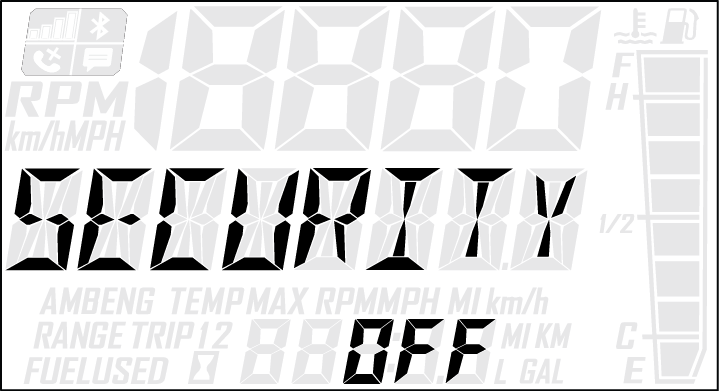
The security indicator illuminates when the security system is activated. |

| NOTE |
| The low fuel indicator and fuel level gauge on the Standard Instrument Cluster are not supported on models with a fuel level gauge on the fuel cap. |
| TIP |
| If the fuel icon fails to display, an open or short circuit has occurred in the fuel sensor circuit. See your dealer. |
| NOTE |
| The low fuel indicator and fuel level gauge on the Standard Instrument Cluster are not supported on models with a fuel level gauge on the fuel cap. |
| TIP |
|
If the fuel icon fails to display, an open or short circuit
has occurred in the fuel sensor circuit. See your dealer. |
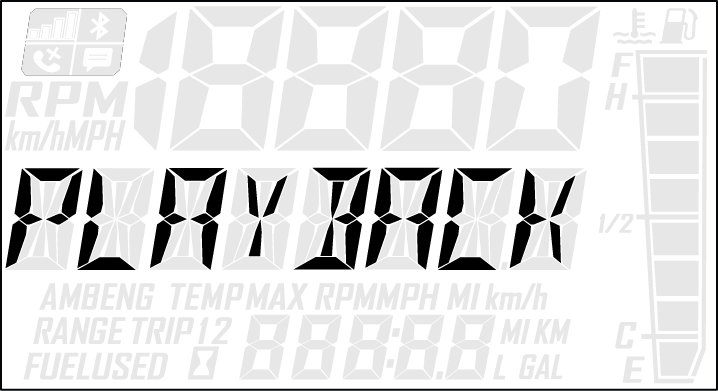
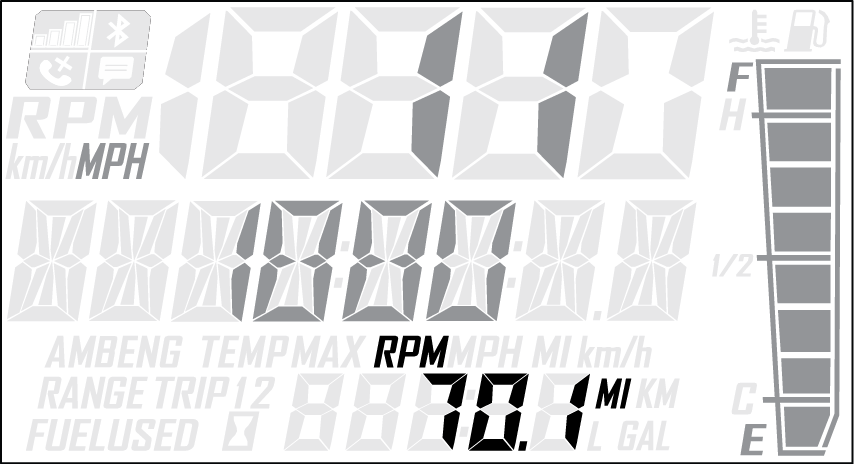
RECORD will appear in the information display area.
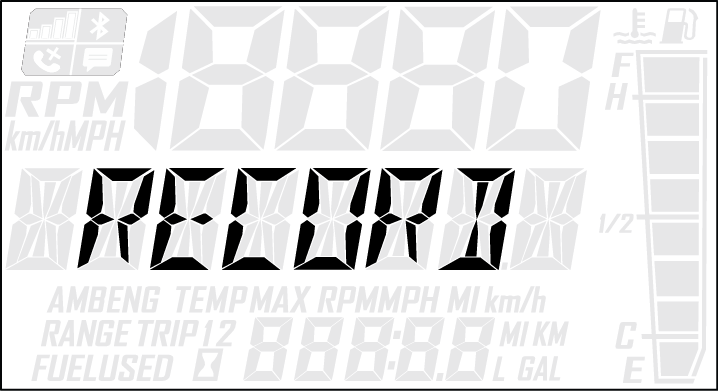
The playback indicator will flash while recording is in progress. Recording is complete when the light stops flashing.
| NOTE |
| To stop recording at any time during the recording process, press and release the SET button. |
PLAY will appear in the information display area.
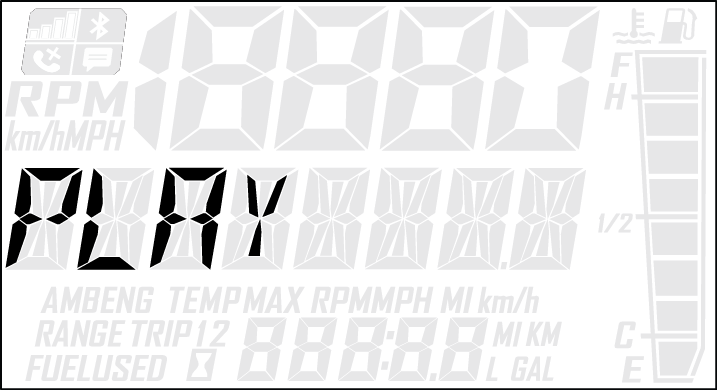
Once playback has concluded, REPLAY will appear in the information display area.
| NOTE |
| To lock the system for the first time, use code 000. |
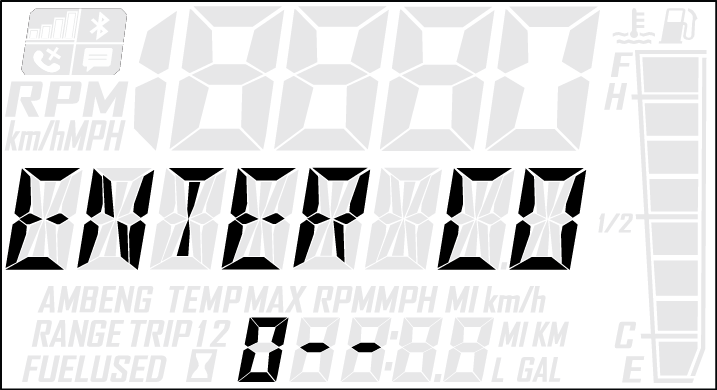
ENTER CODE will appear in the information display area.

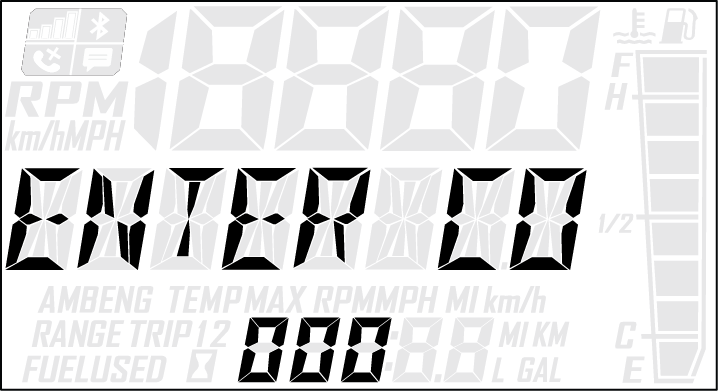
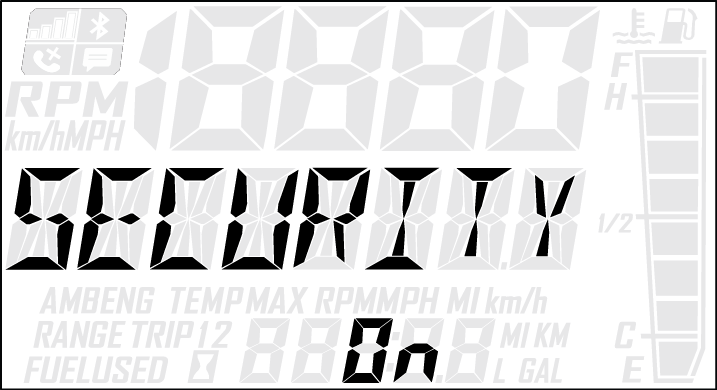
If code is correct, SECURITY ON will appear in the information display area. The system is now locked. Proceed immediately to Task 3.
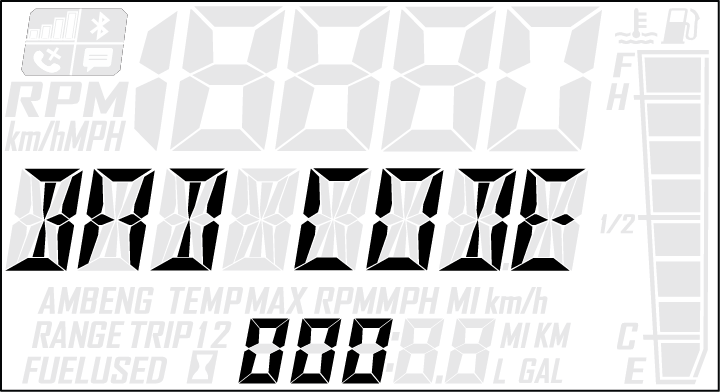
If code is incorrect, BAD CODE will appear in the information display area. Return to step 3 to re-enter code.
| NOTE |
| To unlock the system for the first time, use code 000. |
ENTER CO will appear in the information display area.
If code is correct, SECURITY OFF will appear in the information display area
| NOTE |
| The system is now unlocked. |
If code is incorrect, BAD CODE will appear in the information display area. Return to step 1 to re-enter code.
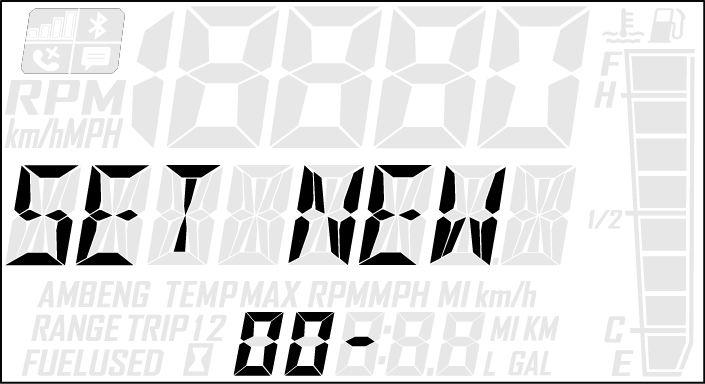
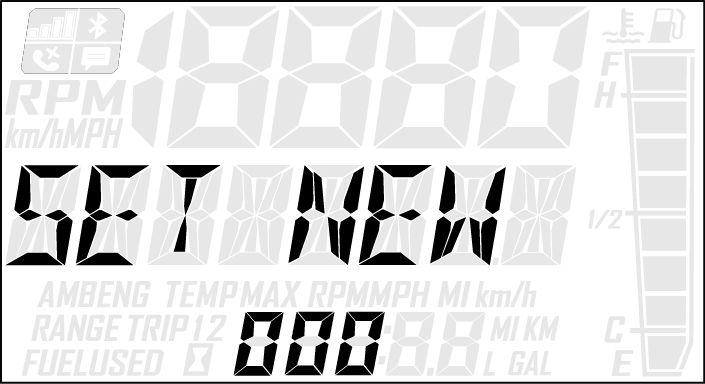
SET NEW CODE will appear on the information display area.
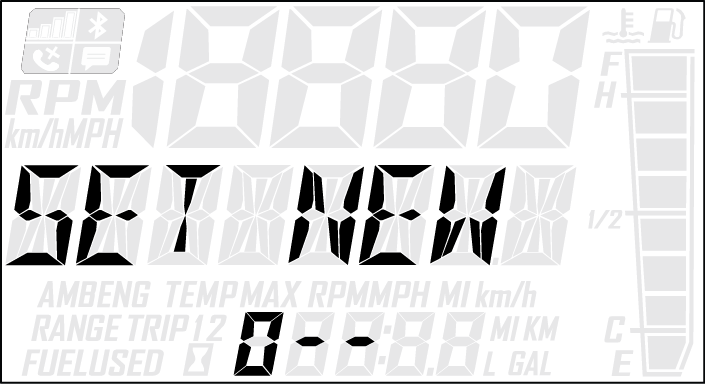
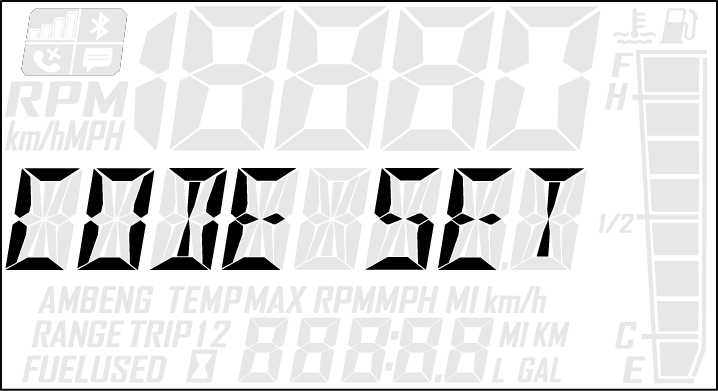
CODE SET will appear in the information display area, and then the new code will blink three times in the information display area
| NOTE |
| Your new code is now set. The system is NOT locked. |
| TIP |
| If you lose your personal security code, see your dealer to have the code reset to “000”. Then perform TASK 2 through TASK 4 to change the code to one of your own choosing. |
ENTER CODE will appear in the information display area.
If code is correct, SECURITY ON will appear in the information display area. The system is now locked. Proceed immediately to Task 3.
If code is incorrect, BAD CODE will appear in the information display area. Return to step 3 to re-enter code.
ENTER CODE will appear in the information display area.
If code is correct, SECURITY OFF will appear in the information display area
| NOTE |
| The system is now unlocked. |
If code is incorrect, BAD CODE will appear in the information display area. Return to step 1 to re-enter code.
|
Security System Access Quick Reference Chart |
|
|---|---|
|
Action |
Result |
|
Displays ENTER CODE (to lock the system) |
|
Press and release the SET button |
Advances a digit on the ENTER CODE screen |
|
Press and hold the SET button |
Accepts a digit and displays the next digit position (if any remain) on the ENTER CODE screen |
|
While SECURITY OFF is shown on the information display area, simultaneously Press and hold the MODE and SET button. |
Allows user to change security code. |
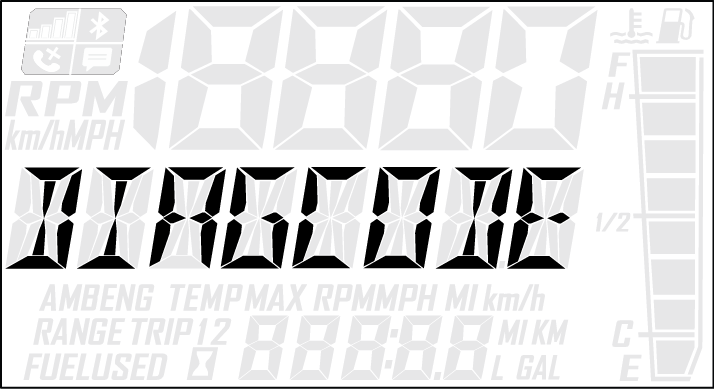
The diagnostic display
mode is for informational purposes only. Your POLARIS dealer can perform
all major repairs.
The diagnostic
mode is accessible only when the check engine warning indicator is
illuminated and a diagnostic
code is active.
| TIP |
|
When the diagnostic mode is displayed, the check engine warning indicator will begin to flash. |
© Copyright Polaris Industries Inc. All rights reserved.