Content Source: 2019 GEM em1400 LSV Owner’s Manual (9929177 R02) > Maintenance Chapter

IMPORTANT

The Owner's Manual for this vehicle contains warnings, instructions and other information you must read and fully understand before safely riding or performing maintenance on this vehicle.Always follow the warnings and instructions in Owner's Manual.

Click the CONTENTS link above for the Table Of Contents, or download a full PDF of the Owner Manual in the Owner Support area of Polaris.com

Lights

Poor lighting can result in reduced visibility when driving. Headlight and taillight lenses become dirty during normal operation. Clean lights frequently and replace burned out lamps promptly. Do not operate this vehicle at night or in low light conditions until the headlight is replaced. Always make sure lights are adjusted properly for best visibility.
When servicing a halogen lamp, don't touch the lamp with bare fingers. Oil from your skin leaves a residue, causing a hot spot that will shorten the life of the lamp.

Headlight Replacement

If a headlight fails to work properly, an expired lamp may need replacement. Apply dielectric grease to the socket before installing the new lamp.
  1. Hot components can cause burns to skin. Allow lamps to cool before servicing.
  2. Open the hood.
  3. Unplug the headlamp from the wiring harness. Be sure to pull on the connector, not on the wiring.
  4. Turn the lamp counter-clockwise to remove it.
  5. Install the new lamp.
    TIP
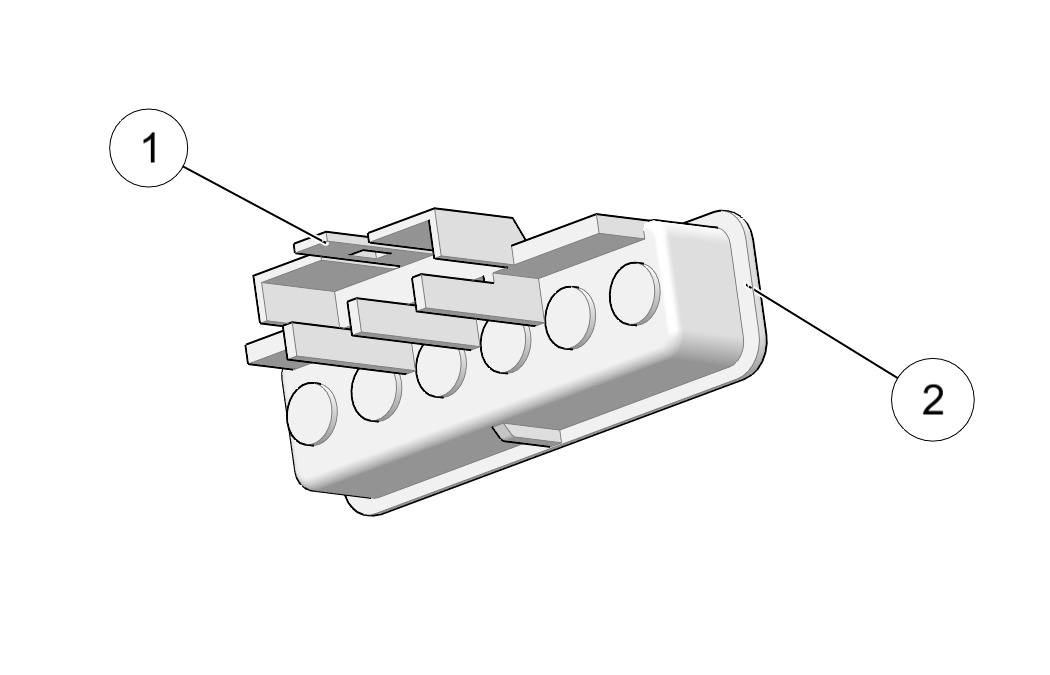
    Make sure the tab on the lamp locates properly in the housing.
  6. Reinstall the harness assembly into the headlight assembly

Front and Rear Turn Signal Light Replacement

If a front or rear turn signal fails to work properly, the entire assembly must be replaced. See your authorized GEM dealer for this service.

Headlight Beam Adjustment

Image
  1. Place the vehicle on a level surface with the headlight approximately 25 ft. (7.6 m) from a wall .
  2. Measure the distance from the floor to the center of the headlight and make a mark on the wall at the same height.
  3. Apply the brakes. Turn the key on. Turn the headlights on.
  4. Observe the headlight aim. The most intense part of the headlight beam should be aimed 8" (20 cm) below the mark placed on the wall . Include the weight of a rider on the seat while performing this step.
  5. If a headlight needs adjustment, access the adjustment screw under the hood or through the wheel well.
  6. Loosen the headlight adjustment screw, adjust the headlight, and tighten the screw.
  7. Repeat steps 4-6 until the lamp is properly adjusted.

Brake Lights

When the brake pedal is depressed, the brake light comes on. Check the brake light before each ride.
  1. Turn the key to the ON position.
  2. Apply the brakes. If the light doesn't come on, check the wiring, the brake switch or the tail light assembly.

Indicator Panel Lamp Replacement

In the event that the indicator panel fails to illuminate, check to see if you have an expired lamp.

To replace the indicator panel lamp, do the following:

Image
  1. Lift the hood.
  2. Reach in behind the console panel and lift the release to unplug the light from the harness.
  3. Using a flathead screwdriver, press on the tab on the top of the light to remove the indicator light assembly from the console panel.
  4. Locate the expired lamp. Using a screwdriver, rotate the lamp 1/4 turn counter-clockwise.
  5. Grip the lamp with a needle-nose pliers and remove it from the assembly.
  6. Install the new lamp. Using a screwdriver, rotate the lamp 1/4 turn clockwise to seat it.
  7. Snap the assembly back into the console panel. Reconnect the harness.
  8. Close the hood.

© Copyright Polaris Industries Inc. All rights reserved.