Content Source: 2019 Slingshot Owner’s Manual (9928978 REV 05) > Maintenance Chapter

IMPORTANT

The Owner's Manual for this vehicle contains warnings, instructions and other information you must read and fully understand before safely riding or performing maintenance on this vehicle.Always follow the warnings and instructions in Owner's Manual.

Click the CONTENTS link above for the Table Of Contents, or download a full PDF of the Owner Manual in the Owner Support area of Polaris.com

Wheels and Tires

WARNING
Operating the vehicle with worn tires, improper tires or tires with improper or uneven tire pressure could cause loss of control or accident. Always use the correct size and type of tires specified for your vehicle. Always maintain proper tire pressure as recommended in the owner's manual and on safety labels. Always replace tires when tread depth has worn to the minimum requirement.
If you experience a wheel impact, such as hitting a curb, a large pothole or road debris, have your tires and rims inspected immediately. These types of impacts may cause hidden tire/rim damage that may not be noticeable during operation. This damage could cause tire or rim failures and result in accidents causing serious personal injury or death. If you are in doubt, have the wheel checked by your authorized Slingshot dealer or tire professional. Exercise care when parking along curbs and reduce speed if possible when approaching unavoidable potholes and/or road debris.

Tire Condition

Inspect the tire sidewalls, road contact surface and tread base. If inspection reveals cuts, punctures, cracks or other wear or damage, replace the tire before driving the vehicle. Refer to the SLINGSHOT Service Manual , or an authorized dealer can assist.

Tire Tread Depth

Measure the tread depth near the center of the tread on both tires.
  • Replace a front tire when tread depth wears to the minimum of 1.6 mm.
  • Replace the rear tire when tread depth wears to the minimum of 4 mm.

Tire Pressure

For an accurate reading, check tire pressure when tires are cold. Driving warms the tires and increases tire air pressure.
Image
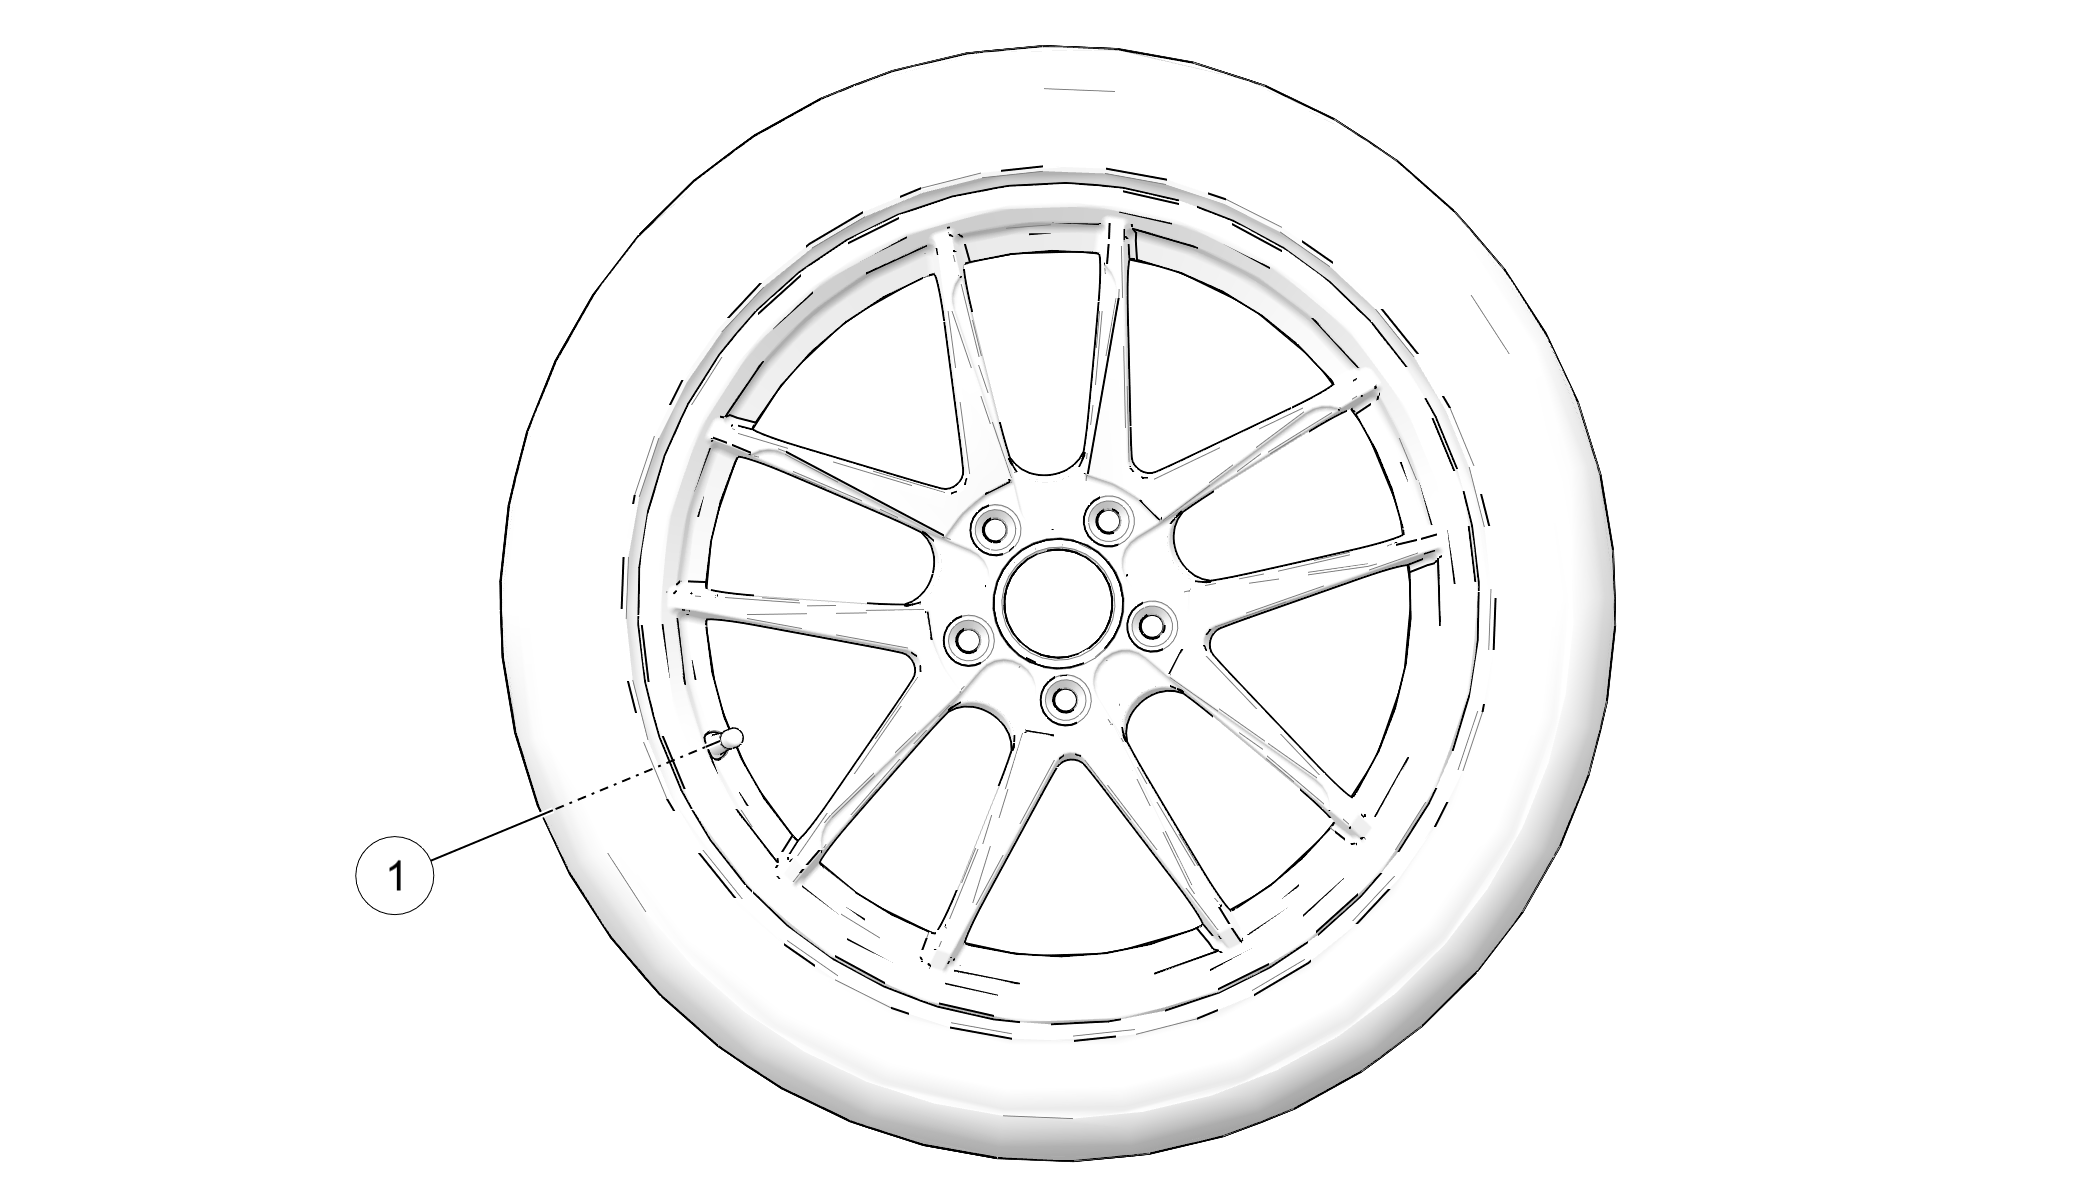
  1. Remove the valve stem cap .
  2. Adjust tire pressure to the recommended specification. Refer to safety labels on the vehicle or to the Specifications chapter.
WARNING
Do not exceed the maximum recommended inflation pressure to seat the bead. Tire or rim failure may result.

Wheel Inspection

Inspect all wheels for cracks or other damage. Replace damaged wheels promptly. Do not operate the vehicle if wheels are damaged or cracked.

Wheel Removal

  1. Position the vehicle on a firm, level surface.
  2. Place the transmission in gear.
  3. Engage the park brake.
  4. Position an appropriate floor jack under the frame at the side or rear of the vehicle, near the wheel to be removed.
  5. If removing the rear wheel, place wheel chocks at the front of both front wheels to prevent rolling.
  6. Elevate the vehicle until the wheel is slightly off the ground.
  7. Remove the wheel nuts and remove the wheel.

Wheel Installation

  1. With the transmission in gear and the park brake set, place the wheel on the wheel hub. Be sure the valve stem is toward the outside and rotation arrows on the tire point toward forward rotation.
  2. Install the wheel nuts and finger-tighten them.
    NOTE
    On vehicles with tapered rear wheel nuts, make sure the tapered end of the nut goes into the taper on the wheel.
  3. Tighten all wheel nuts in a star pattern to specification.
    TORQUE
    75 ft-lbs (102 Nm)
  4. Lower the vehicle and remove the floor jack.

© Copyright Polaris Industries Inc. All rights reserved.