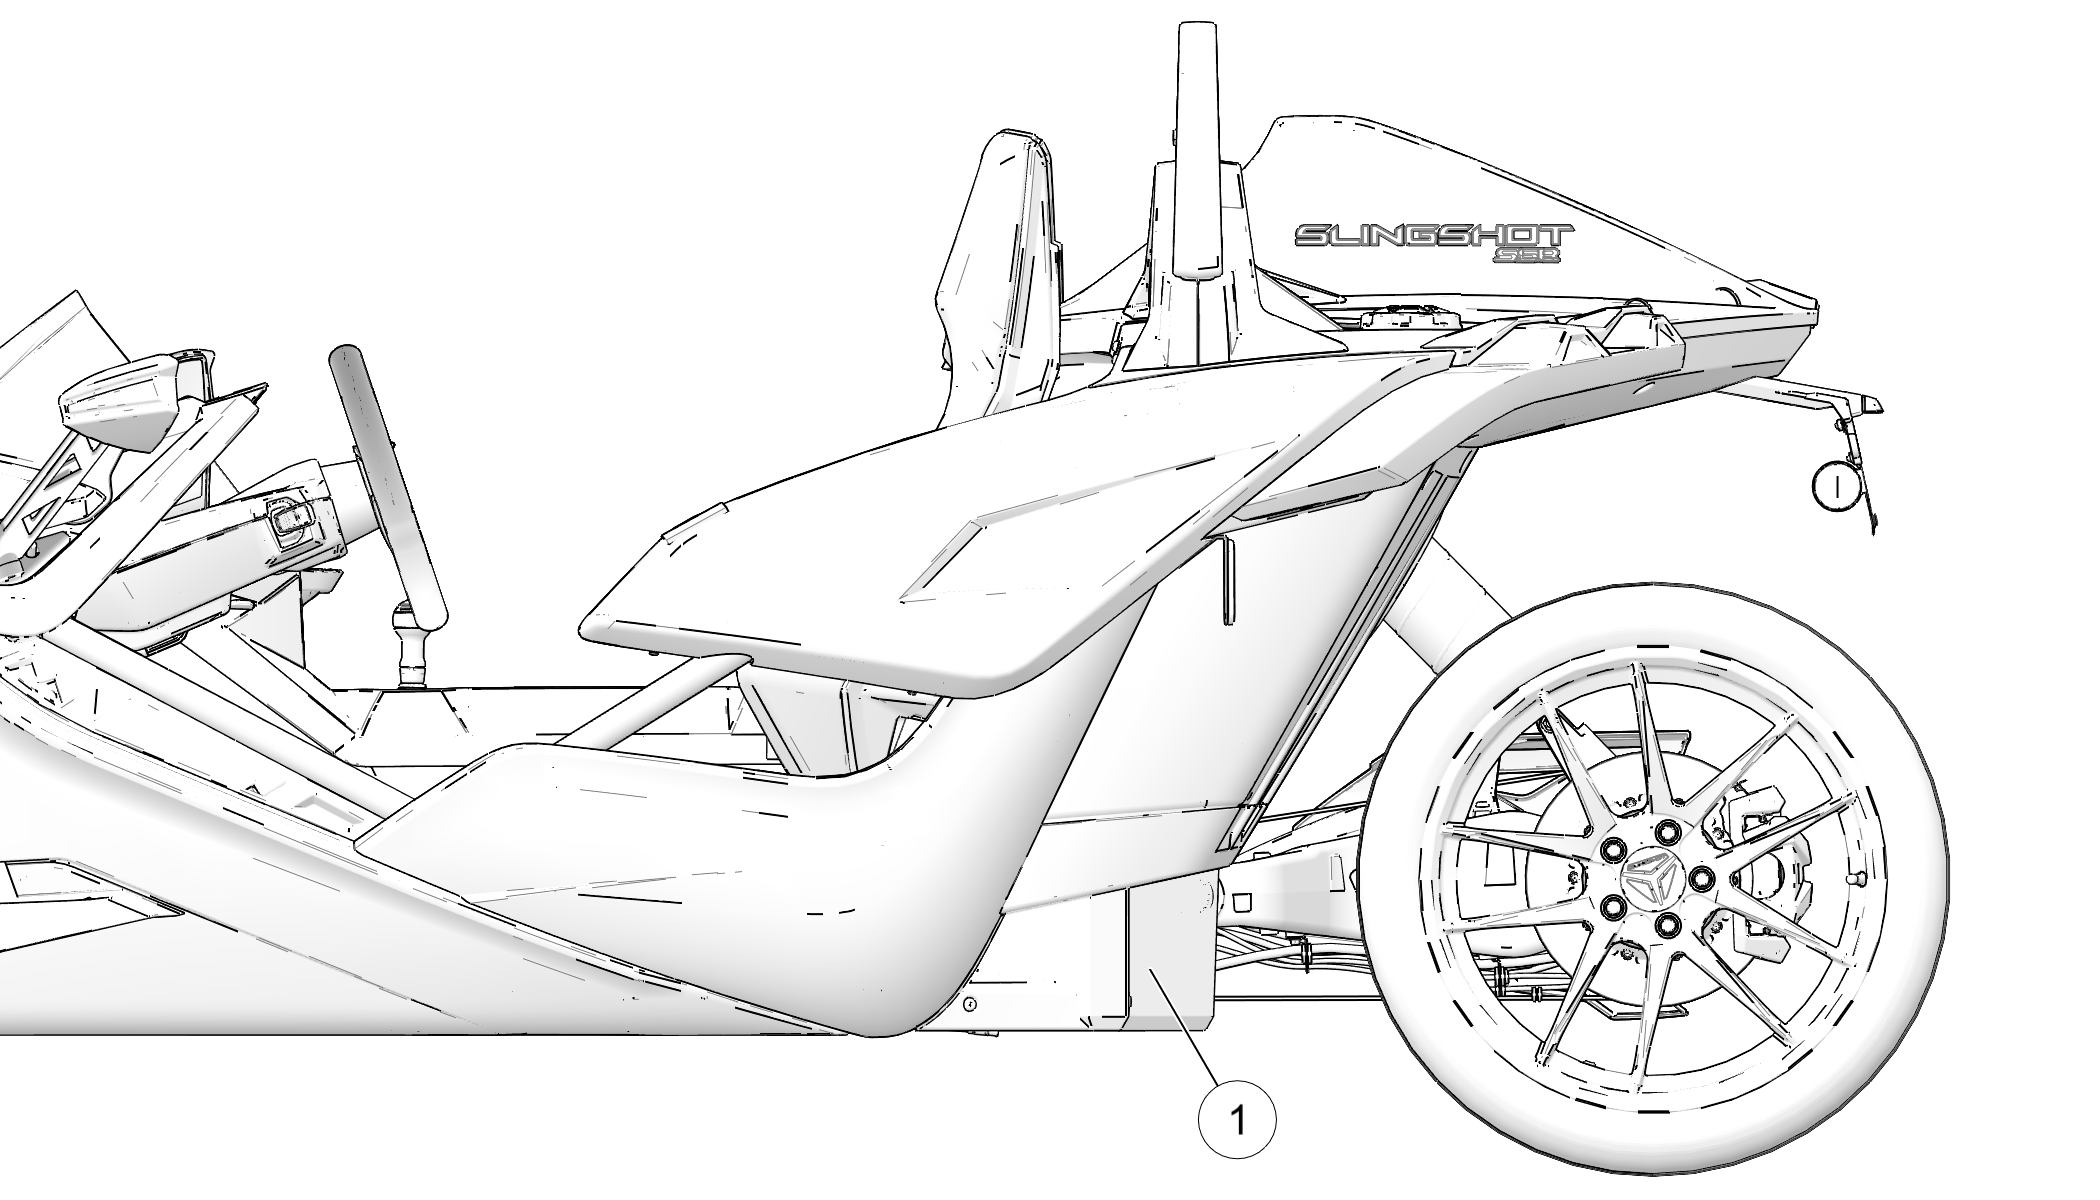
Content Source: 2019 Slingshot Owner’s Manual (9928978 REV 05) > Maintenance Chapter

IMPORTANT

The Owner's Manual for this vehicle contains warnings, instructions and other information you must read and fully understand before safely riding or performing maintenance on this vehicle.Always follow the warnings and instructions in Owner's Manual.

Click the CONTENTS link above for the Table Of Contents, or download a full PDF of the Owner Manual in the Owner Support area of Polaris.com

Battery

WARNING
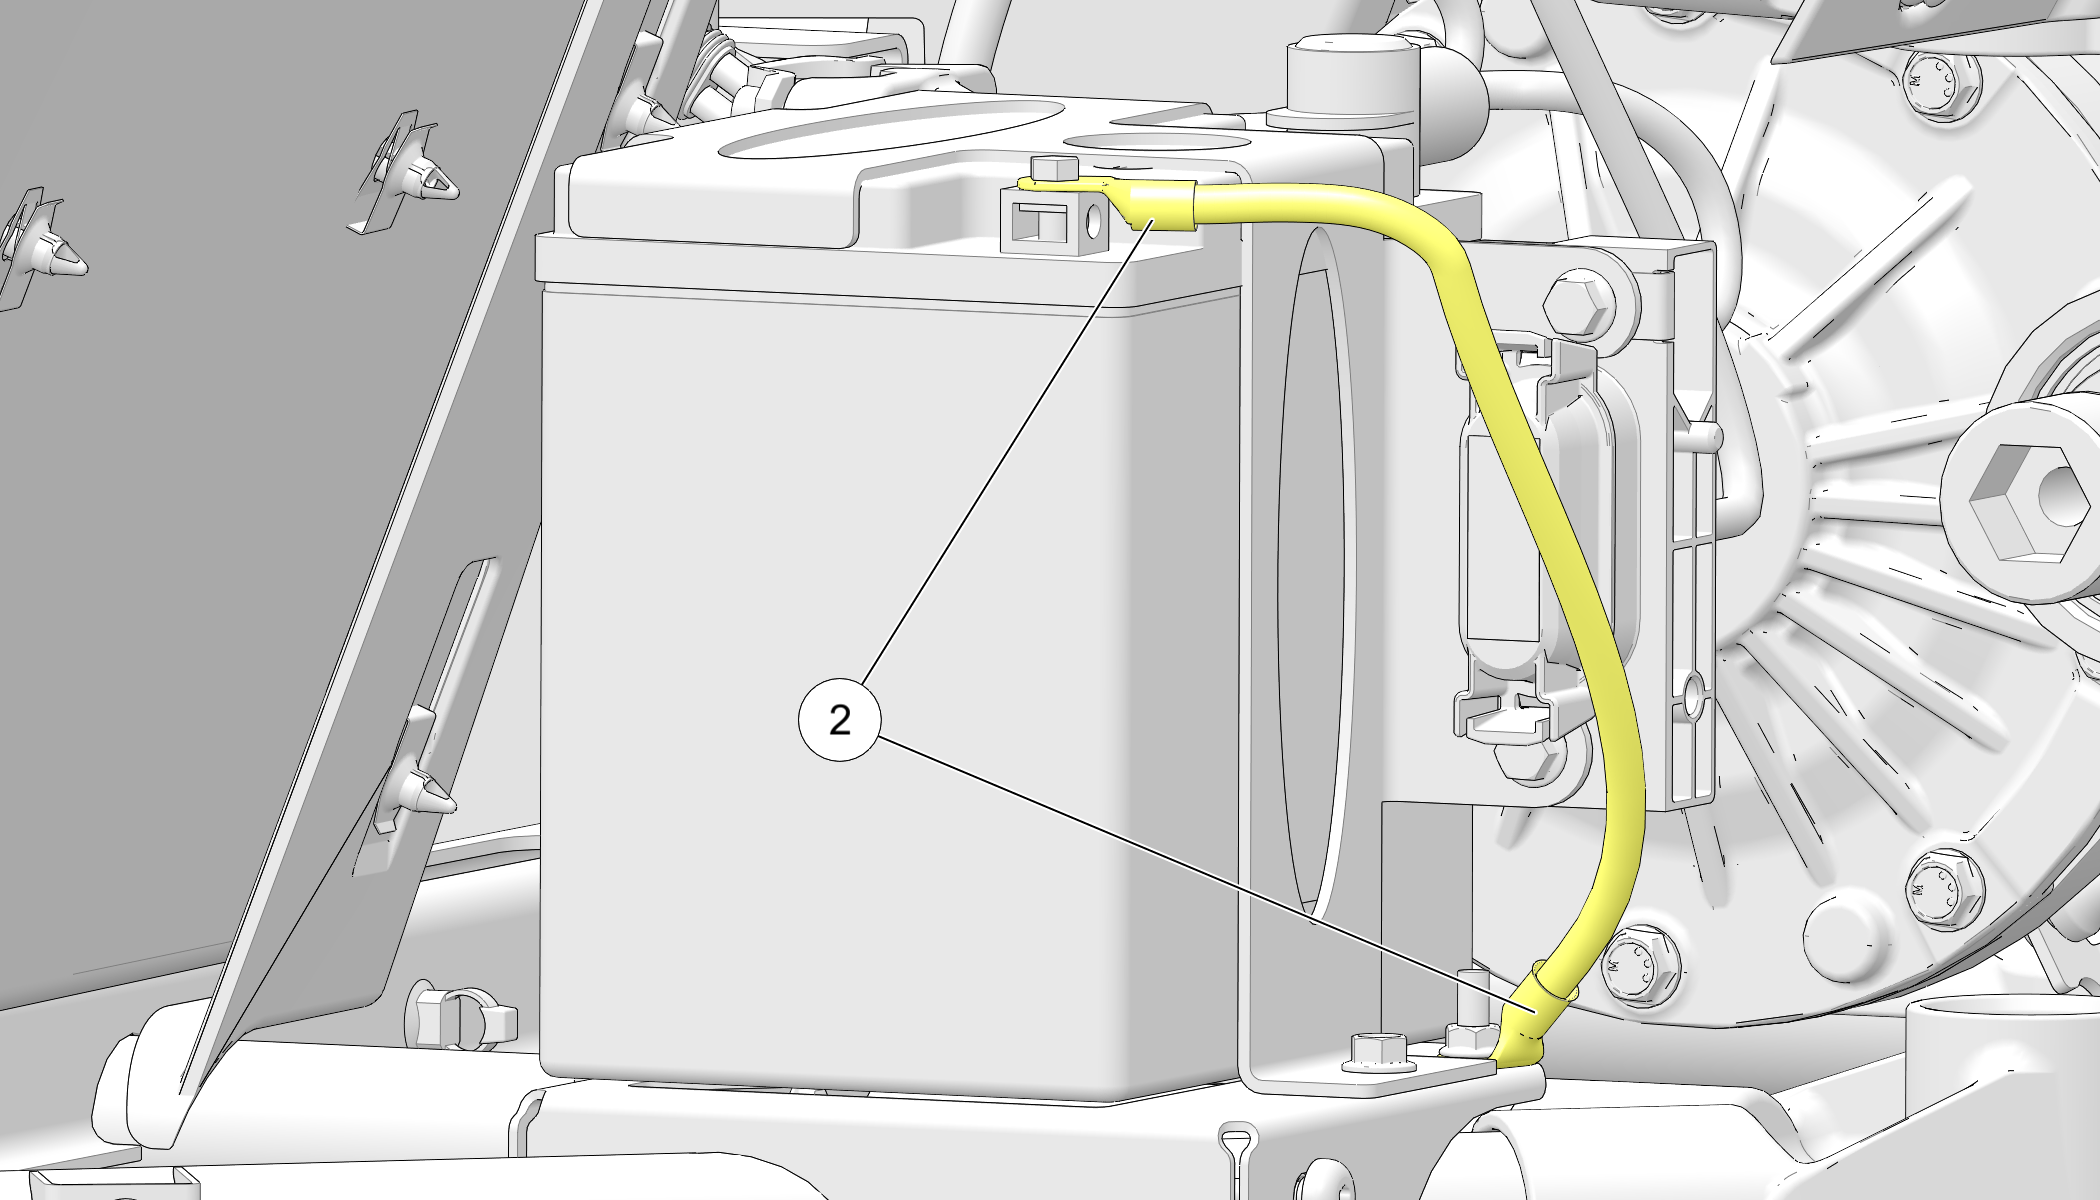
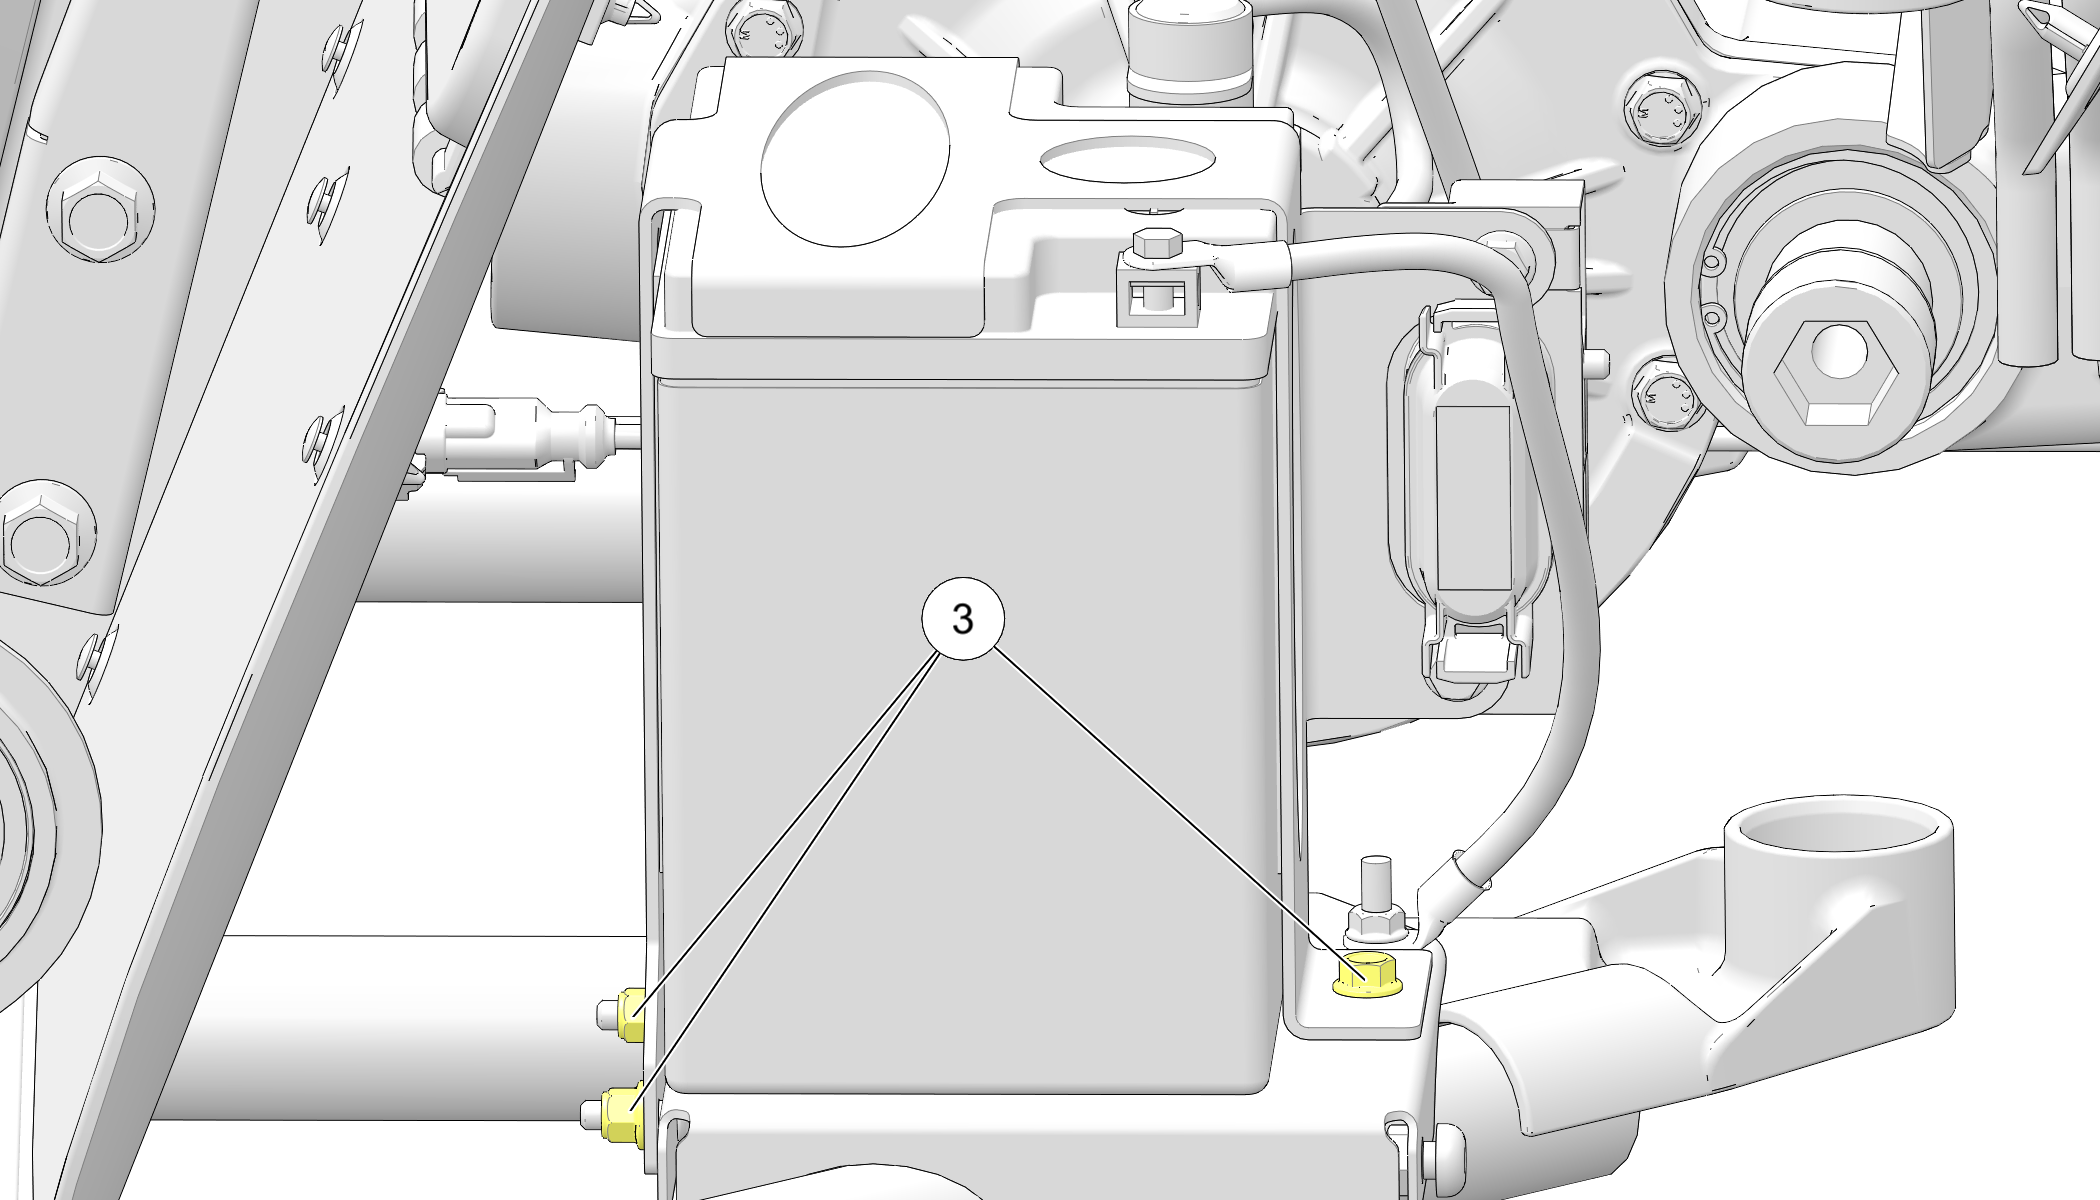
Improperly connecting or disconnecting battery cables can result in an explosion and cause serious injury or death. When removing the battery, always disconnect the negative (black) cable first. When reinstalling the battery, always connect the negative (black) cable last.
WARNING
Battery electrolyte is poisonous. It contains sulfuric acid. Serious burns can result from contact with skin, eyes or clothing.Antidote:External: Flush with water.Internal: Drink large quantities of water or milk. Follow with milk of magnesia, beaten egg, or vegetable oil. Call physician immediately.Eyes: Flush with water for 15 minutes and get prompt medical attention.Batteries produce explosive gases. Keep sparks, flame, cigarettes, etc. away. Ventilate when charging or using in an enclosed space. Always shield eyes when working near batteries. KEEP OUT OF REACH OF CHILDREN.

Battery Maintenance

Always keep battery terminals and connections free of corrosion. If cleaning is necessary, remove corrosion with a stiff wire brush. Wash with a solution of one tablespoon baking soda and one cup water. Rinse well with tap water and dry off with clean shop towels. Coat the terminals with dielectric grease or petroleum jelly. Be careful not to allow cleaning solution or tap water into a conventional battery.
Make sure battery connections are tight. See Battery Installation for cable torque specifications.

Battery Access and Removal

The battery compartment is located on the lower left side of the vehicle, behind the rider compartment.
Image
  1. Remove the access panel fasteners and remove the access panel.
  2. Disconnect the negative (-) battery cable .Image
  3. Remove the three bolts holding the battery bracket.Image
  4. Disconnect the positive (+) battery cable.
  5. Slide the battery out.

Battery Installation

Using a new battery that has not been fully charged can damage the battery and result in a shorter life. It can also hinder vehicle performance.
  1. Make sure the battery is fully charged.
  2. Slide the battery into place.
  3. Connect the positive (+) battery cable. Image
  4. Replace the three bolts to secure the battery bracket.
  5. Connect the negative (-) battery cable. Image
  6. Reinstall the battery access panel

Battery Storage

Whenever the vehicle is not used for a period of one month or more, remove the battery from the vehicle, ensure that it’s fully charged, and store it out of the sun in a cool, dry place. Check battery voltage each month during storage and recharge as needed to maintain a full charge.

Battery Charging

AGM Battery Charger Recommendations

Slingshot vehicles utilize Absorbent Glass Mat (AGM) batteries which are selected for their superior vibration resistance, weight savings, and high output. Polaris recommends using the BatteryMINDer® 2012 AGM - 2 AMP battery charger (PN 2830438) to charge and maintain AGM batteries. The charger can be found on the Polaris PG&A website and ordered in DEX – Item Availability.
Batteries that fall below 12.5V run the risk of sulfation, a condition whereby sulfate crystals form inside the battery and significantly reduce performance. AGM chargers are designed specifically for charging AGM type batteries and use high frequency pulses to partially reverse sulfation.
IMPORTANT
The use of non-AGM battery chargers or non-AGM battery tenders may result in a misleading “battery not found” or “open cell” fault message. Please ensure you are using the recommended AGM charger when charging AGM type batteries.

AGM Battery Testing Procedure

  1. Test battery using the battery tester PU-50296.
  2. If the tester indicates a test result other than “Good Battery,” follow the steps below before replacing the battery:
    1. Connect battery to the recommended battery charger. If charging sequence begins as normal, fully charge battery and proceed to step 3.

      The time listed on the PU-50296 battery tester printout is an estimate. The recommended automatic charger will indicate when the battery is fully charged on its display.

    2. If charging sequence does not initialize, refer to AGM Battery Charging Recommendations – Deeply Discharged (below 3 volts) to attempt to restore the deeply discharged battery. If charging sequence will not finish as intended, the battery needs to be replaced.
  3. Re-test battery. If the test results show that battery failed, proceed with battery replacement.

AGM Battery Charging Recommendations – Low Charge

The nominal voltage for a Slingshot battery is 12.8 Volts when fully charged. The battery will self-discharge when disconnected from a vehicle, and will discharge at a faster rate when connected. If the battery voltage falls below 12.5V, it should be charged immediately using the recommended battery charger. Listed below are the recommended battery inspection schedules.
  • Batteries which are not connected to a vehicle should be inspected every 60 days. The battery must be charged if found to be below 12.5 volts.
  • Batteries which are connected to vehicles should be inspected when they arrive at your dealership and at least once every month thereafter. The battery must be charged if found to be below 12.5 volts.
  • Showroom vehicles used to demonstrate radio, display and infotainment features should be charged daily. If possible, these vehicles should be connected to the recommended battery charger continuously.
Always use the recommended automatic battery charger, and wait for the charger to complete the charge cycle before disconnecting it.

AGM Battery Charging Recommendations – Deeply Discharged (below 3 volts)

AGM batteries discharged to a voltage of 3 volts or less may not be recognized by the recommended automatic battery charger. (The minimum voltage threshold recognized by other battery chargers may be as high as 10.5 volts). Often times deeply discharged batteries can be restored by attaching another, fully-charged, battery to “jump start” the low battery. Follow the steps below to restore a deeply discharged battery.
  1. Carefully connect the two batteries’ positive terminals, then the negative terminals using jumper cables.
  2. Connect the recommended battery charger to the low battery and initiate the charging sequence.
    WARNING
    Always check to ensure the positive cables are connected to the positive terminals before powering the charger on. Reversing polarity when charging can damage electrical components and risk personal injury. Be careful not to let battery cable clamps touch each other.
  3. After the charging sequence has initiated, disconnect the fully-charged battery. Always disconnect the fully-charged battery positive first, followed by low battery positive, low battery negative, and finally fully-charged battery negative
  4. Proceed with charging both batteries to full capacity. Listed in the table below are the approximate charging times for deeply discharged batteries. Always use the recommended automatic battery charger, and wait for the charger to complete the charge cycle before disconnecting it. The recommended automatic charger will indicate when the battery is fully charged on its display.

    Battery

    PN

    Charging

    Time

    Battery

    Capacity

    Charging

    Rate

    4014609 18 hours 30 AH 2 amps

AGM Battery Maintenance Tips

  1. If the vehicle will not be driven for more than 2 weeks, maintaining the battery with the BatteryMINDer® 2012 AGM - 2 AMP charger (PN 2830438) is recommended.
  2. To make battery charging easier, the charging cable can be connected to the positive terminal on the Slingshot alternator. Please review the instructions outlined in the Slingshot Service Manual (Electrical Chapter) for details regarding this charging process.
    WARNING
    DO NOT jump start using the alternator positive terminal. In certain conditions, the current load created by the starter may exceed the capability of the fusible link.
  3. For added convenience Polaris offers the BatteryMINDer® Accessory Vehicle Power Plug (PN 2830518) which allows easy connection to vehicle's battery through the 12V socket. The 12V socket located between the seats directly above the cup holders CAN be used for charging. The 12V socket located in the glove box is powered after key-on and CANNOT be used for charging.
  4. To help prolong battery life, it is recommended to remove the battery from vehicles stored ONE month or longer. To maximize the life of stored batteries, they should be kept in a cool / dry location. Batteries will self discharge more rapidly when stored in extreme temperatures. Batteries should be maintained using the recommended battery charger while in storage.
  5. Batteries will self-discharge more quickly when dirty. Periodic cleaning of the battery terminals using a terminal brush will help maximize battery life. Wash terminals with a solution of one tablespoon baking soda and one cup water. Rinse well with tap water and dry off with clean shop towels. Coat the terminals with dielectric grease or petroleum jelly.
  6. Battery connections should be tightened to the correct torque during installation. This will reduce voltage drop and ensure a reliable connection between the alternator and battery.

© Copyright Polaris Industries Inc. All rights reserved.