Content Source: 2019 600R Racer Owner’s Manual (9928881 R01) > The Perfect Fit Chapter

IMPORTANT

The Owner's Manual for this vehicle contains warnings, instructions and other information you must read and fully understand before safely riding or performing maintenance on this vehicle.Always follow the warnings and instructions in Owner's Manual.

Click the CONTENTS link above for the Table Of Contents, or download a full PDF of the Owner Manual in the Owner Support area of Polaris.com

Rear Suspension Adjustments

Rear Suspension Adjustments

The following information is provided only as a guideline to be used for initial suspension set-up. Your set-up may vary based on your desired riding style. Rider weight, riding style, trail conditions, and vehicle speed all affect suspension action.
Each rear suspension can be adjusted to suit rider preference and deliver the best performance for a given set of conditions. However, all suspension designs and adjustments involve a compromise, or trade-off. For example, a suspension set up for snow-cross racing would provide a very stiff ride on the trail. A suspension set up for trail riding would bottom out harshly on a snow-cross course.
Make adjustments to one area at a time so you can evaluate the change. For further assistance, see your dealer.

Suspension Performance Tips

  • Rider weight usually determines the position at which the spring preload should be set. However, this may vary with riding style. With a little experimentation, each rider can find a preferred setup. These adjustments are easy to make, involve very little time or effort, and greatly affect the ride.
  • When riding on ice or hard-packed snow, adding a set of bogie wheels to the rail may enhance the machine’s performance. Bogie wheel kits are available from your dealer.
TIP
Keep the suspension pivot points lubricated. This will reduce moisture and rust build-up and ensure proper function of the suspension components. Grease rear suspension pivots before adjusting the rear suspension. Refer to Suspension Maintenance beginning on page 98.

Track Tension

Track adjustment is critical for proper handling. Always maintain correct tension and alignment. Refer to the track tension maintenance section beginning on page 92.

Torsion Spring Tension

To adjust rear torsion spring tension, rotate the three-position cam using the engine spark plug tool. Different rate torsion springs are available if a firmer ride is desired. See your dealer for more information.

Cam Adjustments

Soft Tension: Move the long end of the cam to the front.
Medium Tension: Move the short end of the cam upward.
Firm Tension: Move the long end of the cam upward.
Image
Image
Image
Soft Tension Medium Tension Firm Tension

Compression Damping

High Compression Adjustment

Increase the high compression damping force by turning the adjuster clockwise to increase the stiffness. Decrease the high compression damping force by turning the adjuster counter-clockwise to increase the softness. The maximum adjustment for this adjuster is the fully turned in position. The minimum adjustment is just 22 clicks out from the maximum position.
Image
Image
Front Track Suspension Rear Track Suspension
Standard Position
Front Track suspension high speed adjuster 19 clicks out from fully turned in position
Rear Track suspension high speed adjuster 12 clicks out from fully turned in position
caution
Do not turn the adjuster past the minimum or maximum adjustment. The adjuster may be damaged.

Low Compression Adjustment

Increase the low compression damping force by turning the adjuster clockwise to increase the stiffness. Decrease the low compression damping force by turning the adjuster counter-clockwise to increase the softness. The maximum adjustment for this adjuster is the fully turned in position. The minimum adjustment is 28 clicks out from the maximum position.
Image
Image
Front Track Suspension Rear Track Suspension
Standard Position
Front Track suspension low speed adjuster 19 clicks out from fully turned in position
Rear Track suspension low speed adjuster 7clicks out from fully turned in position
caution
Do not turn the adjuster past the minimum or maximum adjustment. The adjuster may be damaged.

Rebound Damping Force Adjustment (Rear track suspension only)

Increase the rebound damping force by turning the adjuster clockwise to increase the stiffness. Decrease the rebound damping force by turning the adjuster counter-clockwise to increase the softness. The maximum adjustment for this adjuster is the fully turned in position. The minimum adjustment is 16 clicks out from the maximum position.

Image
Standard Position
Rear track rebound adjuster 2 clicks out from fully turned in position
caution
Do not turn the adjuster past the minimum or maximum adjustment. The adjuster may be damaged.

Suspension Coupling

On all POLARIS snowmobile rear suspensions, there are two torque arms that control the movement of the rail beam. Prior to the advent of suspension coupling, these torque arms could move independently of each other. Rear suspension coupling links the movement of the front and rear torque arms to each other. There are two types of rear suspension coupling.

Front Rear Scissor Stop (FRSS)

The front rear scissor stop (FRSS) couples the movement of the front torque arm with the rear torque arm and limits the amount of independence between the movement of the front torque arm and the rear torque arm.
When hitting a bump, the front torque arm starts to compress. The FRSS links that movement to the rear torque arm, causing it to compress and raise the rear suspension up as one, allowing the suspension to hit the bump only once and eliminating kickback. Your FRSS is preset at the factory.

Rear Rear Scissor Stop (RRSS)

The rear rear scissor stop (RRSS) couples the movement of the rear torque arm with the front torque arm and limits the amount of independent movement between the rear torque and the front torque arm.
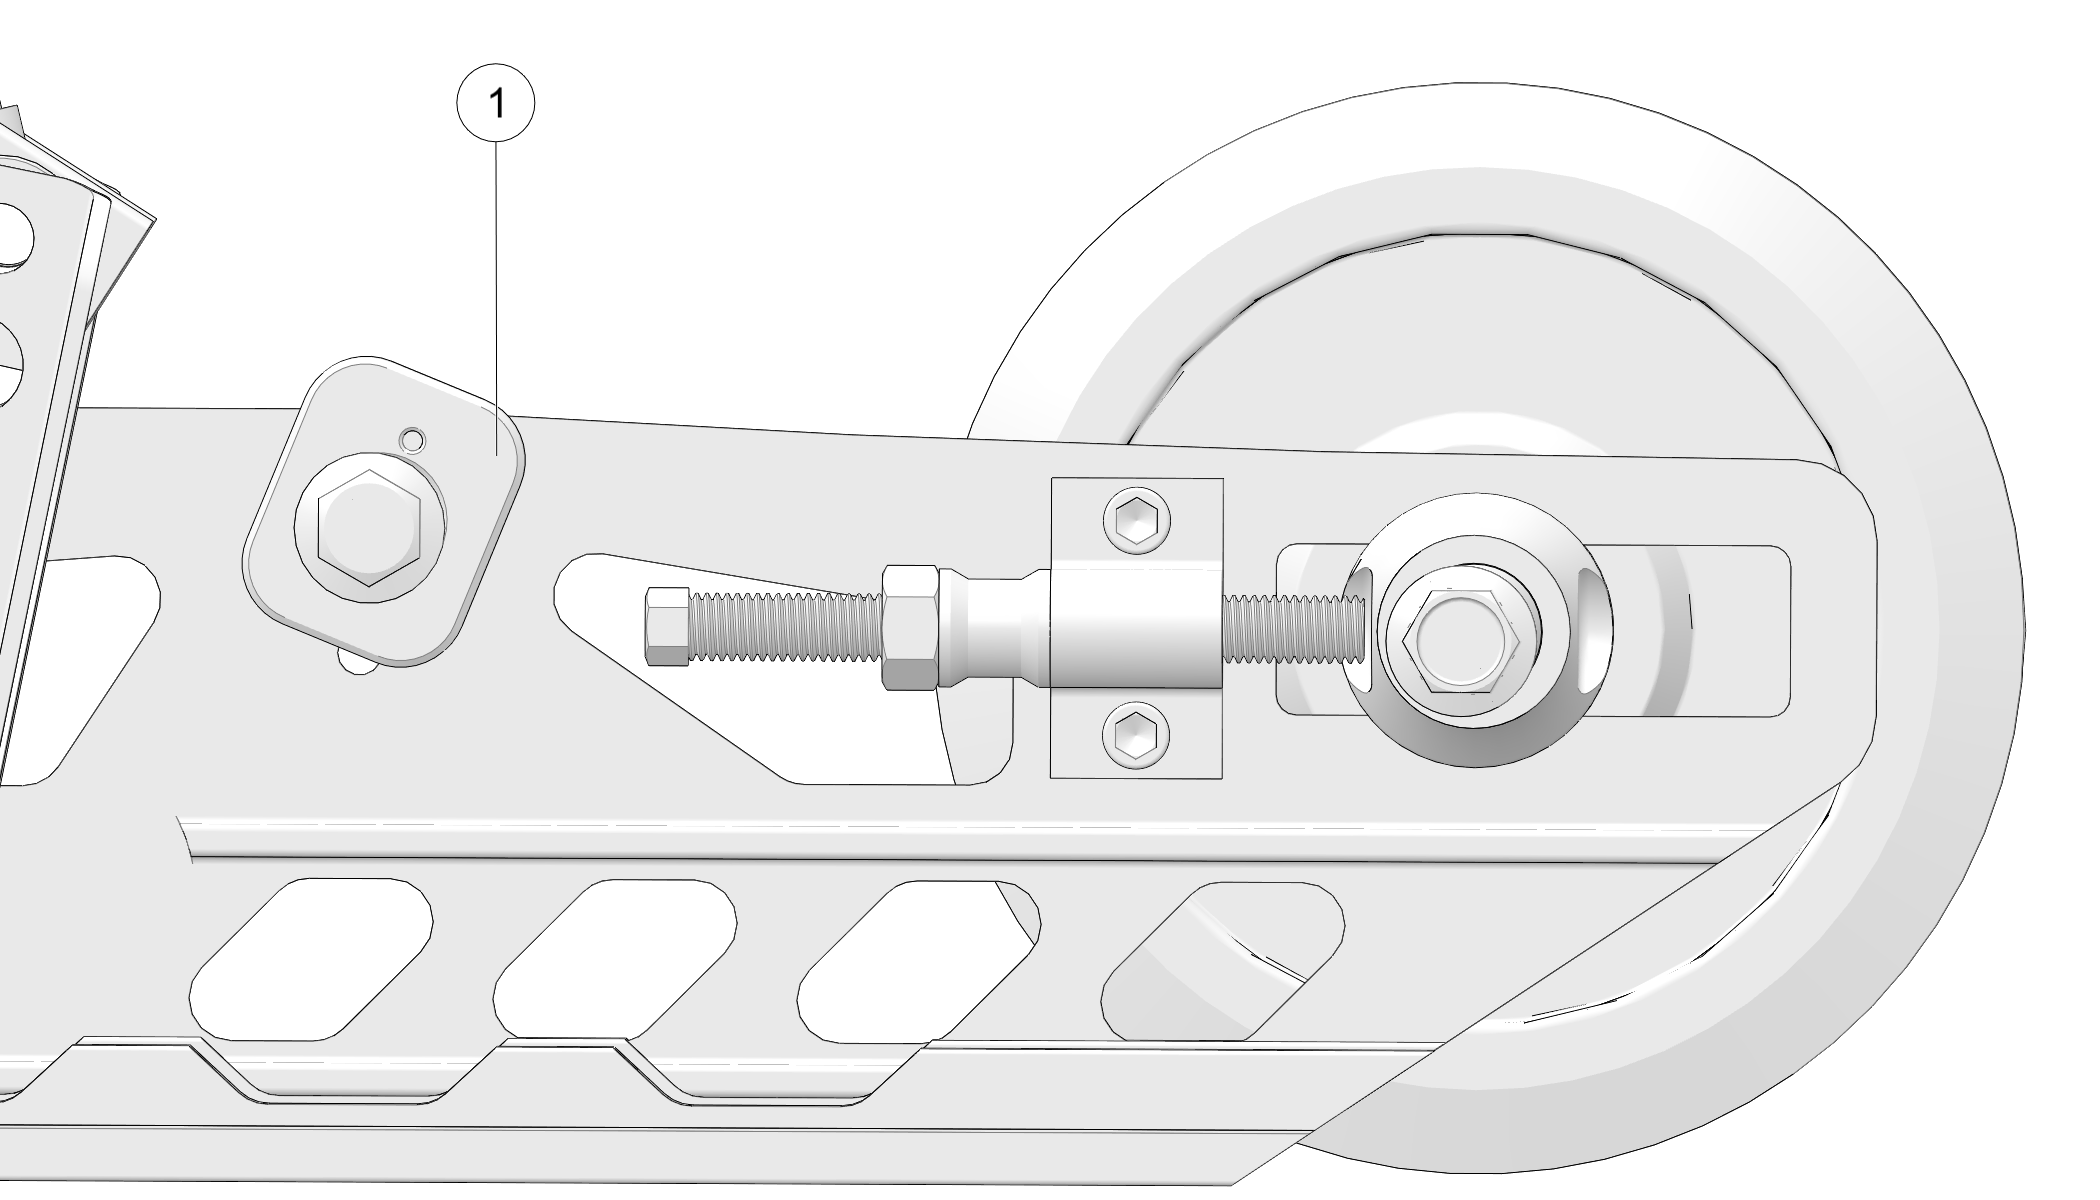
Adjusting the RRSS either allows more weight to transfer to the rear for more traction, or allows less weight to transfer to the rear, resulting in improved cornering performance. An adjustment dot is located on the RRSS. The dot is on the longest end of the scissor stop.

Rear Rear Scissor Stop — Attributes

Moving the RRSS to a higher position, or forward hole, will have the following effects on the suspension:
  • Reduced weight transfer
  • Improved chatter bump ride
  • Improved cornering performance

Weight Transfer During Acceleration

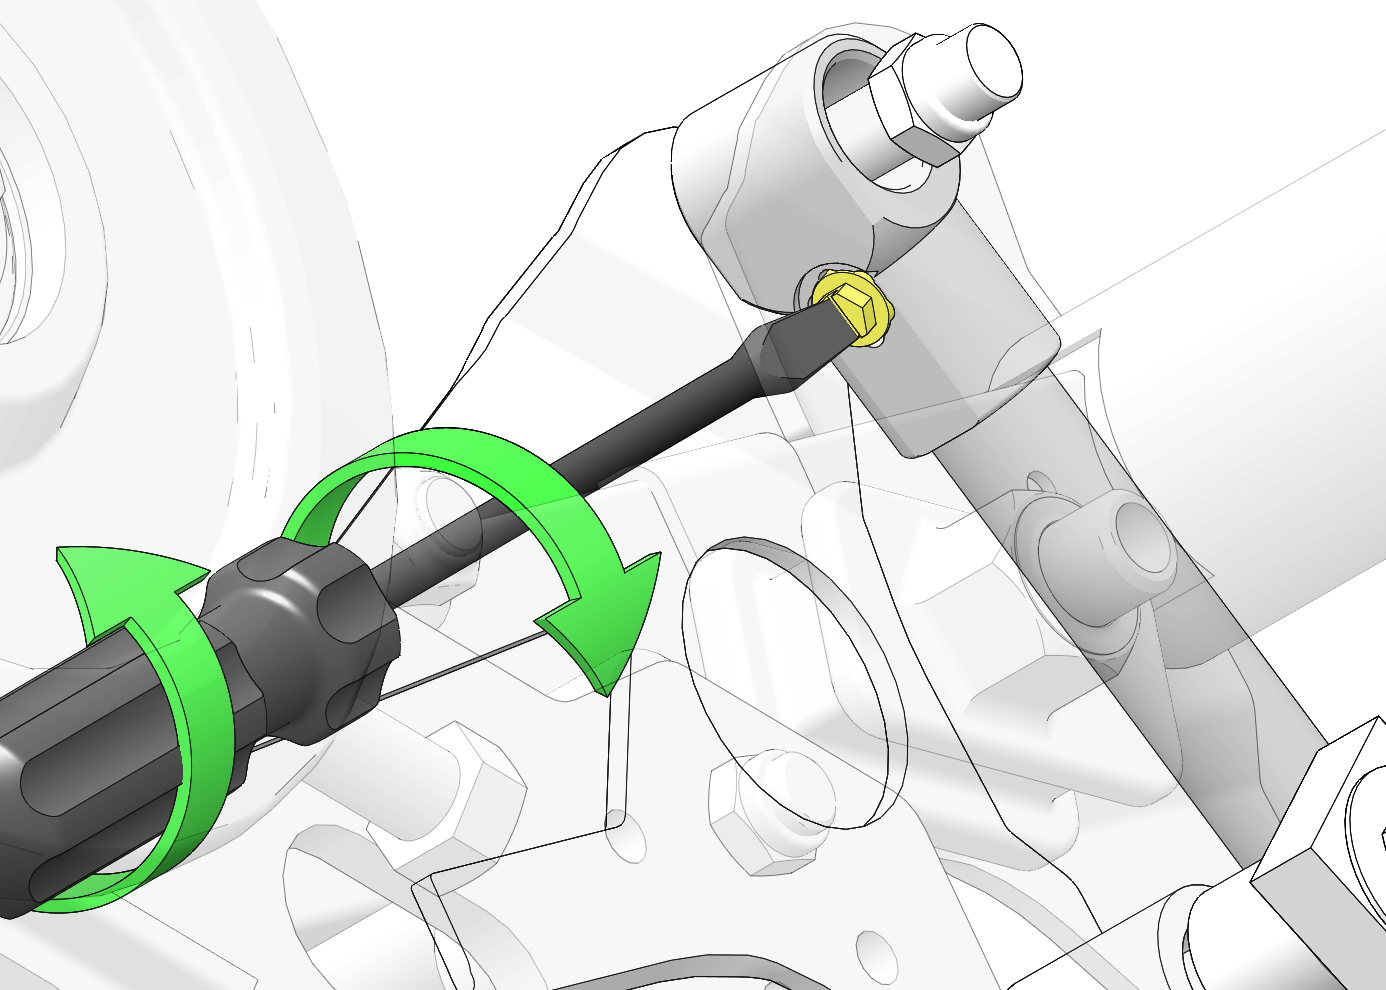
The preferred method for controlling weight transfer during acceleration is by adjusting the rear rear scissor stop. Use the scissor stop tool located in your tool kit it make the adjustments.
To decrease weight transfer under acceleration (for improved cornering), rotate the stop to a higher position.
To increase weight transfer or ski lift during acceleration, move the stop to the rearward upper position. The stop may also be rotated to a lower position for even more weight transfer if desired.
Low Position — This setting will increase weight transfer
Medium Position — This setting is the production setting and will provide the best overall trail riding
High Position — This setting will decrease weight transfer
Rearward Upper Position (optional hole location) — This setting will increase weight transfer
Image
Image
Image
Image
Image
High Low Medium Low
The preferred method for controlling weight transfer during acceleration is by adjusting the rear rear scissor stop (RRSS) . The factory setting is the best for most trail riding conditions.
To decrease weight transfer under acceleration (for improved cornering), rotate the RRSS to a higher position.
To increase weight transfer or ski lift during acceleration, rotate the RRSS to a lower position.
TIP
Your dealer can help you with initial setup and additional setup instructions to help you achieve your optimum ride. A scissor stop tool is also available from your dealer.

© Copyright Polaris Industries Inc. All rights reserved.