
Content Source: 2019 800 Titan Adventure Owner’s Manual (9928876 R01) > Maintenance Chapter
| IMPORTANT |
|
The Owner's Manual for this vehicle contains warnings, instructions and other information you must read and fully understand before safely riding or performing maintenance on this vehicle.Always follow the warnings and instructions in Owner's Manual. Click the CONTENTS link above for the Table Of Contents, or download a full PDF of the Owner Manual in the Owner Support area of Polaris.com |


| TORQUE | |
|
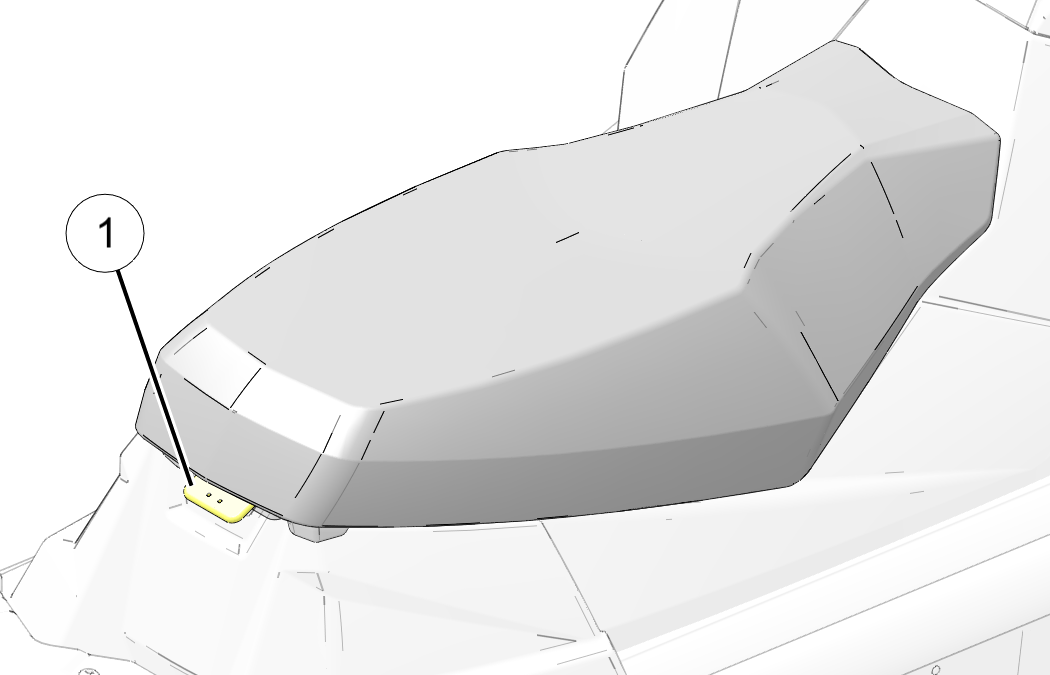
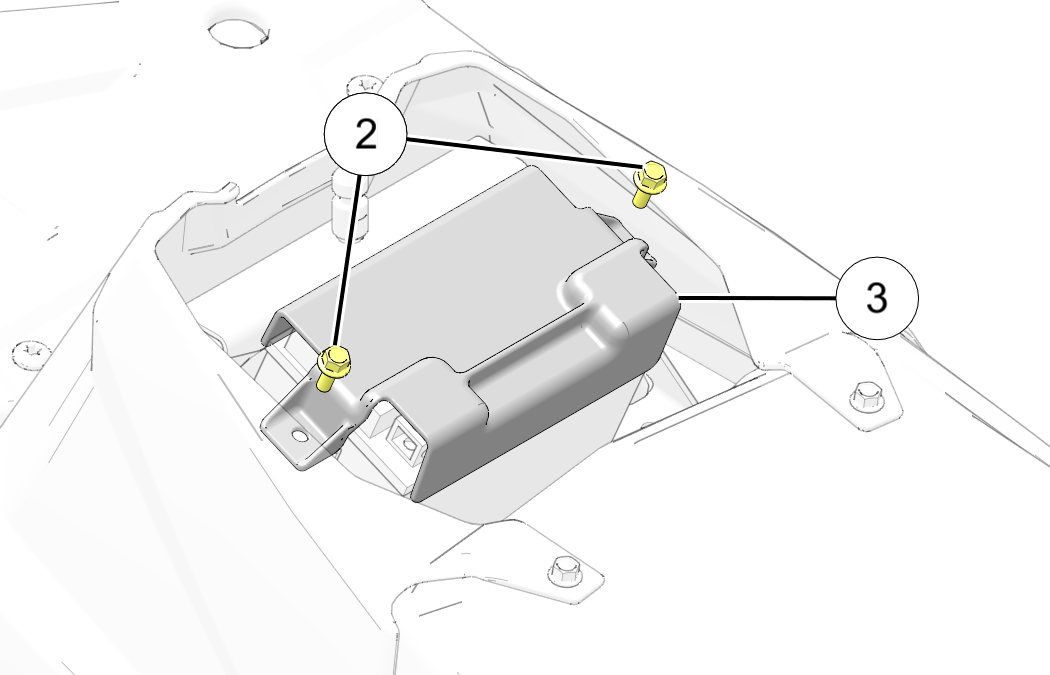
Battery Box Cover Fasteners: 7 ft - lbs (10 Nm) |
| TIP |
| Battery charge can be maintained by using a POLARIS Battery TenderTM charger or by charging about once a month to make up for normal self-discharge. Battery TenderTM can be left connected during the storage period, and will automatically charge the battery if the voltage drops below a pre-determined point. |
| RESTRICTION |
| When using an automatic charger, refer to the charger manufacturer's instructions for recharging. When using a constant current charger, use the following guidelines for recharging. |
| An overheated battery may explode, causing severe injury or death. Always watch charging times carefully. Stop charging if the battery becomes very warm to the touch. Allow it to cool before resuming charging. |
| TIP |
| Always verify battery condition before and 1-2 hours after the end of charging. |
|
State of Charge |
Voltage |
Action |
Charge Time* |
|
100% |
12.8-13.0 volts |
None, check at 3 mos. from date of manufacture |
None required |
|
75%-100% |
12.5-12.8 volts |
May need slight charge, if no charge given, check in 3 months |
3-6 hours |
|
50%-75% |
12.0-12.5 volts |
Needs charge |
5-11 hours |
|
25%-50% |
11.5-12.0 volts |
Needs charge |
At least 13 hours, verify state of charge |
|
0%-25% |
11.5 volts or less |
Needs charge with desulfating charger |
At least 20 hours |
|
*Using constant current charge @ standard amps specified on top of battery. |
|||
© Copyright Polaris Industries Inc. All rights reserved.